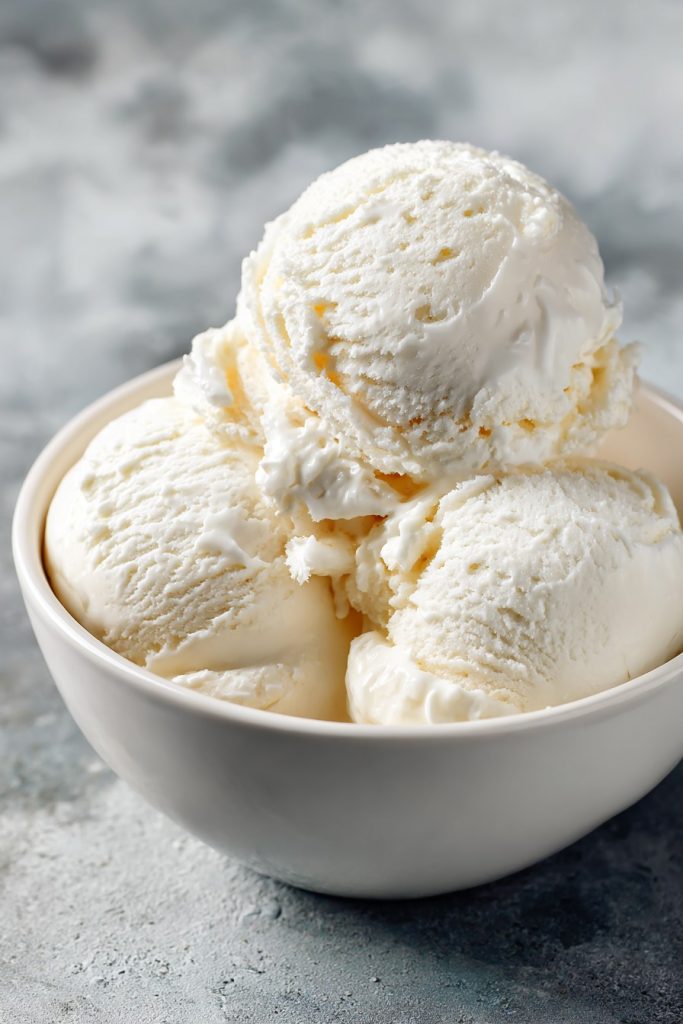
Unleash your taste buds on a revolutionary frozen journey where creamy indulgence meets guilt-free satisfaction. Ultimate flavor explosions await in every spoonful of this sugar-free masterpiece that transforms simple ingredients into pure frozen ecstasy.
Why This Recipe Works
- Velvety Texture Revolution: The magical combination of heavy cream and egg yolks creates an emulsion so luxurious it rivals premium gelato, while erythritol dissolves completely without the gritty aftertaste that plagues many sugar-free desserts.
- Flavor Amplification Technology: By eliminating sugar’s overpowering sweetness, we unlock the true depth of vanilla bean and cream, allowing subtle floral notes and rich dairy undertones to dance across your palate in perfect harmony.
- Temperature Perfection: Our precise chilling and churning method prevents ice crystal formation, delivering a scoopable texture that remains creamy straight from the freezer—no rock-hard disappointment here.
- Customization Canvas: This base recipe serves as a blank slate for flavor innovation, readily accepting fruit purees, nut butters, or extracts while maintaining its structural integrity and creamy mouthfeel.
Ingredients
- 2 cups heavy cream, chilled to 40°F
- 1 cup whole milk, refrigerator-cold
- 6 large egg yolks, at room temperature
- 3/4 cup erythritol, finely ground
- 1/4 teaspoon kosher salt
- 1 whole vanilla bean, split and scraped
- 1 teaspoon pure vanilla extract
- 1/4 teaspoon xanthan gum
Equipment Needed
- Ice cream maker with frozen bowl
- Medium saucepan
- Whisk
- Fine-mesh strainer
- Mixing bowls
- Instant-read thermometer
- Spatula
- Airtight container
Instructions
Cream Base Creation
Begin by pouring 2 cups of chilled heavy cream into a medium saucepan, followed by 1 cup of refrigerator-cold whole milk. Take your whole vanilla bean and split it lengthwise with a sharp knife, then use the back of the blade to scrape out the fragrant black seeds—those tiny specks hold immense flavor potential. Add both the seeds and the empty pod to the dairy mixture, then set the saucepan over medium-low heat. Watch carefully as tiny bubbles form around the edges, heating the liquid to precisely 170°F on your instant-read thermometer—this temperature gently infuses the vanilla without scorching the delicate cream. The kitchen will fill with an intoxicating aroma that promises the rich, complex vanilla profile you’re building. Pro Tip: Never let the mixture boil, as high heat can cause the cream to separate and develop an unpleasant cooked flavor that ruins the delicate balance.
Egg Yolk Emulsion
While your cream mixture heats, crack 6 large room-temperature egg yolks into a separate mixing bowl, discarding the whites or saving them for another recipe. Add 3/4 cup of finely ground erythritol and 1/4 teaspoon of kosher salt to the yolks, then whisk vigorously until the mixture transforms into a pale yellow, thick ribbon that falls slowly from the whisk—this aeration process creates the foundation for your creamy texture. Continue whisking for a full 3 minutes until the erythritol completely dissolves and the mixture lightens in color, ensuring no graininess remains to disrupt the smooth mouthfeel. The salt works behind the scenes to enhance the vanilla flavor while balancing the erythritol’s cooling effect, creating a more natural sweetness profile that doesn’t overwhelm the senses.
Tempering Technique
Now comes the critical moment where science meets culinary art. Remove your heated cream from the stove once it reaches 170°F and slowly drizzle about 1/2 cup of the hot liquid into your egg yolk mixture while whisking constantly—this gradual introduction prevents the eggs from scrambling. Continue adding the cream in a thin, steady stream until about half is incorporated, then pour the tempered egg mixture back into the saucepan with the remaining cream. Return the pan to medium-low heat and cook while stirring constantly with a spatula, scraping the bottom and sides to prevent hotspots. Watch for the moment when the custard thickens enough to coat the back of a spoon and reaches 180°F on your thermometer—this precise temperature ensures food safety while maintaining silky texture.
Straining and Chilling
Immediately remove your thickened custard from the heat and pour it through a fine-mesh strainer into a clean bowl—this crucial step catches any potential egg curds and removes the spent vanilla bean pod. Stir in 1 teaspoon of pure vanilla extract to boost the aromatic complexity, then sprinkle 1/4 teaspoon of xanthan gum over the surface while whisking vigorously to incorporate. This natural stabilizer prevents ice crystal formation during freezing, ensuring your final product remains scoopable. Place plastic wrap directly on the custard’s surface to prevent skin formation, then refrigerate for exactly 4 hours until the temperature drops to 40°F—this thorough chilling allows flavors to meld while preparing the base for optimal churning. Pro Tip: For ultra-creamy results, chill the base overnight; the extended time allows the xanthan gum to fully hydrate and the flavors to deepen dramatically.
Churning and Freezing
Retrieve your ice cream maker’s frozen bowl from the freezer—it should be thoroughly frozen for at least 24 hours at 0°F for maximum efficiency. Pour your chilled custard into the machine and churn according to manufacturer’s instructions, typically 20-25 minutes, until the mixture resembles soft-serve ice cream with increased volume. Watch as the magic happens: the paddles incorporate tiny air bubbles while freezing the custard gradually, creating that dreamy texture you’ve been building toward. When the ice cream reaches the consistency of thick whipped cream and pulls away from the sides of the bowl, transfer it to an airtight container. Pro Tip: Press parchment paper directly onto the surface before sealing to prevent freezer burn, then freeze for at least 6 hours at -10°F to achieve perfect scoopability.
Tips and Tricks
Mastering sugar-free ice cream requires understanding the science behind frozen desserts. First, consider your sweetener options beyond erythritol—monk fruit blends offer similar properties with slightly different flavor profiles, while allulose prevents crystallization exceptionally well but may brown slightly during storage. For those sensitive to sugar alcohols, stevia glycerite provides intense sweetness without aftertaste, though you’ll need to adjust quantities significantly. Temperature control remains paramount throughout the process; always chill your equipment before use, and work quickly during transfers to maintain low temperatures. If your ice cream becomes too hard after freezing, let it rest at room temperature for 8-10 minutes before scooping—this brief tempering period allows the fat molecules to relax, restoring creaminess. For professional-level presentation, pre-chill your serving bowls and scoops, and consider adding mix-ins during the last 2 minutes of churning rather than folding them in later. Storage wisdom: always use shallow, airtight containers to promote even freezing, and never refreeze melted ice cream as it will develop large, unpleasant ice crystals. If you encounter texture issues, consider adding 1 tablespoon of vodka or another neutral spirit to your base—the alcohol lowers the freezing point slightly without affecting flavor. For dairy-free variations, full-fat coconut cream provides excellent texture, though you may need additional stabilizers. Finally, always taste your base before churning and adjust sweetness or flavoring as needed, remembering that cold temperatures mute flavors slightly.
Recipe Variations
- Chocolate Obsession: Melt 4 ounces of unsweetened baking chocolate with 1/4 cup coconut oil, then whisk into the warm custard base along with 1/4 cup additional erythritol. The result is an intensely dark, fudgy creation that satisfies even the most demanding chocolate cravings without sugar spikes.
- Berry Blast: Puree 1 cup of frozen mixed berries until completely smooth, then strain to remove seeds before incorporating into the chilled base. The natural fruit sugars provide subtle sweetness while the vibrant colors and tart notes create a refreshing summer treat that feels indulgent yet virtuous.
- Coffee Infusion: Steep 1/2 cup coarsely ground dark roast coffee beans in the warm cream mixture for 30 minutes before straining, creating a robust coffee flavor that stands up to the richness of the dairy. The bitter notes complement the erythritol perfectly, mimicking your favorite coffee shop treat.
- Nutty Delight: Toast 1 cup of pecans or almonds until fragrant, then blend into a fine butter before swirling into the churned ice cream during the final minutes. The natural oils from the nuts enhance creaminess while adding complex, toasty notes that elevate the entire experience.
Frequently Asked Questions
Can I use a different sugar substitute?
Absolutely, though each alternative behaves differently in frozen applications. Monk fruit blends work similarly to erythritol but may require slight quantity adjustments due to varying sweetness concentrations. Allulose performs exceptionally well in ice cream as it doesn’t recrystallize, though it can cause slight browning during storage. Stevia requires careful measurement as it’s significantly sweeter, and liquid forms may affect texture. Whatever substitute you choose, always dissolve it completely during the egg-whisking stage and consider using a combination of sweeteners to balance flavor profiles and minimize aftertastes.
Why did my ice cream turn out icy?
Icy texture typically results from insufficient fat content, improper chilling, or inadequate churning. Ensure you’re using full-fat dairy products and proper stabilizers like xanthan gum. Always chill your base thoroughly to 40°F before churning, and verify your ice cream maker bowl is completely frozen—if it feels even slightly cool rather than frozen solid, refreeze it for 24 hours. Churn until the mixture significantly increases in volume and holds its shape, and avoid overfilling the machine, which prevents proper aeration and freezing.
How long does sugar-free ice cream last?
When stored properly in an airtight container at consistent freezer temperatures of 0°F or below, your sugar-free creation will maintain optimal texture for 2-3 weeks. Beyond this timeframe, ice crystals may begin to form despite stabilizers, and flavors can diminish. For longest shelf life, press parchment paper directly onto the surface before sealing, and avoid temperature fluctuations by storing toward the back of the freezer rather than the door.
Can I make this without an ice cream maker?
While an ice cream maker produces superior results, you can achieve respectable texture using the freeze-and-stir method. Pour your chilled base into a shallow metal pan and freeze for 45 minutes until edges begin to set. Remove and whisk vigorously to break up ice crystals, then return to freezer. Repeat this process every 30 minutes for 3-4 cycles until desired consistency forms. The manual incorporation of air creates lighter texture, though it requires more attention and may result in slightly denser final product.
Summary
This sugar-free ice cream delivers spectacular creaminess and deep vanilla flavor through precise temperature control and quality ingredients. The revolutionary texture comes from proper emulsification and strategic use of stabilizers, creating frozen perfection that satisfies without sugar-related consequences. Customization options abound for endless flavor adventures.
Sugar-Free Vanilla Ice Cream
4
servings30
minutes15
minutesIngredients
Instructions
- 1 Heat cream, milk, and vanilla bean to 170°F
- 2 Whisk egg yolks with erythritol and salt until pale
- 3 Temper eggs with hot cream mixture
- 4 Cook custard to 180°F until thickened
- 5 Strain, add vanilla extract and xanthan gum, chill to 40°F
- 6 Churn in ice cream maker, then freeze 6 hours


