Settle in, wing lovers, because I’m about to revolutionize your chicken wing game forever. Seriously, these aren’t your average soggy baked wings – we’re talking crispy, golden perfection that’ll make you forget all about deep frying. So grab your apron and let’s get ready for some seriously delicious magic!
Why This Recipe Works
- The baking powder coating creates microscopic bubbles on the skin’s surface that expand in the oven, resulting in an incredibly crispy texture without any frying
- Patting the wings completely dry before seasoning ensures maximum crispiness by eliminating excess moisture that would otherwise steam the skin
- Using a wire rack allows hot air to circulate around every wing, cooking them evenly and preventing that dreaded soggy bottom syndrome
- The two-stage baking process – starting high to render fat and crisp the skin, then finishing at a moderate temperature – guarantees perfectly cooked meat without burning
- Resting the wings after baking lets the juices redistribute throughout the meat, making every bite incredibly tender and flavorful
Ingredients
- 3 pounds chicken wings, separated into drumettes and flats, patted completely dry with paper towels
- 2 tablespoons baking powder (aluminum-free recommended)
- 1 tablespoon kosher salt
- 2 teaspoons garlic powder
- 2 teaspoons smoked paprika
- 1 teaspoon black pepper, freshly ground
- 1 teaspoon onion powder
- ½ teaspoon cayenne pepper (optional for heat)
- 2 tablespoons vegetable oil or avocado oil
- Your favorite wing sauce for tossing (buffalo, barbecue, teriyaki, etc.)
- Blue cheese or ranch dressing for serving
- Celery sticks and carrot sticks for serving
Equipment Needed
- Large mixing bowl
- Rimmed baking sheet
- Wire rack that fits inside baking sheet
- Paper towels
- Tongs
- Measuring spoons
- Small bowl for mixing dry ingredients
- Instant-read thermometer (highly recommended)
Instructions
Prepare and Season the Wings
Start by ensuring your chicken wings are completely dry – this is the secret weapon for achieving that incredible crispiness. Use paper towels to pat each wing piece thoroughly, paying special attention to the skin surfaces. In a small bowl, whisk together the baking powder, kosher salt, garlic powder, smoked paprika, black pepper, onion powder, and cayenne if using. Place the dried wings in a large mixing bowl and drizzle with the vegetable oil, tossing to coat evenly. Sprinkle the seasoning mixture over the wings and toss vigorously until every piece is uniformly coated. The baking powder will create a slightly pasty coating – this is exactly what you want! Pro tip: For even more flavor penetration, you can season the wings and refrigerate them uncovered for up to 24 hours before baking.
Arrange on Wire Rack and Preheat Oven
Position your oven rack in the center position and preheat your oven to 425°F. Line a rimmed baking sheet with aluminum foil for easy cleanup – trust me, you’ll thank yourself later. Place the wire rack on top of the prepared baking sheet, ensuring it sits securely. Arrange the seasoned wings in a single layer on the wire rack, making sure they aren’t touching each other. This air circulation is crucial for even cooking and maximum crispiness. Leave about half an inch between each wing piece to allow hot air to circulate freely around them. The elevated rack prevents the wings from sitting in their own rendered fat, which would make them steam rather than crisp up beautifully.
Initial High-Temperature Bake
Place the baking sheet with the wire rack and wings into the preheated 425°F oven and set your timer for 25 minutes. This initial high heat blast serves two important purposes: it quickly renders the fat from the skin while creating those desirable crispy bubbles. Resist the temptation to open the oven door during this phase, as the temperature drop can affect the crisping process. After 25 minutes, you should see the wings turning golden brown and hear that satisfying sizzle of rendered fat dripping onto the baking sheet below. The skin should be visibly crisping and pulling away from the meat slightly. This high-heat start is what separates mediocre baked wings from extraordinary ones.
Reduce Temperature and Continue Baking
After the initial 25 minutes at 425°F, reduce the oven temperature to 375°F without opening the oven door. Continue baking for another 20-25 minutes. During this phase, the interior meat cooks through completely while the exterior continues to crisp up without burning. Keep an eye on the wings through the oven window – they should be developing a deep golden brown color with visible crispy texture. If some wings are browning faster than others, you can rotate the baking sheet halfway through this cooking phase. The rendered fat will continue to drip down, creating those beautiful crispy edges we all crave in perfect chicken wings.
Check for Doneness and Rest
After the total cooking time of 45-50 minutes, carefully remove the baking sheet from the oven. The wings should be deeply golden brown and incredibly crispy looking. To ensure doneness, insert an instant-read thermometer into the thickest part of a drumette without touching bone – it should register at least 165°F. If they need more time, return to the oven for additional 5-minute increments. Once perfectly cooked, transfer the wings to a clean bowl using tongs. Let them rest for 5-10 minutes – this allows the juices to redistribute throughout the meat, ensuring maximum tenderness. Pro tip: For extra crispy wings, you can broil for 1-2 minutes at the end, but watch carefully to prevent burning.
Toss with Sauce and Serve Immediately
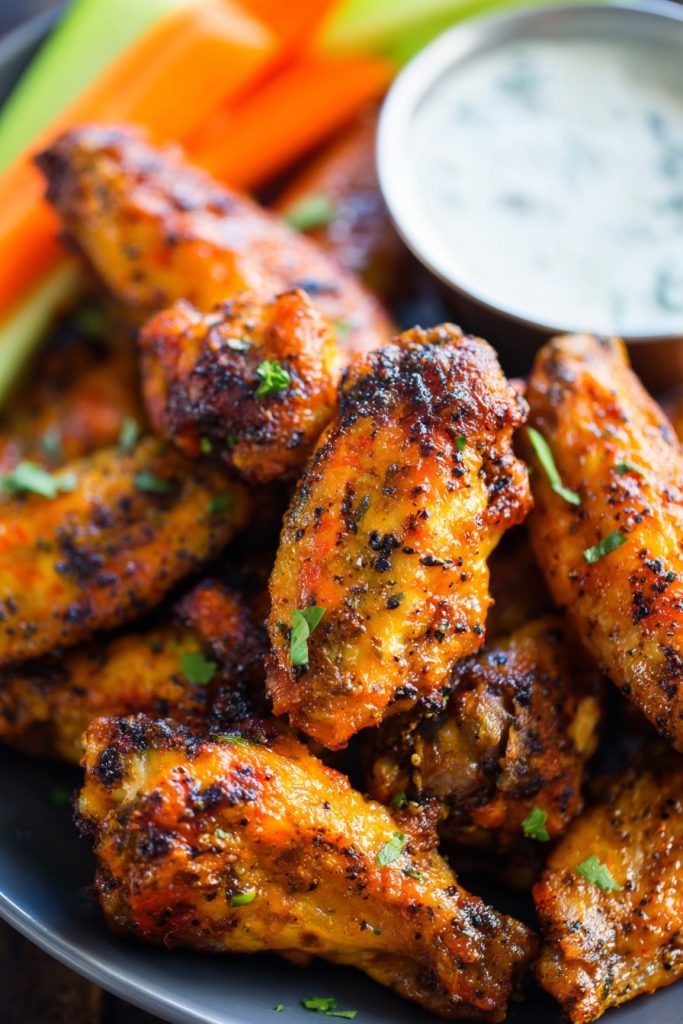
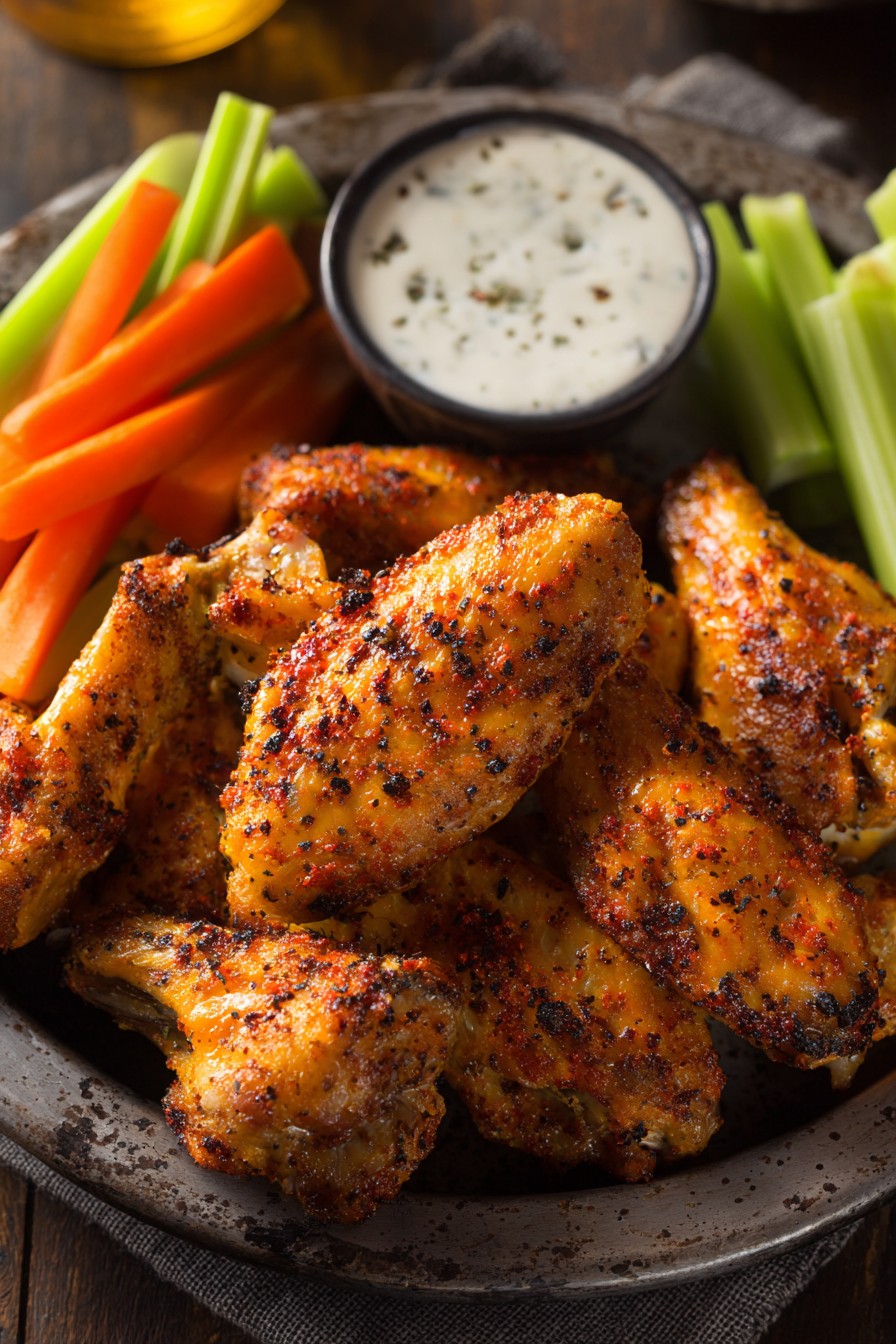
While the wings are resting, warm your favorite wing sauce in a small saucepan over low heat or in the microwave for 30-45 seconds. Warm sauce adheres better to the wings and helps maintain their crispiness. Pour the warmed sauce over the rested wings in the bowl and toss gently but thoroughly until every wing is beautifully coated. Use a light hand with the tossing to preserve that hard-earned crispiness. Serve immediately while hot and crispy, accompanied by blue cheese or ranch dressing, celery sticks, and carrot sticks. The contrast between the hot, crispy wings and cool, creamy dressing is pure perfection. Enjoy your restaurant-quality wings that came straight from your oven!
Tips and Tricks
For the ultimate crispy experience, consider drying your wings in the refrigerator overnight. After patting them dry, arrange them in a single layer on a wire rack set over a baking sheet and refrigerate uncovered for 8-24 hours. This extended drying time allows even more moisture to evaporate from the skin, resulting in wings that are practically crackling crisp. The cold, dry air of the refrigerator works magic on the skin texture. If you’re planning a game day spread, this advance preparation step makes game day cooking a breeze since the wings are prepped and ready to bake.
Experiment with different baking powder brands, as some might contain aluminum which can occasionally impart a slight metallic taste. Aluminum-free baking powder is widely available and ensures pure chicken flavor. If you’re sensitive to tastes, this small switch can make a noticeable difference. Also, ensure your baking powder is fresh – old baking powder loses its effectiveness and won’t create those desirable crispy bubbles. To test freshness, mix a teaspoon with hot water – if it bubbles vigorously, it’s good to go.
Consider using a convection oven if you have one available. The circulating air in a convection oven enhances crispiness by moving moisture away from the food surface more efficiently. If using convection, reduce the oven temperature by 25°F and check for doneness about 5-10 minutes earlier than the recommended times. The even air circulation means your wings will cook more uniformly, often resulting in even better texture than conventional ovens. Just keep a close eye during the last few minutes as convection ovens can brown foods more quickly.
Don’t overcrowd your baking sheet – this is perhaps the most common mistake in wing making. Overcrowding causes the wings to steam rather than bake, resulting in soggy skin rather than crispy perfection. If necessary, use two baking sheets and rotate them halfway through cooking. The space between wings allows hot air to circulate properly, ensuring each wing gets its moment of crispy glory. Remember: patience and proper spacing are key to wing perfection.
For sauce lovers, consider serving sauces on the side rather than tossing all the wings. This allows everyone to choose their preferred sauce level and keeps uneaten wings crispy for longer. You can also serve multiple sauce options – classic buffalo, sweet barbecue, garlic parmesan, and spicy Korean gochujang all make fantastic choices. For extra flavor, brush sauces on during the last 5-10 minutes of baking, but watch carefully as sugars in sauces can burn quickly at high temperatures.
Recipe Variations
- For garlic parmesan wings, toss the baked wings with melted butter mixed with minced garlic, then sprinkle generously with freshly grated parmesan cheese and chopped parsley. The nutty parmesan creates a beautiful crust that complements the crispy skin perfectly. Serve with lemon wedges for a bright, fresh finish that cuts through the richness.
- Asian-inspired wings can be achieved by tossing with a mixture of soy sauce, honey, ginger, and sesame oil. Garnish with toasted sesame seeds and sliced green onions for added texture and flavor. For extra authenticity, add a tablespoon of gochujang (Korean chili paste) to the sauce mixture for that perfect balance of sweet, spicy, and savory flavors.
- Barbecue dry rub wings involve mixing brown sugar, smoked paprika, chili powder, and dry mustard into your initial seasoning blend. Skip the wet sauce and serve these with extra rub on the side for dipping. The sugar caramelizes during baking, creating a beautiful bark-like crust that barbecue enthusiasts will adore.
- Lemon pepper wings get tossed with melted butter, fresh lemon zest, and coarse black pepper after baking. The bright citrus notes cut through the richness while the pepper provides a gentle heat that builds with each bite. Add a squeeze of fresh lemon juice right before serving for maximum freshness.
- For Buffalo cauliflower lovers, you can use the same technique with cauliflower florets. Adjust cooking time to 35-40 minutes total, watching carefully as vegetables cook faster than chicken. The baking powder creates同样 crispy texture on vegetable surfaces, making this a fantastic vegetarian alternative that doesn’t sacrifice any crunch factor.
Frequently Asked Questions
Can I make these wings ahead of time?
Absolutely! You can prepare the wings through the seasoning step up to 24 hours in advance. Arrange the seasoned wings on the wire rack set over a baking sheet, cover loosely with plastic wrap, and refrigerate. The extended drying time in the refrigerator actually enhances the crispiness. When ready to bake, simply remove from refrigerator while preheating oven and proceed with the recipe. For already baked wings, they’re best served immediately but can be reheated in a 400°F oven for 10-15 minutes to restore crispiness.
Why baking powder instead of baking soda?
Baking powder is specifically recommended because it contains both an acid and a base, which react to create carbon dioxide bubbles when heated. These microscopic bubbles lift the skin away from the meat and create incredible surface area for crisping. Baking soda alone would be too alkaline and could impart a soapy or metallic taste to the wings. The double-acting nature of baking powder ensures the reaction happens both when mixed with the chicken and again when heated in the oven.
Can I use frozen chicken wings?
While fresh wings are ideal, you can use frozen wings with proper thawing technique. Thaw completely in the refrigerator for 24-48 hours, then pat extremely dry with paper towels. Frozen wings tend to release more moisture, so you may need to pat them dry multiple times. Never bake wings from frozen as they’ll steam rather than crisp up, and the interior may not reach safe temperatures before the exterior burns. The extra drying step is crucial for frozen wings to achieve that desired crispiness.
How do I know when the wings are done without a thermometer?
While a thermometer is highly recommended for food safety, visual cues include deep golden brown color, crispy texture that appears slightly puffed, and meat that pulls away from the bone ends. When you pierce the thickest part of a drumette with a knife or skewer, the juices should run clear without any pinkness. The wings should feel firm to the touch rather than soft or squishy. However, for absolute certainty especially when cooking for guests, investing in an inexpensive instant-read thermometer is worthwhile.
Can I make these gluten-free or dairy-free?
This recipe is naturally gluten-free as written – just ensure your baking powder and spices are certified gluten-free if needed. For dairy-free variations, simply choose dairy-free sauces and serving options. Many buffalo sauces are naturally dairy-free, and you can find excellent dairy-free ranch or blue cheese alternatives. For parmesan variations, nutritional yeast or vegan parmesan substitutes work well. The basic wing recipe itself contains no gluten or dairy, making it easily adaptable for various dietary needs.
Summary
These oven-baked chicken wings deliver incredible crispiness without deep frying, using a clever baking powder technique. Perfect for game day or any gathering, they’re customizable with your favorite sauces and guaranteed to impress even the most discerning wing enthusiasts.
Crispy Oven Baked Chicken Wings
6
servings15
minutes50
minutesIngredients
Instructions
- 1 Pat wings completely dry with paper towels
- 2 Mix baking powder and spices, toss with wings and oil
- 3 Arrange on wire rack over baking sheet
- 4 Bake at 425°F for 25 minutes
- 5 Reduce to 375°F, bake 20-25 minutes more
- 6 Check internal temperature reaches 165°F
- 7 Rest 5 minutes, toss with warmed sauce, serve immediately


