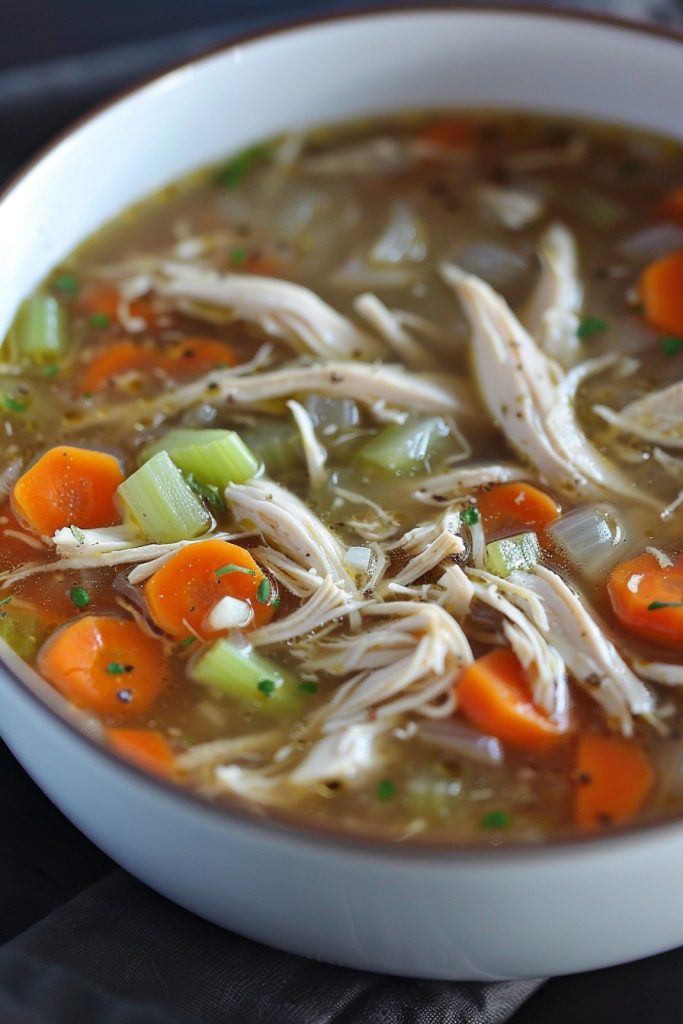
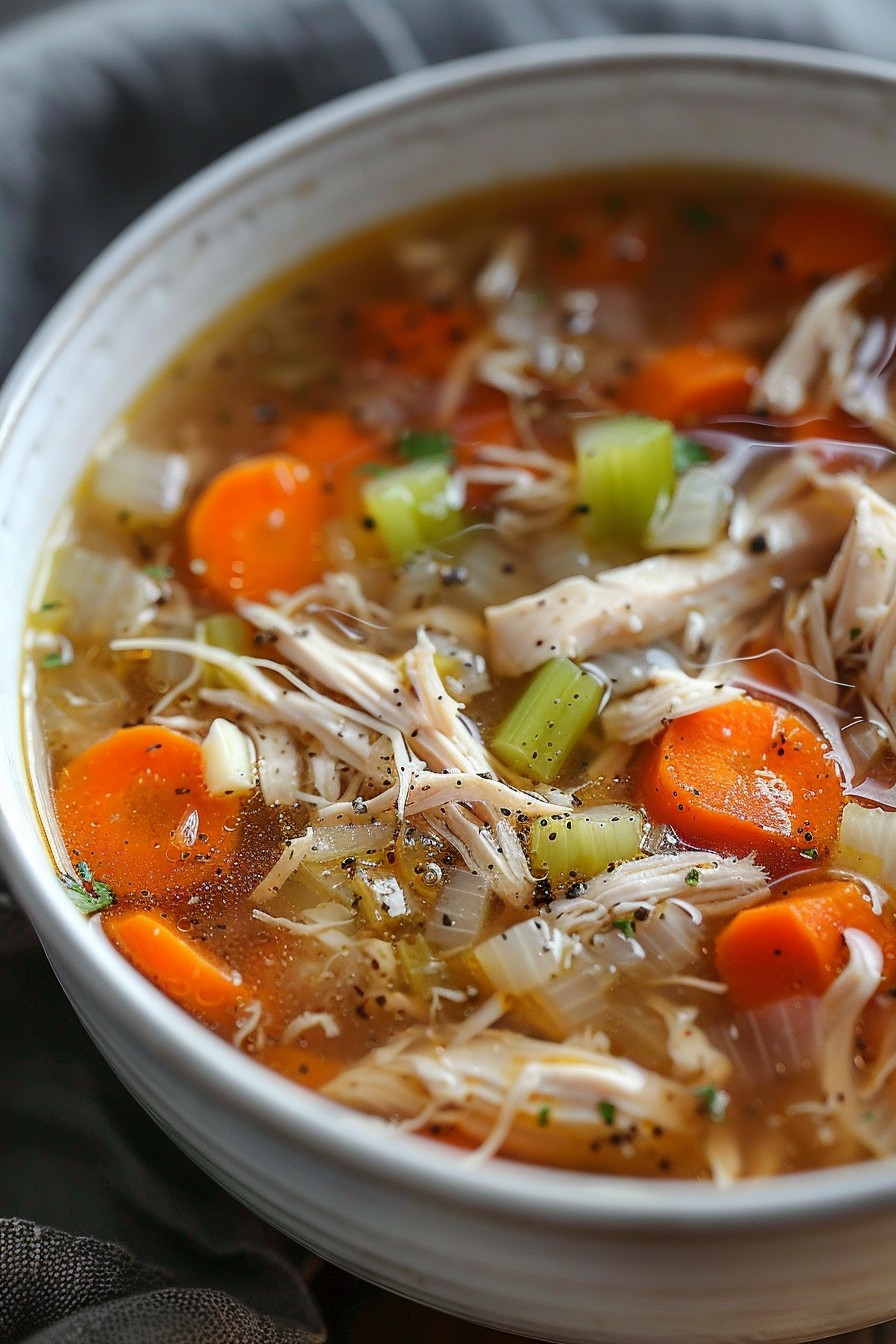
Just when you thought your pantry couldn’t get any more stocked, here comes the ultimate comfort food in a jar. Canning chicken soup is not only a great way to preserve the flavors of home but also ensures you’ve got a quick meal ready at any time. Let’s dive into making this homesteader’s dream come true.
Why This Recipe Works
- Preserves the rich, homemade flavor of chicken soup for months.
- Using a pressure canner ensures safety and longevity of your canned goods.
- Perfect for busy days, providing a hearty meal with minimal effort.
- Customizable with your favorite vegetables and herbs.
- A great way to use up leftover chicken and vegetables.
Ingredients
- 2 lbs chicken, cooked and shredded
- 4 cups chicken broth
- 2 cups carrots, diced
- 2 cups celery, diced
- 1 cup onions, diced
- 2 cloves garlic, minced
- 1 tsp salt
- 1/2 tsp black pepper
- 1 tsp thyme
Equipment Needed
- Pressure canner
- Canning jars with lids and bands
- Jar lifter
- Bubble remover and headspace tool
- Large pot
- Chopping board and knife
Instructions
Prepare Your Ingredients
Start by cooking your chicken until it’s fully done and easy to shred. While the chicken cooks, dice your carrots, celery, and onions into uniform pieces to ensure even cooking. Mince the garlic finely to distribute its flavor throughout the soup. Combining these ingredients now will save you time later and make the canning process smoother.
Combine and Cook the Soup
In a large pot, combine the shredded chicken, diced vegetables, minced garlic, chicken broth, and seasonings. Bring the mixture to a boil over medium-high heat, then reduce the heat and let it simmer for about 20 minutes. This allows the flavors to meld together beautifully. Remember, the soup will continue to develop flavor in the jar, so don’t worry if it seems a bit mild now.
Prepare Your Jars and Canner
While the soup simmers, prepare your canning jars by washing them in hot, soapy water and keeping them warm. Fill your pressure canner with the recommended amount of water and begin heating it. This is also the time to check your lids and bands for any defects. Proper preparation here is key to a successful canning process.
Fill and Seal the Jars
Ladle the hot soup into the warm jars, leaving 1 inch of headspace. Use your bubble remover to eliminate any air pockets, then wipe the rims clean with a damp cloth. Place the lids on the jars and screw the bands on until they’re fingertip tight. This ensures a proper seal while allowing air to escape during the canning process.
Process the Jars in the Canner
Carefully place the filled jars into the pressure canner using the jar lifter. Follow the manufacturer’s instructions for your specific canner to process the jars at the correct pressure and time. For chicken soup, this is typically 75 minutes at 10 pounds pressure for pints and 90 minutes for quarts. After processing, let the canner depressurize naturally before opening.
Tips and Tricks
Canning chicken soup is a fantastic way to preserve your harvest or make the most of a grocery sale, but there are a few things to keep in mind for the best results. Always use fresh ingredients for the best flavor and safety. If you’re new to canning, consider attending a workshop or watching tutorials to get comfortable with the process. Remember, altitude affects canning times and pressures, so adjust accordingly. And don’t forget to label your jars with the date and contents for easy identification later.
Recipe Variations
- Add rice or noodles to the soup before canning for a more filling meal. Just remember, these will absorb liquid over time, so you might need to add more broth when serving.
- For a creamier version, stir in a bit of cream or milk when reheating the soup. Dairy products shouldn’t be canned due to safety concerns.
- Spice it up with some chili flakes or cayenne pepper for those who like a bit of heat.
- Vegetarians can substitute the chicken with more vegetables or tofu, though processing times may vary.
Frequently Asked Questions
Can I use raw chicken instead of cooked?
Yes, you can use raw chicken, but it must be cut into small pieces to ensure it cooks thoroughly during the canning process. However, pre-cooking the chicken allows you to skim off excess fat and ensures a more consistent texture in the final product.
How long does canned chicken soup last?
Properly canned and stored chicken soup can last up to a year or more. Always check the seal before use, and if the lid is bulging or the contents smell off, it’s best to discard the jar.
Can I add dairy to the soup before canning?
No, dairy products can spoil and become unsafe when canned. It’s best to add any dairy, like cream or milk, when you’re reheating the soup to serve.
Summary
Canning chicken soup is a rewarding process that yields delicious, ready-to-eat meals for your pantry. With the right ingredients, equipment, and a bit of patience, you can enjoy homemade chicken soup anytime.
Canning Chicken Soup
4
servings30
minutes20
minutesIngredients
Instructions
- 1 Prepare your ingredients by cooking and shredding the chicken, and dicing the vegetables.
- 2 Combine all ingredients in a large pot and simmer for 20 minutes.
- 3 Prepare canning jars and pressure canner.
- 4 Fill jars with soup, leaving 1 inch of headspace, and seal.
- 5 Process in a pressure canner according to manufacturer's instructions.