
Just like the worn recipe cards in my grandmother’s wooden box, this peanut butter dessert holds generations of kitchen wisdom. Joy fills my heart every time I pull out that old mixing bowl and recreate these fudgy cookies that taste like childhood summers on the farm. These humble treats require no fancy ingredients or complicated techniques, just honest goodness that brings folks together around the kitchen table.
Why This Recipe Works
- The combination of creamy peanut butter and rich brown sugar creates that perfect chewy texture that melts in your mouth, reminiscent of those old-fashioned general store candies we’d get after school
- Using simple pantry staples means you can whip these up anytime that sweet tooth craving strikes, without needing to make a special trip to the market
- The gentle baking temperature ensures these cookies stay soft and fudgy rather than turning crisp, giving you that comforting, almost brownie-like consistency
- Mixing by hand keeps the process rustic and accessible, connecting you to generations of home bakers who created magic with just a wooden spoon and some elbow grease
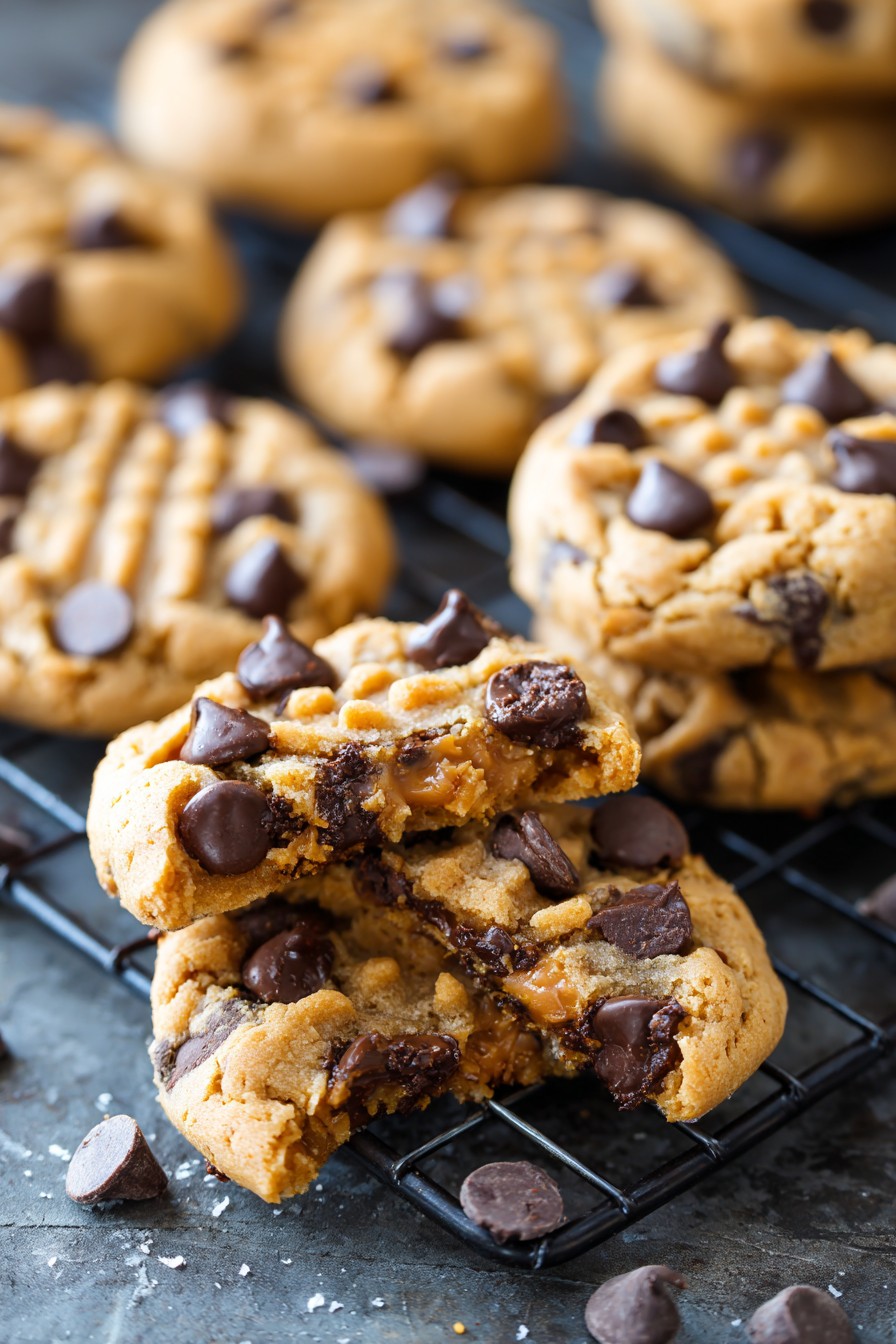
- That glorious crackled top appearance tells you they’re baked to perfection, just like Grandma used to judge her cookies by that beautiful rustic surface
Ingredients
- 1 cup creamy peanut butter (the kind that needs stirring, with oil separation)
- 1 cup packed light brown sugar (those moist clumps are exactly what we want)
- 1 large egg, brought to room temperature on the counter for about 30 minutes
- 1 teaspoon pure vanilla extract (that good stuff from the little brown bottle)
- 1/2 teaspoon baking soda
- 1/4 teaspoon fine sea salt
- 1/2 cup semi-sweet chocolate chips (the classic kind that melt beautifully)
Equipment Needed
- Large mixing bowl (that well-loved ceramic one with the chips around the rim)
- Wooden spoon or sturdy spatula
- Measuring cups and spoons
- Baking sheet
- Parchment paper or well-seasoned baking sheet
- Cookie scoop or two spoons
- Wire cooling rack
Instructions
Preparing Your Dough with Love
Start by gathering all your ingredients on the counter, letting them come to room temperature like old friends settling in for a good visit. In that large mixing bowl that’s seen countless batches, combine the creamy peanut butter and packed brown sugar. Now here’s where the magic begins – stir with your wooden spoon until the mixture becomes smooth and the sugar crystals begin to dissolve into the peanut butter, creating a lovely caramel-colored paste. This should take about 2-3 minutes of good, honest stirring. You’ll know it’s ready when the mixture loses its graininess and becomes pliable. Crack in that room-temperature egg and add the vanilla extract, stirring until everything is beautifully incorporated. The vanilla scent will fill your kitchen with that warm, familiar aroma that says something wonderful is happening. Finally, sprinkle in the baking soda and salt, giving everything one last good mix until you have a cohesive, slightly sticky dough that promises delicious things to come.
Adding the Chocolate Goodness
Now for the piece de resistance – those chocolate chips that make these cookies truly special. Measure out your semi-sweet chocolate chips and gently fold them into the peanut butter dough using a folding motion with your spatula. You want to distribute them evenly without overworking the dough. Here’s a little tip from my grandmother’s notebook: if your dough seems too soft to handle, pop the whole bowl into the refrigerator for about 15 minutes. This will firm it up just enough to make scooping easier without changing the final texture. The cold rest allows the fats to firm up slightly, giving you more control when forming your cookies. Meanwhile, line your baking sheet with parchment paper or give your well-seasoned baking sheet a light coating of cooking spray. There’s something comforting about preparing your baking surface, knowing that soon it will be filled with golden-brown treasures ready for sharing.
Shaping with Careful Hands
Using a cookie scoop or two spoons, portion out tablespoon-sized mounds of dough onto your prepared baking sheet, spacing them about 2 inches apart to allow for spreading. Gently roll each portion between your palms to form smooth balls, but don’t press too firmly – we want to maintain that light, airy structure. If you find the dough sticking to your hands, here’s an old farm kitchen trick: lightly dampen your palms with water between shaping each cookie. This creates just enough barrier to prevent sticking without adding extra moisture to the dough. Place each formed ball onto the baking sheet, then use the tines of a fork to create that classic criss-cross pattern on top, pressing down just enough to flatten slightly. This not only gives them that traditional peanut butter cookie look but also helps them bake evenly throughout.
The Perfect Bake
Preheat your oven to 350°F and let it come fully to temperature – that steady heat is crucial for achieving that perfect texture. Once your oven signals it’s ready, slide in the baking sheet on the middle rack and set your timer for 10-12 minutes. Now, here’s the secret to that fudgy center: the cookies will look slightly underdone when you take them out. They should be golden around the edges but still soft in the middle, with those beautiful cracks across the top. Another pro tip: rotate your baking sheet halfway through baking if your oven has hot spots, ensuring even browning. Watch for that moment when the edges turn a light golden brown while the centers still appear slightly pale and puffed – that’s your cue that they’re perfectly baked. Remember, they’ll continue cooking on the hot baking sheet after removal.
Cooling with Patience
When your timer goes off and those beautiful cookies have reached that perfect golden-edged stage, remove the baking sheet from the oven and place it on a heat-safe surface. Let the cookies rest on the hot baking sheet for exactly 5 minutes – this allows them to set up properly without becoming too firm. During this time, they’ll finish cooking through residual heat while developing that wonderful chewy texture we’re after. After 5 minutes, carefully transfer the cookies to a wire cooling rack using a thin spatula. Here’s one last piece of grandmotherly wisdom: resist the temptation to sample them immediately! Let them cool completely on the rack, about 20-30 minutes, which allows the flavors to meld and the texture to perfect itself. That patience will be rewarded with cookies that have the ideal combination of crisp edges and fudgy centers.
Tips and Tricks
Over the years of making these family favorites, I’ve gathered quite a collection of little secrets that transform good cookies into unforgettable ones. First, when measuring your peanut butter, use the spoon-and-level method rather than scooping directly from the jar. This ensures you get exactly the right amount without packing it down too firmly, which can affect the texture. If you find your peanut butter has separated with oil on top, be sure to stir it thoroughly before measuring – that natural oil is part of what creates that marvelous melt-in-your-mouth quality. For the brown sugar, really pack it into the measuring cup firmly with the back of a spoon, then level it off. Those moist sugar clumps are pure gold for creating chewy cookies.
When it comes to the egg, room temperature is non-negotiable for proper emulsification. If you forget to take it out ahead of time, place the whole egg in a bowl of warm (not hot) water for about 10 minutes. This brings it to the perfect temperature without cooking it. The vanilla extract should be the real deal – that imitation stuff just doesn’t provide the same depth of flavor that enhances the peanut butter so beautifully. If you’re feeling fancy, you might even try making your own vanilla extract by steeping vanilla beans in vodka – it makes a wonderful gift for fellow bakers too!
Storage is another area where small choices make big differences. These cookies keep wonderfully in an airtight container at room temperature for up to 5 days, with a slice of bread placed in the container to maintain moisture. For longer storage, they freeze beautifully for up to 3 months – just layer them between parchment paper in a freezer-safe container. When baking multiple batches, always allow your baking sheet to cool completely between uses, or the residual heat will cause your next batch to spread too much. And don’t forget the power of presentation – these humble cookies become something special when arranged on one of Grandma’s vintage plates or wrapped in pretty parchment for gifting.
Recipe Variations
- For a delightful crunch throughout, replace the chocolate chips with an equal amount of chopped roasted peanuts or pecans. The nutty texture plays beautifully against the soft cookie base, creating almost a peanut butter brittle effect in every bite. You could even toast the nuts lightly in a dry skillet first to deepen their flavor before chopping and adding to the dough.
- Transform these into thumbprint cookies by omitting the chocolate chips and instead making an indentation in each dough ball before baking. After baking, fill the centers with your favorite fruit jam or preserves – raspberry or apricot create a wonderful sweet-tart contrast to the rich peanut butter flavor that will remind you of those fancy bakery cookies.
- Create a chocolate-dipped extravaganza by melting additional chocolate chips with a teaspoon of coconut oil, then dipping half of each cooled cookie into the chocolate. Let them set on parchment paper until the chocolate hardens, creating an elegant presentation that’s perfect for special occasions or holiday cookie trays that will have everyone asking for your secret.
- For those who love texture contrasts, roll the dough balls in coarse sugar before baking or press a few extra chocolate chips into the tops right after they come out of the oven. The sugar creates a delightful crunch with each bite, while the extra chocolate chips melted on top make them look professionally decorated with minimal effort.
- If you’re feeling adventurous, add a quarter teaspoon of cinnamon or a pinch of cayenne pepper to the dough for a subtle warmth that enhances the peanut flavor in unexpected ways. These spice additions create depth and complexity that will have your taste buds dancing with surprise and delight at how simple ingredients can transform into something extraordinary.
Frequently Asked Questions
Can I use natural peanut butter instead of regular?
While you certainly can use natural peanut butter, the results will be slightly different due to the variation in oil content and texture. Natural peanut butter tends to be more oily and less stabilized, which can cause your cookies to spread more during baking and potentially become greasy. If using natural peanut butter, I recommend stirring it very thoroughly first, then chilling the dough for at least 30 minutes before shaping and baking. You might also need to reduce the baking time by a minute or two since they’ll spread thinner. The flavor will still be wonderful, but the texture might be more delicate and crisp rather than soft and chewy like the original version.
Why did my cookies turn out flat and crispy?
Flat, crispy cookies usually result from a few common issues that are easily corrected in your next batch. The most likely culprit is your peanut butter – if it’s the no-stir kind with added stabilizers, it can affect how the cookies hold their shape. Also, check that your baking soda is fresh by testing it with a little vinegar – if it doesn’t bubble vigorously, it’s lost its leavening power. Another factor could be over-measuring the peanut butter or using a baking sheet that’s still warm from previous batches. Finally, make sure you’re not over-mixing the dough after adding the egg, as this can develop too much structure that then collapses during baking.
Can I make these cookies ahead of time?
Absolutely! These cookies are wonderful candidates for advance preparation, which makes them perfect for busy weeks or unexpected guests. The dough can be made up to 3 days in advance and stored covered in the refrigerator – just let it sit at room temperature for about 15 minutes before scooping and baking. You can also freeze the shaped dough balls on a baking sheet until solid, then transfer to a freezer bag for up to 3 months. When ready to bake, place the frozen dough balls on your baking sheet and add 1-2 minutes to the baking time. This method means you can have freshly baked cookies anytime the mood strikes without the full preparation process.
What’s the best way to store these cookies?
Proper storage is key to maintaining that perfect texture we work so hard to achieve. Once completely cooled, store the cookies in an airtight container at room temperature with a piece of bread tossed in to maintain moisture – the bread will become stale while the cookies stay soft and fresh. They’ll keep beautifully this way for about 5 days. For longer storage, freeze the baked cookies in a single layer in a freezer-safe container for up to 3 months. When ready to enjoy, let them thaw at room temperature or warm them briefly in a 300°F oven for 3-4 minutes to restore that fresh-baked quality and melt the chocolate chips just enough to feel like they came straight from the oven.
Can I double this recipe successfully?
Doubling this recipe works wonderfully, making it perfect for bake sales, holiday gifting, or simply stocking your cookie jar for the week ahead. When doubling, I recommend mixing the dough in two separate batches rather than trying to combine everything in one bowl, as this ensures even distribution of ingredients and prevents over-mixing. You’ll also want to bake one sheet at a time on the middle rack rather than trying to bake multiple sheets simultaneously, as this ensures even heat circulation and consistent results. The doubled recipe should yield about 24-28 cookies depending on your scoop size, and they freeze just as beautifully as the single batch for having homemade treats ready whenever you need them.
Summary
These peanut butter fudge cookies capture the simple joy of grandmother’s kitchen with their chewy texture, rich flavor, and humble ingredients. Perfect for beginners and beloved by experienced bakers, they create sweet memories in every batch while filling your home with that warm, comforting aroma of times gone by.
Grandma's Peanut Butter Fudge Cookies
6
servings15
minutes12
minutesIngredients
Instructions
- 1 Preheat oven to 350°F and line baking sheet with parchment paper
- 2 In large bowl, mix peanut butter and brown sugar until smooth
- 3 Add egg and vanilla, mix until fully incorporated
- 4 Stir in baking soda and salt, then fold in chocolate chips
- 5 Scoop tablespoon-sized balls, place on baking sheet 2 inches apart
- 6 Flatten slightly with fork in criss-cross pattern
- 7 Bake 10-12 minutes until edges are golden
- 8 Cool on baking sheet 5 minutes, then transfer to wire rack


