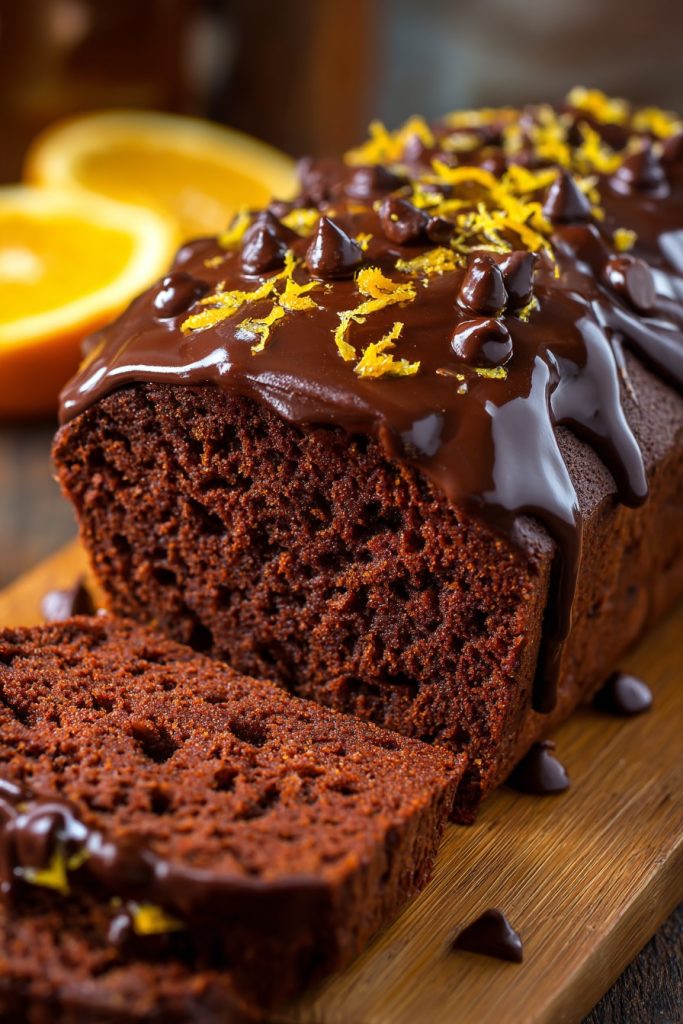
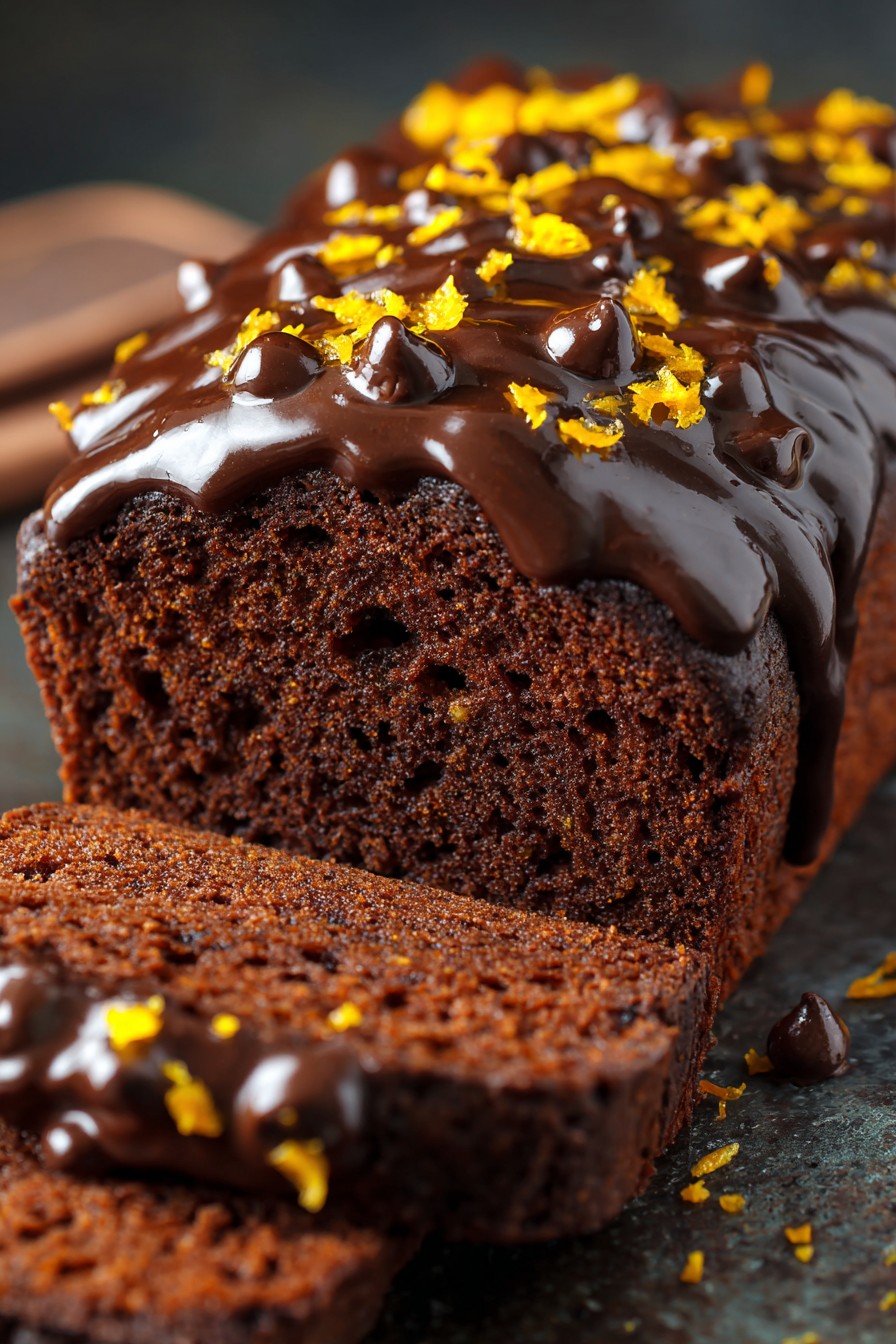
Unbelievably simple yet impressively delicious, this orange chocolate cake solves the eternal “what’s for dessert?” dilemma without requiring culinary expertise or hours in the kitchen. Using mostly pantry staples and minimal equipment, this recipe delivers maximum flavor with minimal effort, perfect for busy weeknights or last-minute gatherings when you need something special without the stress.
Why This Recipe Works
- One-bowl mixing means fewer dishes and faster cleanup, letting you spend more time with your family instead of scrubbing pots and pans after dinner
- Pantry-friendly ingredients ensure you can whip this up without special grocery trips, using items you likely already have on hand for spontaneous baking sessions
- The orange zest and juice provide natural moisture, eliminating the need for complicated syrup brushing or additional steps that would stretch your limited time
- Simple chocolate ganache requires just two ingredients and comes together in minutes, giving you that bakery-quality finish without the fuss or fancy techniques
- Forgiving baking temperature and timing accommodate oven variations and interruptions, so you can attend to kids’ needs without ruining the final result
Ingredients
- 2 cups all-purpose flour
- 1 3/4 cups granulated sugar
- 3/4 cup unsweetened cocoa powder
- 2 teaspoons baking soda
- 1 teaspoon baking powder
- 1 teaspoon salt
- 2 large eggs at room temperature
- 1 cup whole milk
- 1/2 cup vegetable oil
- 2 teaspoons vanilla extract
- 1 cup freshly squeezed orange juice
- Zest from 2 medium oranges
- 1 cup semi-sweet chocolate chips
- 1/2 cup heavy cream
Equipment Needed
- 9-inch round cake pan
- Large mixing bowl
- Whisk or electric mixer
- Measuring cups and spoons
- Zester or fine grater
- Juicer or reamer
- Cooling rack
- Small saucepan
- Rubber spatula
- Parchment paper
Instructions
Prepare Your Pan and Preheat Oven
Before anything else, turn your oven to 350°F and grab that 9-inch cake pan. Tear off a piece of parchment paper and trace the bottom of your pan with a pencil, then cut just inside the line so it fits perfectly without sticking up the sides. Lightly grease the pan with butter or cooking spray, press the parchment circle into the bottom, then give it another quick spray. This double protection system means your cake will release cleanly every single time, even if you’re distracted by homework help or toddler emergencies. While the oven heats up, measure out all your dry ingredients—this mise en place approach saves you from frantic searching mid-recipe when little hands need attention.
Combine Dry Ingredients Thoroughly
Take your large mixing bowl and add the 2 cups of all-purpose flour, 1 3/4 cups granulated sugar, 3/4 cup unsweetened cocoa powder, 2 teaspoons baking soda, 1 teaspoon baking powder, and 1 teaspoon salt. Use a whisk to combine these for a full minute—don’t just stir a few times and call it done. Proper incorporation ensures your leavening agents distribute evenly, preventing those dreaded sunken spots or tunneling in the finished cake. The whisking action also aerates the mixture slightly, contributing to a lighter texture. If you spot any cocoa lumps, break them up against the side of the bowl with your whisk. This thorough mixing now prevents overmixing later when we add wet ingredients, which is crucial for tender results.
Mix Wet Ingredients and Combine
In the same bowl with your dry ingredients, make a well in the center and crack in your 2 room-temperature eggs. Pour in 1 cup whole milk, 1/2 cup vegetable oil, 2 teaspoons vanilla extract, and 1 cup freshly squeezed orange juice. Using your whisk or electric mixer on medium speed, blend everything together for about 90 seconds until the batter is smooth and no dry streaks remain. The orange juice will react with the baking soda, creating tiny bubbles—that’s exactly what you want to see. Now zest your 2 oranges directly into the batter and fold gently with a spatula to distribute the bright citrus essence throughout. The batter will be thin, but that’s normal and contributes to the moist final texture.
Bake to Perfection
Pour the completed batter into your prepared pan and smooth the top with a spatula. Place it in the center of your preheated 350°F oven and set a timer for 35 minutes. Resist the temptation to open the oven door during the first 25 minutes—that rush of cold air can cause collapsing. At the 35-minute mark, insert a toothpick into the center; it should come out with a few moist crumbs attached, not completely clean. If needed, bake another 5-10 minutes until it passes the toothpick test. The cake should also pull away slightly from the pan edges and spring back when gently pressed. Total baking time typically ranges between 35-45 minutes depending on your oven’s true temperature.
Cool and Make Ganache
Once baked, transfer the pan to a cooling rack and let it rest for 15 minutes before running a knife around the edges and inverting it onto the rack. Peel off the parchment paper and allow it to cool completely—about 2 hours—before frosting. For the ganache, pour 1 cup of chocolate chips into a heatproof bowl. Heat 1/2 cup heavy cream in a small saucepan over medium heat until it just begins to simmer around the edges—you’ll see small bubbles forming but not a rolling boil. Immediately pour the hot cream over the chocolate chips, let it sit undisturbed for 2 minutes, then whisk slowly from the center outward until smooth and glossy. Let this cool and thicken for 20-30 minutes before spreading.
Frost and Serve
Place your completely cooled cake on a serving plate or cake stand. Pour the thickened ganache over the center and use an offset spatula or butter knife to gently push it toward the edges, allowing some to drip down the sides naturally—this rustic look hides imperfections beautifully. If the ganache has thickened too much, briefly microwave it in 10-second intervals until spreadable. Let the frosted cake set for at least 30 minutes before slicing. For clean cuts, dip your knife in hot water and wipe dry between slices. Serve at room temperature for optimal flavor and texture, storing any leftovers covered at room temperature for up to 3 days.
Tips and Tricks
For maximum orange flavor without bitterness, zest your oranges before juicing them—the essential oils in the zest carry the brightest citrus notes. When measuring flour, spoon it into your measuring cup and level with a knife rather than scooping directly from the bag, which can pack in up to 25% more flour and lead to dry results. If you don’t have fresh oranges, you can substitute 1 cup of store-bought orange juice plus 2 tablespoons of orange extract, though the fresh version provides superior flavor complexity. Room temperature ingredients truly matter here—if you forget to take your eggs out ahead of time, place them in a bowl of warm (not hot) water for 10 minutes to quickly bring them to temperature. For easier clean-up, rinse your mixing bowl and utensils immediately after pouring the batter into the pan while everything still washes off easily. If your cake develops a dome during baking, simply level it with a serrated knife before frosting for professional-looking layers. To prevent chocolate chips from seizing when making ganache, ensure your bowl and utensils are completely dry—even a drop of water can cause the chocolate to tighten up. For busy mornings, you can bake the cake the night before, wrap it tightly in plastic wrap once cooled, and frost it the next day—the flavor actually improves with overnight resting. If your ganache becomes too thick after cooling, you can thin it with a teaspoon of warm cream or corn syrup for better spreading consistency. Always use the middle oven rack for even baking and rotate your pan halfway through if your oven has hot spots—most home ovens do, so this simple step prevents lopsided results.
Recipe Variations
- For a decadent layered version, double the recipe and divide between two 9-inch pans, baking for 25-30 minutes until done. Once cooled, spread orange marmalade between the layers before frosting with chocolate ganache for an impressive dessert that looks far more complicated than it actually is.
- Transform this into cupcakes by lining a muffin tin with paper liners and filling each 2/3 full. Bake at 350°F for 18-22 minutes until a toothpick comes out clean—perfect for classroom parties or birthday celebrations where individual portions work better than slicing a whole cake.
- Create a gluten-free alternative by substituting the all-purpose flour with your favorite 1:1 gluten-free baking blend. The orange juice provides extra moisture that helps counter the sometimes-dry texture of gluten-free baked goods, making this adaptation particularly successful.
- For an adult twist, add 2 tablespoons of Grand Marnier or Cointreau to the batter along with the orange juice, reducing the juice amount slightly to compensate. The alcohol bakes out but leaves behind a sophisticated flavor profile perfect for dinner parties.
- Make it dairy-free by replacing the milk with almond or oat milk and using coconut cream instead of heavy cream for the ganache. The chocolate flavor pairs beautifully with coconut, creating a tropical variation that accommodates dietary restrictions without sacrificing taste.
Frequently Asked Questions
Can I make this cake ahead of time?
Absolutely—this cake actually improves when made a day ahead. Bake and cool completely, then wrap tightly in plastic wrap and store at room temperature overnight. The flavors meld and the texture becomes even more moist. You can frost it up to two days before serving, though for best presentation I recommend frosting the day you plan to serve. The ganache will set firm but remain sliceable, and the cake maintains its freshness beautifully. This make-ahead flexibility makes it perfect for busy schedules when you need to prep desserts around work, school, and activity commitments.
What if I don’t have fresh oranges?
While fresh oranges provide the best flavor, you can successfully substitute with 1 cup of high-quality store-bought orange juice (not from concentrate if possible) plus 2 tablespoons of orange extract. The extract compensates for the missing zest’s essential oils. Alternatively, 3/4 cup orange juice concentrate thawed with 1/4 cup water works well in a pinch. The cake might be slightly less bright but still delicious. In emergency situations, you could even use 1 cup of orange soda—the citrus flavor and carbonation both contribute to the final product, though the texture may be slightly different.
How do I know when the cake is properly baked?
Use multiple indicators rather than relying on timing alone. The toothpick test is most reliable—insert it into the center and it should come out with a few moist crumbs attached, not completely clean or with wet batter. The cake should also pull away slightly from the pan edges, and the surface should spring back when gently pressed with your finger. If you see significant doming or cracking, it’s likely overbaked. An instant-read thermometer inserted into the center should read between 200-210°F for perfect doneness. Remember that residual heat continues cooking the cake slightly after removal from the oven.
Can I freeze this cake for later?
Yes, this cake freezes exceptionally well. Cool completely, then wrap tightly in plastic wrap followed by aluminum foil to prevent freezer burn. It will keep for up to 3 months in the freezer. Thaw overnight in the refrigerator, then bring to room temperature before serving. You can also freeze individual slices for quick desserts—perfect for those nights when just one or two people want something sweet. The ganache can be frozen separately if needed, though I recommend making it fresh when thawing the cake for the best texture and shine.
What’s the best way to store leftovers?
Store any leftover cake covered at room temperature for up to 3 days—the sugar and cocoa act as natural preservatives. If your kitchen is particularly warm or humid, refrigeration is better, though it may cause the cake to dry out slightly. Bring refrigerated slices to room temperature before serving for optimal texture. For longer storage, freezing is your best option. Avoid plastic containers that can cause condensation, instead using a cake keeper or loosely tenting with foil. The ganache may develop a slight bloom if refrigerated, but this doesn’t affect flavor or safety.
Summary
This orange chocolate cake delivers impressive flavor with minimal effort, using simple ingredients and one-bowl mixing to fit seamlessly into busy family life. The bright citrus perfectly complements rich chocolate, creating a dessert that feels special without complicated techniques or excessive cleanup time.
Orange Chocolate Cake
4
servings20
minutes40
minutesIngredients
Instructions
- 1 Preheat oven to 350°F. Line 9-inch round cake pan with parchment and grease.
- 2 Whisk flour, sugar, cocoa, baking soda, baking powder, and salt in large bowl.
- 3 Add eggs, milk, oil, vanilla, and orange juice. Mix until smooth.
- 4 Fold in orange zest. Pour into prepared pan.
- 5 Bake 35-45 minutes until toothpick inserted comes out with moist crumbs.
- 6 Cool completely. Heat cream until simmering, pour over chocolate chips, let sit 2 minutes, then whisk until smooth. Spread over cooled cake.