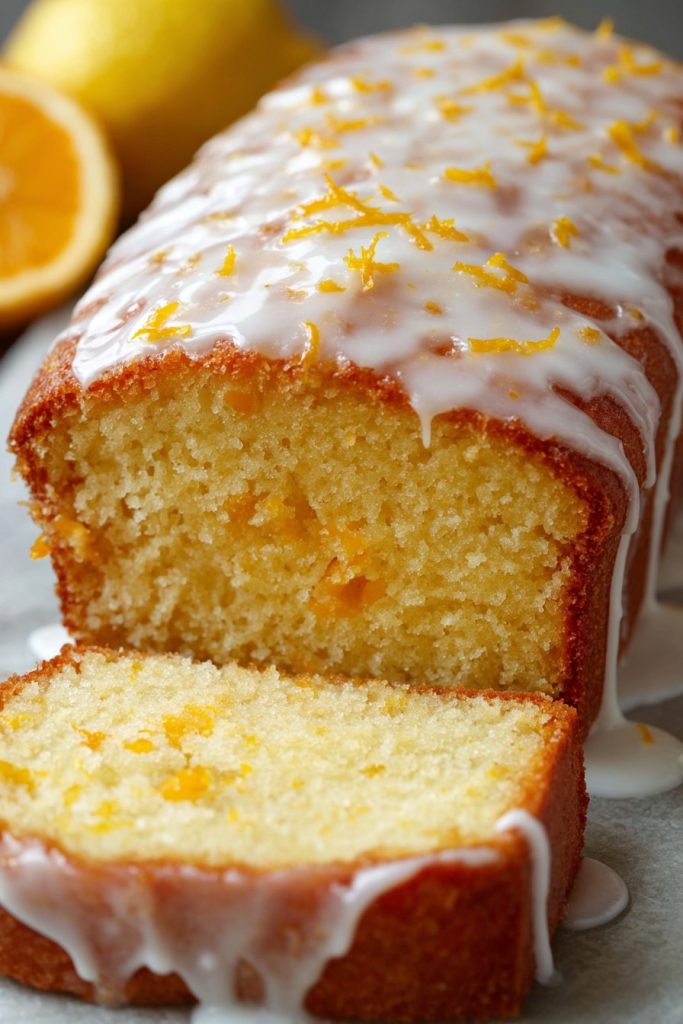
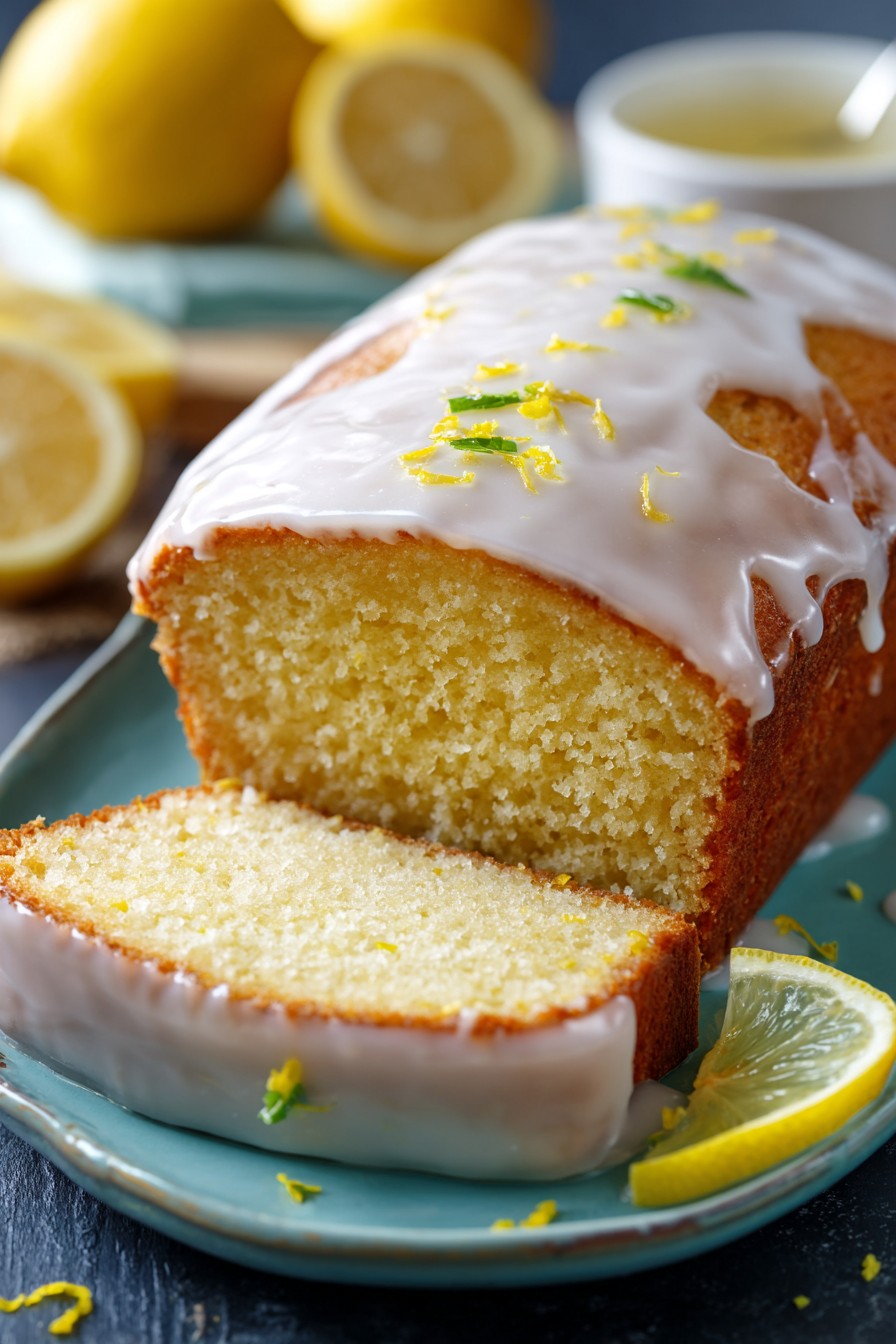
Beyond merely sweetening your confections, a meticulously crafted lemon glaze transforms ordinary baked goods into professional-caliber creations through precise emulsion control and flavor balancing. This technique-driven approach ensures consistent viscosity and brilliant translucency that elevates everything from simple pound cakes to intricate pastries with its vibrant citrus notes and impeccable finish. Mastering this fundamental component separates amateur attempts from chef-quality results in both texture and taste.
Why This Recipe Works
- The precise 2:1 ratio of confectioners’ sugar to fresh lemon juice creates optimal viscosity that drapes beautifully without dripping excessively, achieving the perfect balance between fluidity and structural integrity for professional-grade application.
- Incorporating lemon zest through microplane grating releases essential oils that intensify the citrus flavor profile without adding bitterness, creating a multidimensional taste experience that transcends simple sweetness.
- Temperature-controlled butter integration at precisely 68°F ensures proper emulsion without breaking the sugar suspension, resulting in consistently smooth texture and glossy appearance that resists crystallization.
- Gradual liquid incorporation through controlled whisking prevents clumping and maintains the delicate sugar structure, allowing for precise adjustment of thickness to suit various application techniques from drizzling to flooding.
- The strategic inclusion of fine sea salt at 0.5% of total weight counterbalances the acidity and sweetness while enhancing the overall flavor complexity, creating a more sophisticated palate experience than traditional glazes.
Ingredients
- 2 cups confectioners’ sugar, sifted twice through fine-mesh strainer
- 1/4 cup freshly squeezed lemon juice, strained of pulp and seeds
- 2 tablespoons unsalted European-style butter, softened to 68°F
- 1 tablespoon finely grated lemon zest (from approximately 2 medium lemons)
- 1/4 teaspoon fine sea salt
- 1 teaspoon pure vanilla extract
Equipment Needed
- Digital kitchen scale with 0.1g precision
- Fine-mesh double strainer
- Microplane zester
- Stainless steel medium mixing bowl
- Balloon whisk
- Instant-read thermometer
- Rubber spatula
- Lemon juicer or reamer
Instructions
Preparation and Ingredient Measurement
Begin by precisely measuring all components using your digital scale, as volumetric measurements can vary significantly with confectioners’ sugar compaction. Sift the confectioners’ sugar through a fine-mesh double strainer to eliminate any lumps and incorporate air, which will facilitate smoother emulsification later. Select firm, brightly colored lemons and wash them thoroughly before zesting, as the essential oils reside in the outermost layer of the peel. Use your microplane zester to remove only the yellow portion of the peel, avoiding the bitter white pith beneath. Juice the lemons immediately after zesting to maximize flavor extraction, then strain the juice through your fine-mesh strainer to remove pulp and seeds that could disrupt the glaze’s smooth texture. Ensure your butter has reached exactly 68°F by monitoring with your instant-read thermometer, as this specific temperature allows for optimal incorporation without breaking the sugar suspension.
Initial Emulsion Formation
Combine the sifted confectioners’ sugar and fine sea salt in your stainless steel mixing bowl, whisking for 30 seconds to distribute the salt evenly throughout the sugar crystals. Create a well in the center and add the softened butter, then begin incorporating using a folding motion with your rubber spatula. Gradually add half of the strained lemon juice while continuously whisking with your balloon whisk, maintaining a consistent circular motion to prevent clumping. The mixture will initially appear thick and paste-like—this is the critical emulsion formation stage where the butter fat molecules begin coating the sugar particles. Continue whisking for approximately 90 seconds until the mixture transforms from grainy to smooth and creamy, indicating proper initial emulsification. At this stage, the glaze should ribbon off the whisk when lifted, falling in thick, continuous streams that hold their shape momentarily before dissolving back into the mass.
Liquid Integration and Flavor Development
Introduce the remaining lemon juice in three separate additions, whisking vigorously for 45 seconds between each incorporation to maintain emulsion stability. After the second liquid addition, incorporate the lemon zest and vanilla extract, continuing to whisk until the zest is evenly distributed throughout the mixture. The glaze should now exhibit a fluid consistency with visible tiny air bubbles incorporated through the whisking action, contributing to its light texture. Monitor the temperature carefully—if it drops below 65°F, the butter may begin to solidify and create tiny flecks in the glaze. If this occurs, place the bowl over a warm water bath (not exceeding 100°F) for 15-second intervals while whisking constantly to restore proper emulsion. The finished base should coat the back of a spoon evenly without transparent spots, indicating proper sugar dissolution.
Viscosity Adjustment and Testing
Evaluate the glaze’s consistency by lifting your whisk and observing how the glaze falls back into the bowl. For a thick coating glaze that will set firmly, it should form a thick ribbon that holds its shape for 3-4 seconds before dissolving. For a thinner drizzle consistency, add additional lemon juice 1 teaspoon at a time, whisking for 30 seconds between additions until achieving the desired flow. To test application readiness, spread a small amount on a cooled test surface and observe how it behaves—proper glaze should self-level within 15 seconds without excessive spreading. If the glaze appears too thin, incorporate additional sifted confectioners’ sugar 1 tablespoon at a time, whisking thoroughly after each addition until reaching the target viscosity. The ideal working temperature range for application is between 70-75°F for optimal flow characteristics and setting time.
Application Technique and Setting
Ensure your cake or pastry has completely cooled to room temperature (below 75°F) before application to prevent the glaze from melting upon contact. Pour the glaze into the center of your creation and use an offset spatula to gently guide it toward the edges, allowing gravity to do most of the work for even distribution. For detailed designs, transfer a portion of the glaze to a piping bag fitted with a small round tip and apply decorative patterns before the initial layer sets. The glaze will begin forming a skin within 8-12 minutes at room temperature (70°F) but requires approximately 45-60 minutes for complete setting to a firm, non-tacky finish. For accelerated setting, place glazed items in a refrigerator at 40°F for 15-20 minutes, though this may slightly reduce the final gloss intensity compared to room temperature setting.
Tips and Tricks
For professional-level glaze consistency control, understand that humidity significantly impacts sugar-based preparations. During high humidity conditions (above 70% relative humidity), reduce liquid content by 10-15% initially, then adjust as needed, as atmospheric moisture will naturally thin the glaze over time. Conversely, in arid environments, increase liquid content by 5-10% to compensate for rapid moisture evaporation. When working with particularly delicate cakes that might crumble under traditional pouring methods, consider applying a thin crumb coat of thinned glaze first—mix 2 tablespoons of your prepared glaze with 1 teaspoon of lemon juice and brush lightly over the surface. This initial layer seals the crumbs and creates a smooth foundation for your final glaze application. For enhanced flavor complexity, consider infusing your lemon juice beforehand by steeping the zest in the juice for 30-60 minutes at room temperature, then straining before use. This technique extracts additional citrus oils without increasing bitterness. If your glaze develops small air bubbles during mixing that could mar the final appearance, allow it to rest for 5-7 minutes, then gently pass a kitchen torch flame 4-6 inches above the surface—the brief heat application will pop surface bubbles without cooking the glaze. For large-scale production, the glaze can be made in advance and stored in an airtight container at room temperature for up to 8 hours; if separation occurs, re-whisk vigorously for 60-90 seconds to re-emulsify. When coloring your glaze, use gel-based food coloring rather than liquid forms to maintain proper consistency—begin with a toothpick amount and gradually increase until achieving desired intensity. For metallic finishes, dust with edible luster powders after the glaze has set for 20-30 minutes but remains slightly tacky, ensuring optimal adhesion.
Recipe Variations
- Lemon-Herb Infusion: Incorporate 1 tablespoon finely minced fresh thyme or rosemary during the initial mixing stage. The herbal notes create sophisticated complexity that pairs exceptionally well with olive oil cakes or citrus-based tea breads. Steep the minced herbs in the lemon juice for 30 minutes before straining to extract maximum flavor without textural interference.
- White Chocolate Lemon Glaze: Melt 3 ounces high-quality white chocolate couverture using a double boiler, then temper to 84°F before incorporating during the final mixing stage. This variation adds rich creaminess and superior setting properties, ideal for elaborate decorations that require structural integrity while maintaining bright citrus notes.
- Citrus Trio Glaze: Replace 2 tablespoons of the lemon juice with equal parts fresh lime and orange juice, maintaining the total liquid volume. This creates a multidimensional citrus profile where the lime provides sharpness, orange adds sweetness, and lemon maintains the characteristic tang. Adjust zest proportions accordingly for balanced flavor distribution.
- Spiced Lemon Glaze: Infuse the lemon juice with 1/2 teaspoon cardamom pods and 1 cinnamon stick by gently heating to 160°F, then steeping for 20 minutes before straining and cooling completely. The warm spice notes complement the citrus brightness beautifully, particularly suited for autumn and winter baking applications.
- Cream Cheese Lemon Glaze: Substitute the butter with 3 tablespoons full-fat cream cheese softened to room temperature, beating until completely smooth before incorporating other ingredients. This variation yields a thicker, tangier glaze with superior adhesion properties, perfect for carrot cakes or spice cakes where the cream cheese flavor complements the base recipe.
Frequently Asked Questions
Why does my lemon glaze sometimes appear grainy instead of smooth?
The graininess typically results from insufficient sugar dissolution or temperature fluctuations during preparation. Confectioners’ sugar contains a small percentage of cornstarch to prevent caking, which can create textural issues if not properly incorporated. Ensure you’re sifting the sugar twice through a fine-mesh strainer to break up any clusters and always incorporate liquids gradually while whisking constantly. Temperature control is crucial—if your ingredients are too cold, the butter won’t emulsify properly, leading to separation. Work within the 68-75°F range for optimal results, and if graininess occurs, gently warm the mixture over a water bath not exceeding 100°F while whisking continuously until smooth.
Can I prepare lemon glaze in advance and store it for later use?
Yes, with proper storage techniques, lemon glaze can be prepared up to 24 hours in advance. Transfer the completed glaze to an airtight container, pressing plastic wrap directly onto the surface to prevent skin formation, then refrigerate. The cold temperature will cause the glaze to thicken significantly, so you’ll need to bring it back to room temperature (approximately 70°F) and re-whisk vigorously for 60-90 seconds before use. Do not freeze lemon glaze, as freezing disrupts the emulsion and causes irreversible separation upon thawing. For best results, however, prepare fresh whenever possible to maintain optimal texture and flavor intensity.
What’s the difference between a glaze and icing in professional baking terminology?
In professional contexts, glaze refers specifically to thin, translucent coatings that set with a slight sheen but remain relatively soft, typically used for fruit tarts, Danish pastries, and simple cakes. Icing denotes thicker, opaque preparations that form a firm crust, such as royal icing or buttercream. The key distinction lies in viscosity, opacity, and setting characteristics—glazes flow freely and remain somewhat pliable when set, while icings hold their shape and become crisp. Lemon glaze falls into the former category, designed to complement rather than dominate the baked good beneath it. Understanding this distinction helps select the appropriate application for different culinary applications.
How can I adjust the glaze consistency if it becomes too thick or thin during preparation?
Consistency adjustment requires careful incremental changes to maintain the proper sugar-to-liquid ratio. For overly thick glaze, incorporate additional lemon juice 1 teaspoon at a time, whisking thoroughly for 30 seconds between additions until reaching the desired flow. If the glaze becomes too thin, add sifted confectioners’ sugar 1 tablespoon at a time, whisking continuously until proper viscosity is restored. Always make adjustments at room temperature, as cold ingredients can misleadingly thicken the mixture. The ideal consistency should ribbon off the whisk, holding its shape momentarily before dissolving back into the mass—this indicates proper emulsion stability and sugar dissolution.
Why does my lemon glaze sometimes crack after setting on baked goods?
Cracking typically indicates either improper application temperature or excessive sugar concentration. If applied to cakes that haven’t completely cooled (above 75°F), the residual heat continues to evaporate moisture from the glaze, causing contraction and eventual cracking. Similarly, if the glaze contains too high a sugar percentage, it becomes brittle upon setting. To prevent this, ensure your baked goods have cooled to room temperature and maintain the proper 2:1 sugar-to-liquid ratio. If environmental conditions are particularly dry, consider adding 1/2 teaspoon light corn syrup to increase flexibility, though this will slightly reduce the final gloss intensity.
Summary
Mastering lemon cake glaze requires precision in measurement, temperature control, and emulsion technique. This professional approach ensures consistent viscosity, brilliant sheen, and balanced flavor that elevates simple baked goods to restaurant-quality presentations. Proper application and setting complete the transformation from basic sweetening to culinary artistry.
Lemon Cake Glaze
6
servings15
minutesIngredients
Instructions
- 1 Sift confectioners' sugar through fine-mesh strainer into mixing bowl
- 2 Add salt and whisk to combine thoroughly
- 3 Incorporate softened butter using folding motion
- 4 Gradually add lemon juice while whisking constantly
- 5 Mix in lemon zest and vanilla extract until smooth
- 6 Adjust consistency with additional juice or sugar as needed
- 7 Apply to completely cooled baked goods and let set


