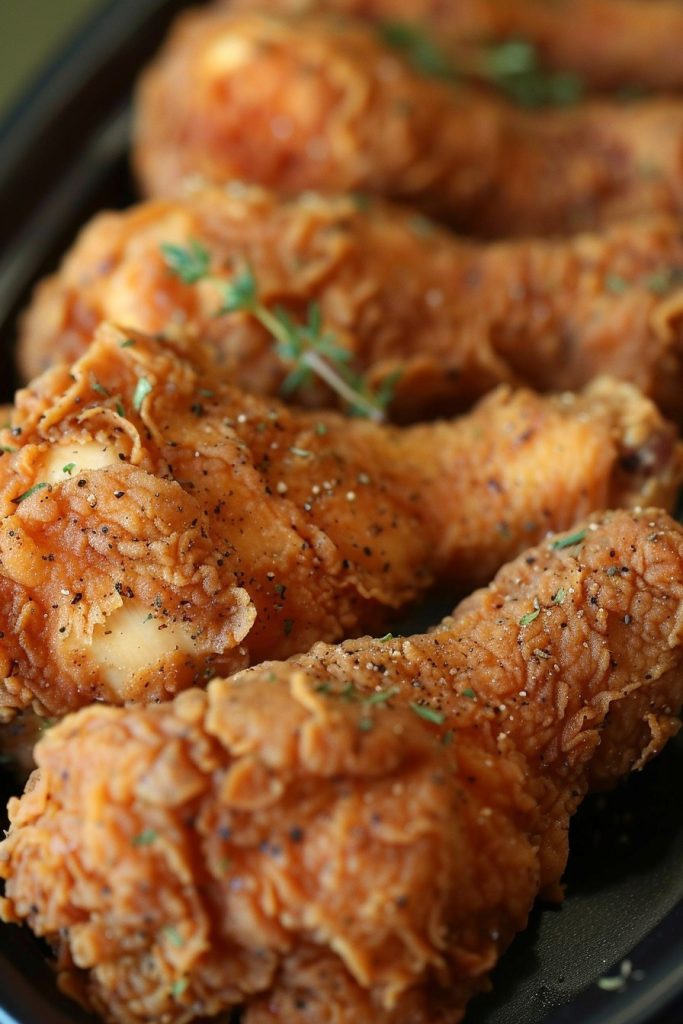
Prepare to embark on a culinary journey to the heart of the South with this homemade Kentucky Fried Chicken recipe. Perfectly crispy on the outside, tender and juicy on the inside, this dish is sure to become a family favorite.
Why This Recipe Works
- The secret blend of herbs and spices gives the chicken its signature flavor.
- Double-dipping in the flour mixture ensures an extra crispy coating.
- Frying at the right temperature guarantees juicy meat with no greasy aftertaste.
- Letting the chicken rest after frying keeps it moist and flavorful.
Ingredients
- 1 whole chicken, cut into 8 pieces
- 2 cups all-purpose flour
- 1 tbsp salt
- 1 tbsp black pepper
- 1 tbsp paprika
- 1 tsp garlic powder
- 1 tsp onion powder
- 1/2 tsp dried thyme
- 1/2 tsp dried basil
- 1/2 tsp dried oregano
- 1 egg
- 1 cup buttermilk
- Vegetable oil, for frying
Equipment Needed
- Deep fryer or large heavy-bottomed pot
- Meat thermometer
- Large mixing bowls
- Whisk
- Tongs
- Paper towels
Instructions
Step 1: Prepare the Chicken
Start by rinsing the chicken pieces under cold water and patting them dry with paper towels. This ensures the coating sticks better. In a large bowl, whisk together the buttermilk and egg. Add the chicken pieces, making sure each piece is fully coated. Cover and refrigerate for at least 4 hours, or overnight for best results.
Step 2: Mix the Dry Ingredients
In another large bowl, combine the flour, salt, black pepper, paprika, garlic powder, onion powder, thyme, basil, and oregano. Mix well to ensure all the spices are evenly distributed throughout the flour.
Step 3: Coat the Chicken
Remove the chicken from the buttermilk mixture, letting any excess drip off. Dredge each piece in the flour mixture, pressing firmly to adhere. For extra crispiness, dip the chicken back into the buttermilk mixture and then into the flour mixture a second time.
Step 4: Fry the Chicken
Heat the vegetable oil in a deep fryer or large pot to 350°F. Carefully add the chicken pieces, a few at a time, to avoid overcrowding. Fry for about 15-18 minutes, turning occasionally, until the chicken is golden brown and the internal temperature reaches 165°F.
Step 5: Rest and Serve
Transfer the fried chicken to a wire rack or paper towels to drain any excess oil. Let it rest for at least 5 minutes before serving to allow the juices to redistribute. Serve hot and enjoy the crispy, juicy goodness!
Tips and Tricks
For the crispiest chicken, ensure your oil is at the correct temperature before adding the chicken. Too hot, and the outside will burn before the inside cooks; too cool, and the chicken will absorb too much oil. Using a meat thermometer is the best way to check the oil’s temperature. Additionally, letting the chicken rest after frying not only keeps it juicy but also makes it safer to handle. Experiment with the spice blend to suit your taste preferences, and don’t skip the buttermilk soak—it’s key to tender meat.
Recipe Variations
- Spicy Version: Add cayenne pepper or hot sauce to the buttermilk mixture for a kick.
- Herb-Infused: Incorporate fresh herbs like rosemary or sage into the flour mixture for an aromatic twist.
- Gluten-Free: Substitute the all-purpose flour with a gluten-free blend to cater to dietary restrictions.
- Oven-Baked: For a healthier option, bake the chicken at 400°F for about 45 minutes, turning halfway through.
Frequently Asked Questions
Can I use boneless chicken for this recipe?
Absolutely! Boneless chicken breasts or thighs work well, though the cooking time may vary. Adjust accordingly to ensure they’re fully cooked without drying out.
How do I store leftovers?
Store any leftover chicken in an airtight container in the refrigerator for up to 3 days. Reheat in the oven to maintain crispiness.
Can I make this recipe without buttermilk?
Yes, you can substitute buttermilk with a mixture of milk and lemon juice or vinegar. Let it sit for a few minutes before using to mimic buttermilk’s acidity.
Summary
This Kentucky Fried Chicken recipe delivers all the crispy, juicy, and flavorful goodness you crave, right in your own kitchen. With a few simple steps and some patience, you can recreate this Southern classic at home.
Kentucky Fried Chicken
5
servings4
minutes18
minutesIngredients
Instructions
- 1 Prepare the chicken by rinsing and patting dry, then soak in buttermilk mixture.
- 2 Mix dry ingredients in a separate bowl.
- 3 Coat chicken in flour mixture, double-dip for extra crispiness.
- 4 Fry in oil at 350°F until golden brown and cooked through.
- 5 Let rest before serving.


