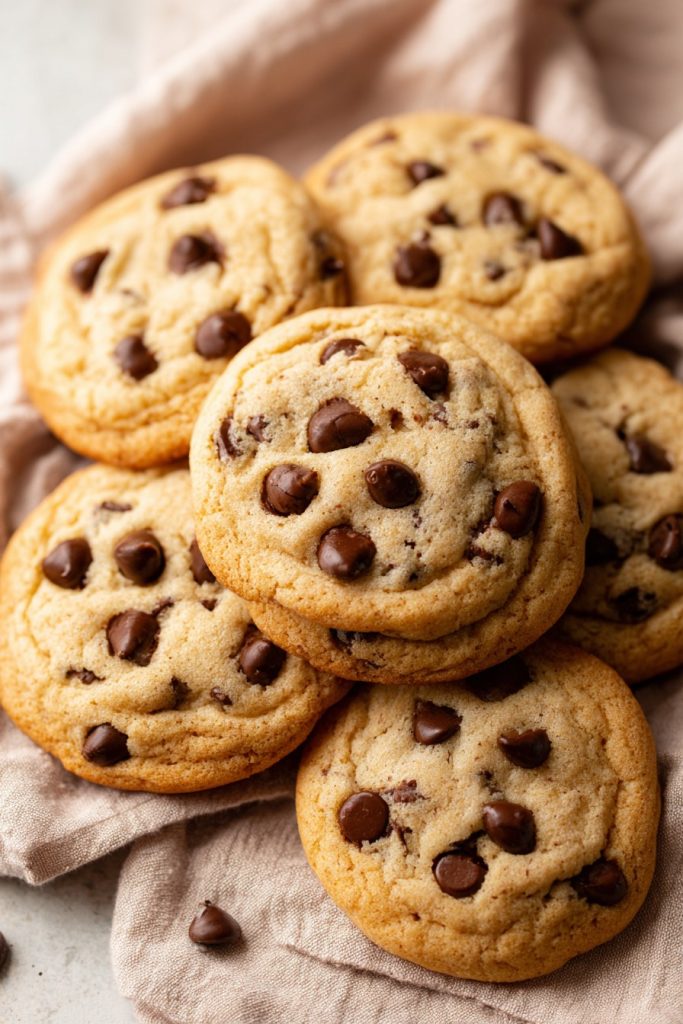
Unbelievably delicious cookies that prove butter isn’t the boss of baked goods! Unleash your inner cookie rebel with these dairy-free delights that’ll have you questioning everything you thought you knew about what makes a cookie crumble in all the right ways.
Why This Recipe Works
- Avocado oil brings the rich mouthfeel butter usually provides while keeping things plant-based and heart-healthy – it’s like giving your cookies a spa day instead of a grease bath
- Brown sugar and maple syrup create a complex sweetness that caramelizes beautifully, giving you those crispy edges and chewy centers that cookie dreams are made of
- The combination of baking soda and powder gives these cookies the perfect lift without any eggy aftertaste – they rise to the occasion like overachieving pastry students
- Vanilla and salt work their magic to enhance all the other flavors, proving that sometimes the supporting cast deserves a standing ovation too
- Chilling the dough prevents cookie spread-apocalypse and allows flavors to mingle like well-behaved party guests before the main event
Ingredients
- 2 ¼ cups all-purpose flour (the reliable workhorse of baking)
- 1 teaspoon baking soda (your cookie’s personal trainer)
- ½ teaspoon baking powder (the backup dancer to baking soda)
- 1 teaspoon salt (the flavor enhancer that makes everything pop)
- ¾ cup avocado oil (butter’s cool, healthy cousin)
- 1 cup packed brown sugar (for that deep, molasses-kissed sweetness)
- ½ cup granulated sugar (the straightforward sweet talker)
- 2 large eggs (the binding agents that keep this cookie family together)
- 2 teaspoons vanilla extract (liquid happiness in a bottle)
- 2 tablespoons maple syrup (nature’s sticky sweet embrace)
- 2 cups chocolate chips (because let’s be real, these are the real stars)
Equipment Needed
- Large mixing bowls (one for dry ingredients, one for wet – they’re like divorced parents who need separate homes)
- Electric mixer or sturdy whisk (your arm’s best friend or worst enemy)
- Measuring cups and spoons (because baking is science, not abstract art)
- Baking sheets (the stage where cookie magic happens)
- Parchment paper or silicone baking mats (the non-stick superheroes)
- Cookie scoop or tablespoon (for perfectly portioned cookie happiness)
- Wire cooling rack (where cookies go to achieve crispy nirvana)
Instructions
Mix Your Dry Ingredients Like a Pro
Grab your trusty mixing bowl and whisk together 2 ¼ cups of all-purpose flour, 1 teaspoon of baking soda, ½ teaspoon of baking powder, and 1 teaspoon of salt. Think of this as introducing your dry ingredients at a sophisticated party – they need to mingle properly before meeting the wet ingredients. Whisk until they’re so well combined they could finish each other’s sentences. This isn’t just busy work; properly aerated dry ingredients mean your cookies will have that perfect texture rather than turning into hockey pucks. Tip: If you’re feeling extra fancy, you can sift these ingredients together, but vigorous whisking works just fine for us mere mortals who don’t want to wash extra equipment.
Create Your Wet Ingredient Symphony
Combine Forces and Add the Chocolate
Slowly add your dry ingredients to your wet ingredients, mixing on low speed until just combined. We’re looking for “barely mixed” not “overworked dough that’s seen things.” Stop mixing when you no longer see flour patches – a few stragglers are fine, they’ll get sorted out. Now comes the best part: fold in 2 cups of chocolate chips with a spatula. Be gentle but thorough – you want every cookie to have its fair share of chocolatey goodness. The dough will be slightly softer than traditional butter-based dough, but that’s normal – it’s just the avocado oil being its lovely, liquid self at room temperature.
Chill Out for Cookie Perfection
Cover your bowl with plastic wrap and refrigerate for at least 2 hours, though overnight is even better if you can resist the temptation. This chilling period isn’t just busywork – it allows the flour to fully hydrate and the flavors to develop while preventing your cookies from spreading into one giant cookie puddle on the baking sheet. The cold dough also creates those beautifully craggy tops and chewy centers we all dream about. When you peek at your dough after chilling, it should be firm enough that you can scoop it without it sticking to everything like overcooked spaghetti.
Bake to Golden Brown Glory
Preheat your oven to 375°F and line your baking sheets with parchment paper. Using a cookie scoop or tablespoon, portion your dough into 2-tablespoon sized balls and place them about 2 inches apart on your prepared sheets. Bake for 9-11 minutes, rotating your sheets halfway through. You’re looking for golden brown edges while the centers still look slightly underdone – they’ll continue cooking on the hot baking sheet. Tip: For extra professional-looking cookies, press a few additional chocolate chips into the tops right when they come out of the oven.
The Cooling Ritual
Remove your cookies from the oven and let them cool on the baking sheet for exactly 5 minutes before transferring to a wire rack. This waiting period is crucial – it allows the cookies to set properly so they don’t fall apart when you move them. The centers will finish cooking from residual heat, giving you that perfect chewy texture. Resist the urge to eat them immediately unless you enjoy molten chocolate burning your tongue – though honestly, sometimes that’s a risk worth taking for cookie greatness.
Tips and Tricks
If you thought we’d covered all the cookie wisdom in the instructions, think again! Here’s the advanced class in butter-free baking mastery. First, let’s talk avocado oil alternatives: if you can’t find it or just want to experiment, coconut oil works beautifully but will give a slight coconut flavor (which pairs wonderfully with dark chocolate chips, by the way). Canola or vegetable oil can substitute in a pinch, but they lack the richness that makes avocado oil so special. For measuring oil accurately, use liquid measuring cups and check at eye level – baking is science, and precision matters more than your third-grade teacher’s ruler obsession.
Now, about that chilling time: if you’re in a hurry, you can pop the dough in the freezer for 30-45 minutes instead of refrigerating for hours. The key is getting that dough cold enough to prevent spreading. Speaking of spreading, if your cookies are still spreading too much, try adding an extra 2 tablespoons of flour to your dough – different brands and environmental humidity can affect flour absorption. For picture-perfect cookies every time, use a cookie scoop for uniform sizing – this ensures they all bake at the same rate rather than some being done while others are still doughy in the middle.
Storage is another area where these cookies shine. They keep beautifully in an airtight container at room temperature for up to 5 days, or you can freeze the baked cookies for up to 3 months. Even better? You can freeze the dough balls and bake them straight from frozen – just add 1-2 minutes to the baking time. This means you’re always 12 minutes away from fresh cookies, which is both dangerous and wonderful. For the ultimate cookie experience, warm them in the microwave for 10 seconds before serving – it’s like giving them a second chance at being freshly baked.
Recipe Variations
- Chocolate Lover’s Overload: Replace ¼ cup of flour with cocoa powder and use dark chocolate chunks instead of chips for an intense chocolate experience that’ll make your taste buds write thank-you notes
- Nutty Professor: Add 1 cup of chopped walnuts, pecans, or almonds to the dough for crunch and sophistication – because sometimes cookies need to feel fancy too
- Fruity Fiesta: Swap chocolate chips for dried cranberries, cherries, or raisins and add orange zest for a bright, tangy twist that’ll make your mouth do a happy dance
- Spice is Nice: Add 1 teaspoon of cinnamon, ½ teaspoon of nutmeg, and replace chocolate chips with white chocolate for a snickerdoodle-esque experience without the butter
- Salty Sweet Symphony: Use salted roasted peanuts and peanut butter chips instead of chocolate chips, then sprinkle with flaky sea salt before baking for that perfect sweet-salty balance
Frequently Asked Questions
Can I make these cookies vegan?
Absolutely! To veganize these butter-free beauties, replace the eggs with flax eggs (2 tablespoons ground flaxseed mixed with 6 tablespoons water, let sit for 5 minutes) and use vegan chocolate chips. The texture will be slightly denser but still delicious – think fudgy rather than cakey. Just make sure your sugar is vegan too (some refined sugars use bone char in processing), and you’ll have cookies that even your plant-based friends will fight over. The baking time might need adjustment, so keep an eye on your first batch and adjust accordingly.
Why did my cookies spread too much?
Cookie spread-apocalypse usually happens for three reasons: your dough wasn’t chilled enough, your oven temperature is off, or you used too much oil. Make sure you chill for at least 2 hours, use an oven thermometer to verify your oven’s accuracy, and measure your oil carefully using liquid measuring cups. If you’re still having issues, try adding 2-3 extra tablespoons of flour to absorb excess moisture. Remember, baking is like dating – sometimes you need to adjust your approach based on the conditions you’re working with.
Can I use different types of oil?
You can experiment with oils, but choose wisely! Coconut oil works well but adds flavor, while canola or vegetable oil are neutral options. Avoid olive oil unless you want cookies that taste like salad dressing – trust me on this one. Each oil has different properties, so your cookies might spread more or less depending on your choice. Avocado oil remains the champion for its neutral flavor and health benefits, but feel free to play mad scientist once you’ve mastered the original recipe.
How do I store these cookies?
Store your cooled cookies in an airtight container at room temperature for up to 5 days. If they start to lose their crispness, you can refresh them in a 300°F oven for 3-5 minutes. For longer storage, freeze baked cookies for up to 3 months or freeze dough balls and bake as needed. Pro tip: place parchment paper between layers of cookies to prevent them from sticking together – nobody wants to perform cookie surgery to separate them.
Can I double this recipe?
Summary
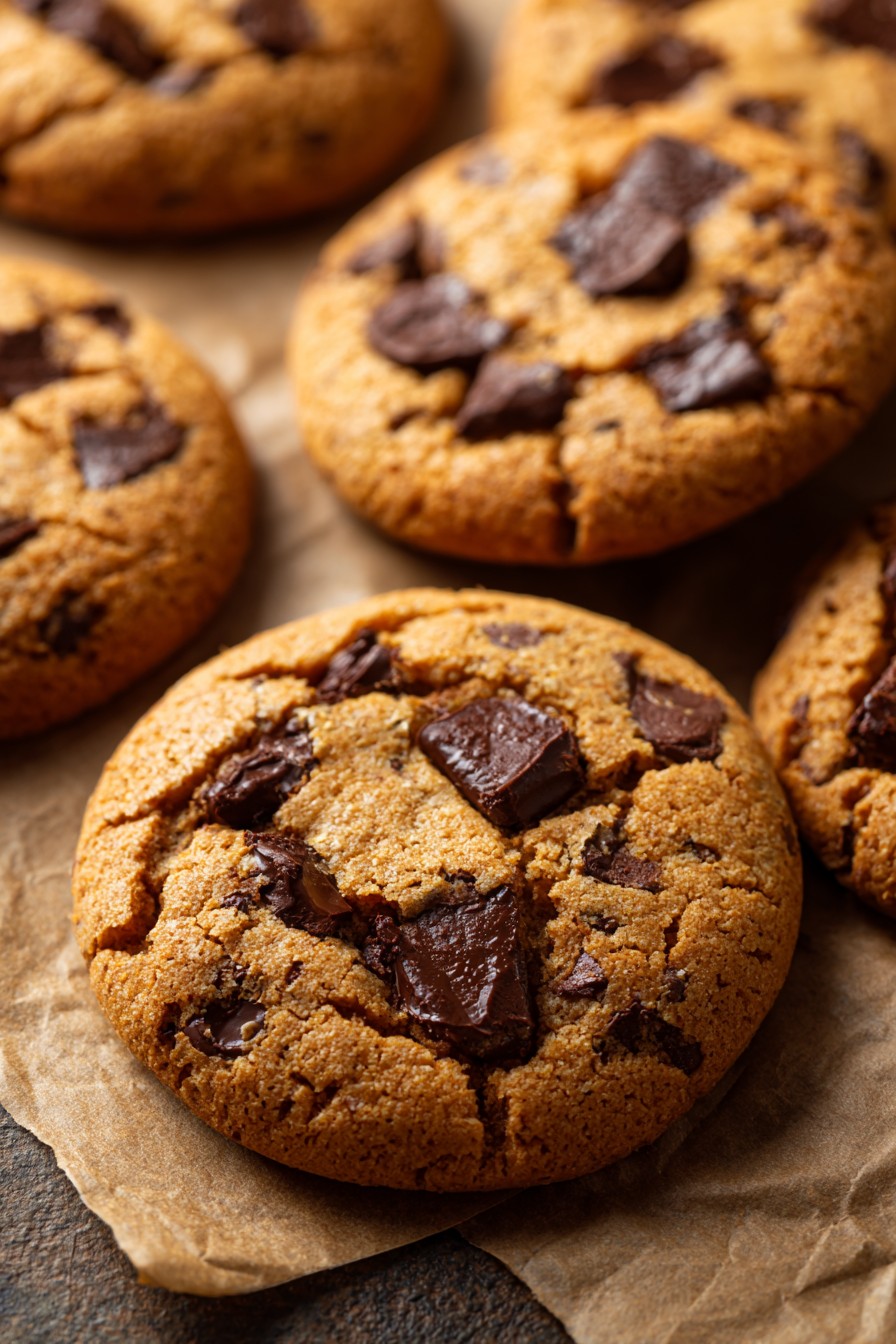
These butter-free cookies prove that delicious treats don’t need dairy to be incredible. With perfect texture, rich flavor, and endless customization options, they’re the cookie recipe you’ll return to again and again. Who knew skipping butter could taste so good?
Butter-Free Bliss Cookies
5
servings15
minutes10
minutesIngredients
Instructions
- 1 Whisk flour, baking soda, baking powder, and salt in medium bowl
- 2 Beat avocado oil, brown sugar, and granulated sugar until combined
- 3 Add eggs one at a time, then vanilla and maple syrup
- 4 Gradually mix in dry ingredients, then fold in chocolate chips
- 5 Chill dough for at least 2 hours
- 6 Preheat oven to 375°F and portion dough onto lined baking sheets
- 7 Bake 9-11 minutes until edges are golden
- 8 Cool 5 minutes on sheet before transferring to wire rack


