A miraculous kitchen gadget and some humble brown rice walk into a pressure cooker… and what emerges is pure culinary magic! After years of wrestling with stubborn pots and pans that turned my wholesome grains into either crunchy pebbles or mushy paste, I’ve finally cracked the code to consistently perfect brown rice. This isn’t just cooking—it’s a liberation from rice-related anxiety!
Why This Recipe Works
- The Instant Pot creates a sealed environment where steam becomes your personal rice whisperer, gently coaxing out every grain’s inner fluffiness without the drama of boiling over or burning
- Our precise water-to-rice ratio is like the Goldilocks of liquid measurements—not too much that you get swamp rice, not too little that you create edible gravel, but just right for that perfect tender bite
- Natural pressure release isn’t just a fancy term—it’s the secret handshake that allows the rice to finish cooking gently while absorbing every last drop of moisture, like a spa day for grains
- No more babysitting! Set it and forget it means you can actually have a conversation or fold laundry (the horror!) while dinner makes itself
- Consistent results every single time means you’ll never have to serve “experimental rice” to guests again—your reputation as a kitchen wizard remains intact
Ingredients
- 2 cups brown rice (rinsed until water runs clear)
- 2 ½ cups water or vegetable broth
- 1 tablespoon olive oil or butter
- 1 teaspoon salt (adjust to taste)
Equipment Needed
- 6-quart or larger Instant Pot
- Fine mesh strainer
- Measuring cups
- Wooden spoon or rice paddle
- Kitchen timer (because your phone will distract you)
Instructions
Rinse Your Rice Like It Owes You Money
Place your brown rice in a fine mesh strainer and give it a thorough shower under cold running water. We’re not talking a quick sprinkle here—we’re talking full-on car wash treatment until the water runs from cloudy to crystal clear. This isn’t just about cleanliness; it’s about washing away excess starch that would otherwise turn your rice into a sticky mess worthy of a kindergarten art project. As you watch that murky water disappear down the drain, imagine you’re washing away all your rice-cooking failures of the past. Pro tip: If you’re feeling extra fancy, you can soak your rice for 30 minutes beforehand, but let’s be real—we’re using an Instant Pot because we want dinner NOW, not after a meditation retreat.
The Great Liquid Measurement Dance
Seal the Deal and Pressure Cook
Secure the lid onto your Instant Pot, making sure the sealing ring is properly in place—this isn’t the time for half-hearted lid placement. Turn the steam release valve to “Sealing” position like you’re closing the door on rice uncertainty forever. Select the “Manual” or “Pressure Cook” button and set the timer for 22 minutes on high pressure. The display will show “ON” while it builds pressure, which typically takes about 8-10 minutes. During this time, you’ll hear some hissing and sputtering that might make you nervous, but trust the process—it’s just the pot getting its act together. Resist the urge to peek or adjust anything; patience is a virtue, especially in pressure cooking.
The Waiting Game: Natural Pressure Release
When the cooking time completes, the Instant Pot will beep triumphantly. DO NOT immediately turn the steam release valve to “Venting”—this is where many rice dreams go to die. Instead, let the pot sit undisturbed for 10 minutes to allow for natural pressure release. During this time, the residual heat and pressure continue working their magic, ensuring every grain reaches perfect tenderness. Set a timer because your perception of time will be completely wrong. After 10 minutes, carefully turn the steam release valve to “Venting” position to release any remaining pressure. The hissing sound is the sweet symphony of success.
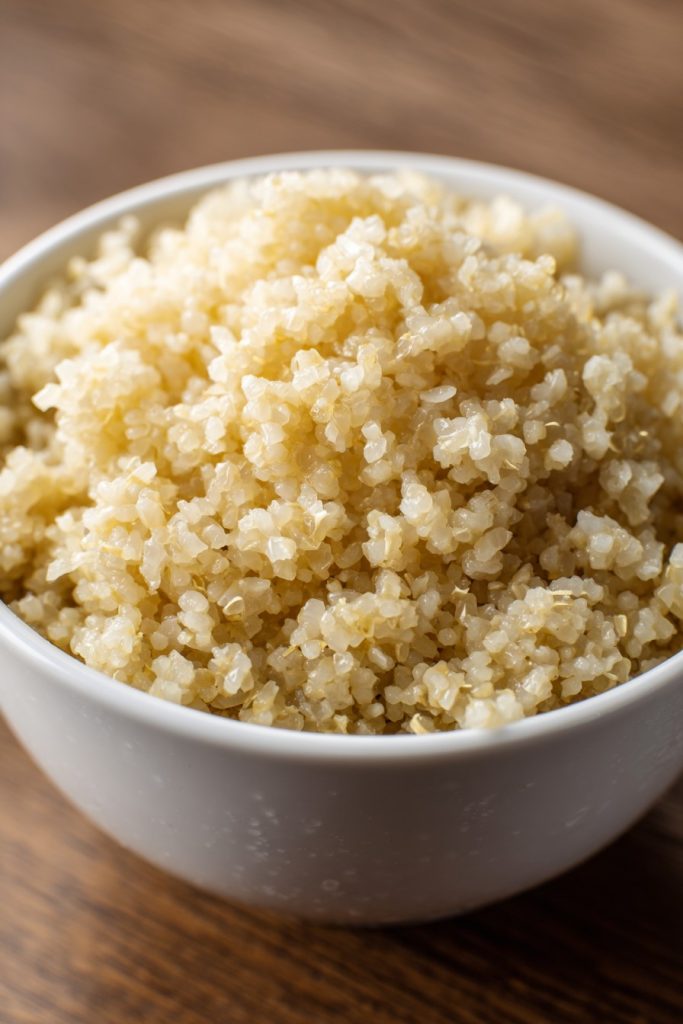
Fluff and Serve Like a Pro
Once the float valve drops, indicating all pressure has been released, it’s safe to open the lid. Behold your masterpiece! Use a fork or rice paddle to fluff the rice gently—we’re not digging for treasure here, just separating the grains with tender loving care. Notice how each grain stands proudly apart from its neighbors, not clumping together in desperate need of relationship counseling. If there’s any excess liquid at the bottom, let the rice sit for another 5 minutes with the lid off—it will absorb like a culinary sponge. Pro tip: For extra fluffy rice, transfer it to a wide bowl immediately after fluffing to stop the cooking process and prevent condensation from making it soggy.
Tips and Tricks
Let’s dive into the secret society of rice perfection that they don’t teach in cooking school. First up: rice storage matters more than you think. Always store your brown rice in an airtight container in a cool, dark place. Brown rice contains natural oils that can go rancid, so if your rice smells vaguely like crayons or old nuts, it’s time for a replacement. When measuring your rice, use the same cup for both rice and liquid to maintain consistent ratios—this isn’t the time for creative interpretation.
Water quality can make or break your rice game. If your tap water tastes like a swimming pool, consider using filtered water. Chlorine and other minerals can affect how the rice absorbs liquid and alter the final flavor. For those who want to level up their rice, try toasting the dry rice in the Instant Pot using the “Sauté” function for 2-3 minutes before adding liquid. This enhances the nutty flavor and creates a more complex taste profile that will make your taste buds do a happy dance.
Timing is everything with natural release. The 10-minute waiting period isn’t arbitrary—it’s the sweet spot where the rice finishes cooking without becoming mushy. If you’re in a huge rush, you can do a quick release after 5 minutes, but your rice might be slightly wetter. For meal prep enthusiasts, this recipe doubles beautifully—just maintain the same liquid ratio and cooking time. Leftover rice freezes exceptionally well in airtight bags or containers, ready to be reheated for future meals when cooking feels like too much effort.
Don’t forget about the magic of the “Keep Warm” function. If your dinner plans get delayed, the Instant Pot will keep your rice at the perfect serving temperature for up to an hour without compromising texture. Finally, clean your Instant Pot immediately after use—dried rice is about as fun to remove as glitter from carpet. The inner pot is dishwasher safe, but a quick soak and scrub will have it ready for its next performance.
Recipe Variations
- Herb-Infused Fancy Rice: Add 2 bay leaves, a sprig of fresh thyme, and a smashed garlic clove to the cooking liquid. Remove them before fluffing, and you’ll have rice that tastes like it came from a five-star restaurant rather than your countertop. The herbs infuse the grains with subtle aromatic notes that pair beautifully with roasted vegetables or grilled proteins.
- Coconut Dream Rice: Replace half the water with coconut milk and add a teaspoon of coconut oil. This tropical twist creates rice that’s slightly creamy and fragrant, perfect for pairing with curry dishes or grilled shrimp. The coconut flavor isn’t overwhelming—just a gentle whisper of paradise in every bite that will transport you to beachside dining without the sand in your shoes.
- Spanish-Style Brown Rice: Sauté half a diced onion and one minced garlic clove using the “Sauté” function before adding rice and liquid. Stir in a tablespoon of tomato paste and a pinch of saffron threads if you’re feeling luxurious. This variation creates rice with beautiful color and depth of flavor that stands up beautifully as a main dish when mixed with beans and vegetables.
- Lemon Herb Celebration Rice: Add the zest of one lemon and two tablespoons of chopped fresh parsley or dill to the cooked rice after fluffing. The bright, fresh flavors cut through the nuttiness of the brown rice beautifully, creating a side dish that tastes like springtime regardless of what the calendar says. Perfect for serving with fish or chicken when you want something light and refreshing.
Frequently Asked Questions
Can I double this recipe in my Instant Pot?
Absolutely! The beauty of pressure cooking is that it handles scale beautifully. Simply double all ingredients while maintaining the same cooking time. The only consideration is ensuring you don’t fill your Instant Pot beyond the maximum fill line—typically about 2/3 full. For a 6-quart model, you can comfortably make up to 4 cups of dry rice. The liquid ratio remains the same magical 1:1.25 rice to water, and the 22-minute cooking time with 10-minute natural release works perfectly regardless of quantity. Your Instant Pot might take slightly longer to come to pressure with larger batches, but the results will be just as flawless.
Why does my brown rice sometimes come out mushy or undercooked?
Several factors could be turning your rice dreams into nightmares. First, check your rice-to-liquid ratio—measuring inaccuracies are the usual suspects. Second, brown rice varieties can differ in cooking requirements; short-grain brown rice might need slightly more liquid than long-grain. Third, altitude affects cooking times—if you live above 3,000 feet, add 5% more cooking time per 1,000 feet. Finally, the age of your rice matters—older rice takes longer to cook and may require additional liquid. If consistently having issues, try the pot-in-pot method using a heat-safe bowl placed on a trivet with water beneath.
Can I use this method for other types of rice?
While this recipe is specifically calibrated for brown rice, the pressure cooking principle works for other varieties with adjusted timing. White rice typically cooks in 3-5 minutes with 10-minute natural release using a 1:1 ratio. Wild rice blend needs about 25 minutes with the same release method. Jasmine and basmati rice fall somewhere in between. The key is understanding that different rice varieties have different starch contents and grain structures that respond uniquely to pressure cooking. Always consult specific recipes when venturing into new rice territory to avoid culinary disappointment.
How long does cooked brown rice last in the refrigerator?
Properly stored in an airtight container, your beautifully cooked brown rice will maintain its texture and flavor for 4-5 days in the refrigerator. The key is cooling it quickly—spread it in a thin layer on a baking sheet before transferring to containers. When reheating, add a tablespoon of water per cup of rice and cover to restore moisture. For longer storage, freeze portions in freezer bags for up to 6 months. Brown rice contains more oil than white rice, so it doesn’t last quite as long, but it freezes beautifully for future quick meals.
Summary
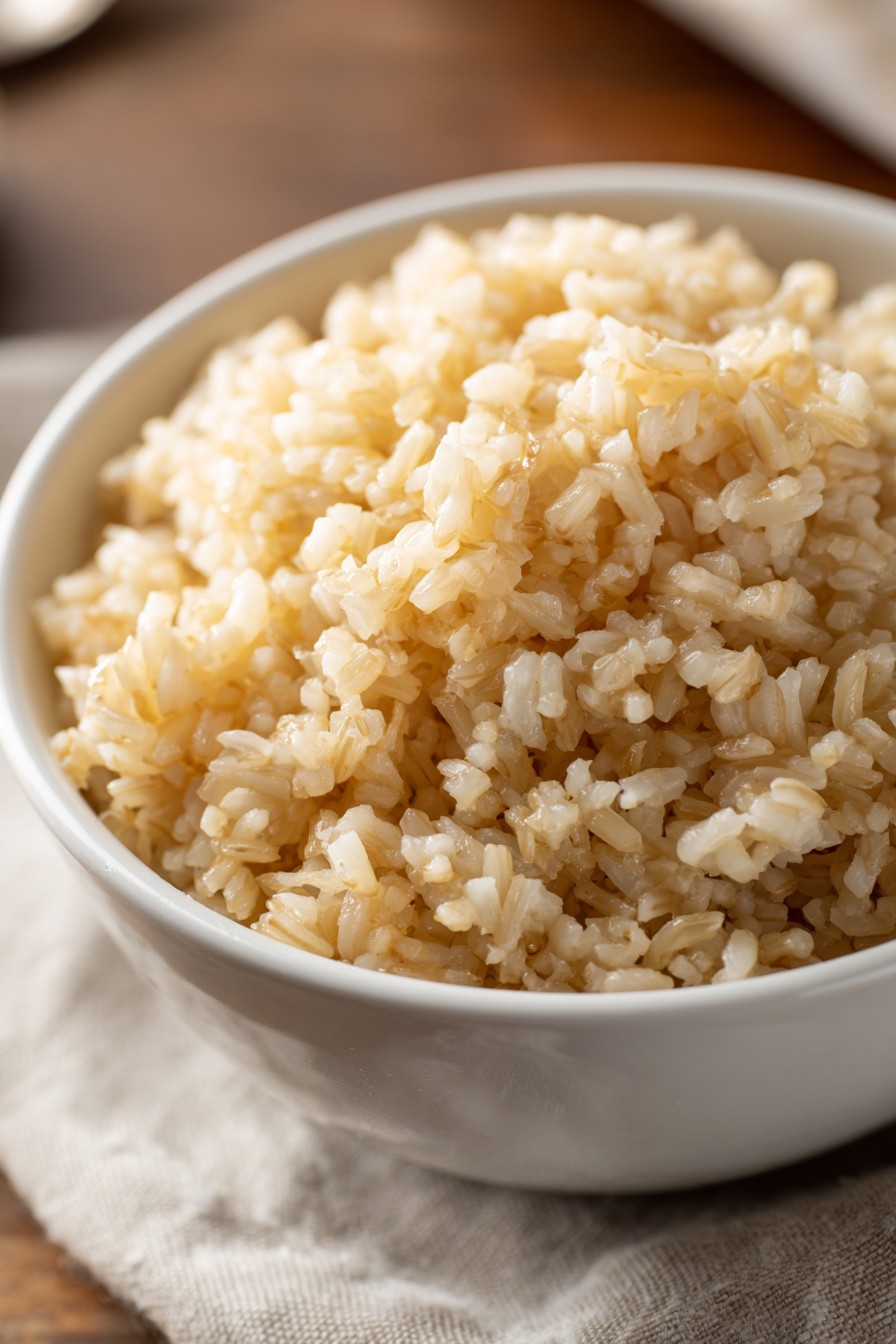
Perfect Instant Pot brown rice requires just four ingredients and twenty-two minutes of pressure cooking followed by natural release. This foolproof method delivers consistently fluffy, separate grains every time, transforming this wholesome staple from frustrating to fabulous. Your days of rice-related kitchen drama are officially over!
Instant Pot Brown Rice
4
servings5
minutes22
minutesIngredients
Instructions
- 1 Rinse brown rice under cold water until water runs clear
- 2 Combine rice, water, oil, and salt in Instant Pot
- 3 Secure lid, set valve to sealing, pressure cook 22 minutes
- 4 Natural release for 10 minutes, then quick release remaining pressure
- 5 Fluff with fork and serve immediately


