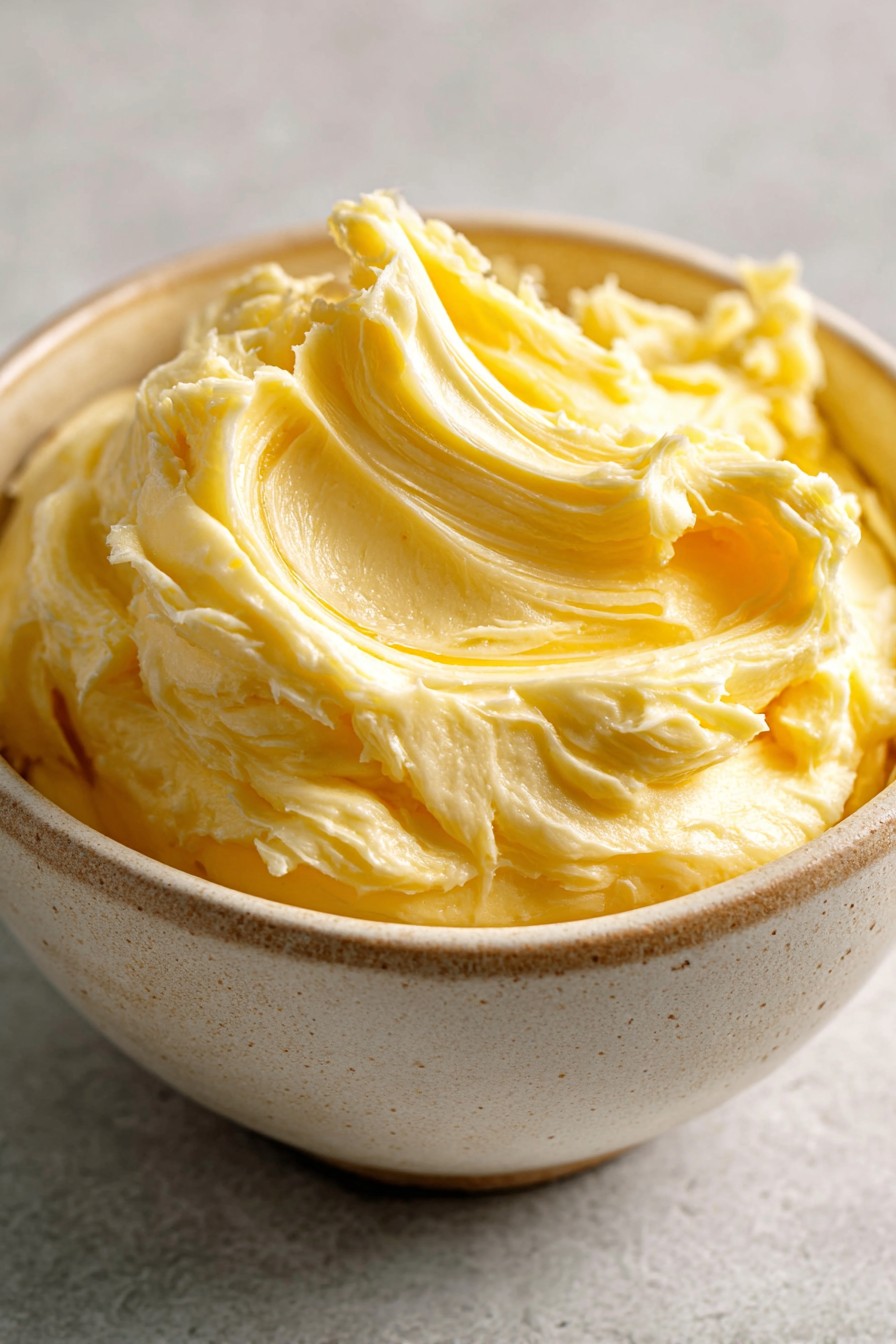
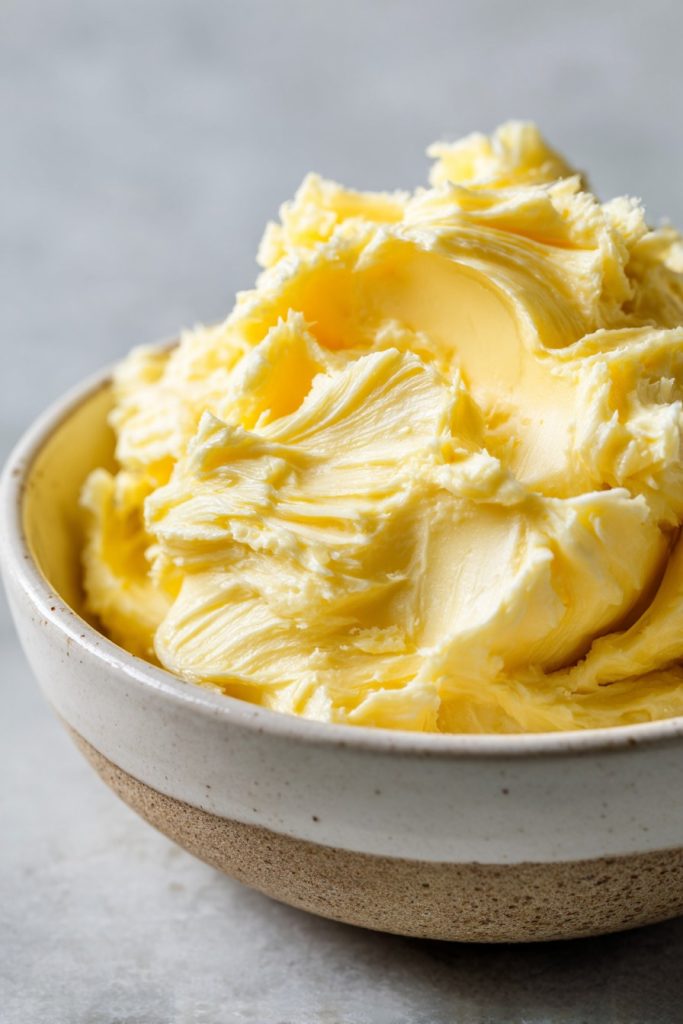
Now let’s be real – between school runs, work deadlines, and the endless cycle of laundry, who has time for complicated recipes? Nothing beats the simple joy of honey butter melting over warm biscuits or toast, especially when you can whip it up in minutes with ingredients you probably already have sitting in your pantry. This isn’t fancy cooking; it’s survival cooking that actually tastes like you put in effort.
Why This Recipe Works
- Five minutes from start to finish means you can make this while the toaster oven preheats or during commercial breaks of your kid’s favorite show
- Uses only three basic ingredients that most families keep stocked, eliminating last-minute grocery store runs when you’re already stretched thin
- The soft butter base spreads easily straight from the refrigerator, unlike rock-hard store-bought versions that tear your bread
- Perfect balance of sweet honey and rich butter satisfies both kids and adults without being overly sugary
- Makes enough to last through multiple breakfasts or snacks, saving you from daily preparation chaos
Ingredients
- 1 cup salted butter, softened at room temperature (that’s 2 sticks for those of us counting)
- 1/4 cup raw honey for that deep floral flavor
- 1/8 teaspoon fine sea salt to balance the sweetness
Equipment Needed
- Medium mixing bowl
- Electric hand mixer or sturdy whisk
- Rubber spatula
- Airtight container for storage
- Measuring cups and spoons
Instructions

Step 1: Prepare Your Butter Properly
Let’s talk about softened butter because this is where most people go wrong in their rush. Your butter should be at that perfect room temperature where it’s slightly firm but yields easily to pressure – think about 65-68°F. If you press your finger into it, you should leave an indent without the butter feeling greasy or melting. If you’re short on time (and let’s be honest, when are we not?), cut the cold butter into tablespoon-sized pieces and microwave at 50% power for 5-second intervals, checking after each burst. The goal is pliable, not liquid. Properly softened butter will whip up light and fluffy rather than turning into a greasy mess that separates later.
Step 2: Combine and Whip to Perfection
Now grab your mixing bowl and add all three ingredients at once – the softened butter, honey, and that pinch of salt. Using your electric mixer on medium speed (about setting 4-5), beat everything together for a solid 2-3 minutes until the mixture becomes pale, creamy, and noticeably increased in volume. You’re looking for that point where the honey is completely incorporated with no streaks, and the texture resembles fluffy whipped cream. Don’t rush this step by cranking the mixer to high, as that can cause the butter to warm too much and become greasy. The extra whipping time incorporates air that keeps your honey butter spreadable even when chilled.
Step 3: Check Consistency and Adjust
Stop the mixer and scrape down the sides with your spatula to ensure everything is evenly mixed. Take a small spoonful and spread it on a piece of bread or your finger to test the texture and flavor balance. It should spread smoothly without tearing the bread and taste balanced between sweet and buttery. If it seems too soft (which can happen if your kitchen is warm), pop the bowl in the refrigerator for 10-15 minutes before continuing. This is also your chance to adjust the flavor – add another tablespoon of honey if you prefer it sweeter, or another pinch of salt if it tastes flat.
Step 4: Transfer and Store Correctly
Use your spatula to transfer the finished honey butter into your airtight container, pressing down gently to remove any air pockets. Smooth the top with the back of a spoon, then cover tightly with the lid. For maximum freshness, store it in the coldest part of your refrigerator (usually the back, not the door) where the temperature stays consistently around 35-38°F. Proper storage means your honey butter will maintain its creamy texture and fresh flavor for up to three weeks, ready whenever breakfast chaos strikes or you need a quick snack solution.
Step 5: Serving and Enjoying
When you’re ready to serve, take the honey butter out of the refrigerator about 10-15 minutes before needed to let it soften slightly for easy spreading. It’s perfect on warm biscuits straight from the oven, toast, pancakes, or even stirred into oatmeal for extra richness. For those really hectic mornings, you can even spread it on cold bread – it won’t tear like hard butter would. Remember that a little goes a long way, so start with a thin layer and add more if needed.
Tips and Tricks
If you find yourself making honey butter regularly (and you probably will once you taste it), consider doubling the batch and freezing half. Spoon individual servings onto parchment paper-lined baking sheets, freeze until solid, then transfer to freezer bags. These pre-portioned pats thaw quickly for single servings. For families with varying taste preferences, you can create a honey butter bar by making the base recipe and letting everyone customize their own small portion with add-ins like cinnamon, orange zest, or vanilla extract. When measuring honey, lightly grease your measuring cup with cooking spray first – the honey will slide right out without sticking and wasting precious ingredients. If your honey has crystallized (which happens naturally with raw honey), place the jar in a bowl of warm water for 10-15 minutes to liquefy it before measuring. For those really tight on time, you can make a quick version by simply stirring room temperature butter and honey together with a fork – it won’t be as fluffy but still tastes great in a pinch. Always label your container with the date made, because in the refrigerator chaos of family life, it’s easy to forget when you prepared things. If you’re watching sodium intake, you can use unsalted butter and adjust the salt to your preference, though the small amount in salted butter helps balance the sweetness perfectly. For gifting or special occasions, pipe the honey butter using a star tip onto parchment paper, freeze until firm, then arrange in a decorative container – it looks fancy but takes minimal extra effort.
Recipe Variations
- For a warm spice version that’s perfect for fall mornings, add 1 teaspoon of ground cinnamon and 1/4 teaspoon each of nutmeg and allspice to the basic recipe. This transforms ordinary toast into something that tastes like your favorite coffee shop pastry without the line or expense.
- Create citrus honey butter by adding 2 teaspoons of finely grated orange or lemon zest along with 1 tablespoon of fresh juice. The bright acidity cuts through the richness beautifully and makes it exceptional on scones or cornbread.
- Make maple honey butter by replacing half the honey with pure maple syrup and adding 1/2 teaspoon of vanilla extract. This gives you that classic pancake house flavor that kids adore, and it’s incredible on French toast or waffles.
- For savory applications, reduce the honey to 2 tablespoons and add 1 minced garlic clove, 1 tablespoon of chopped fresh herbs like rosemary or thyme, and black pepper to taste. This version is amazing on dinner rolls or melted over roasted vegetables.
- Create a honey cinnamon butter specifically for fruit by adding 1 tablespoon of cinnamon and omitting the salt. It’s fantastic spread on apple slices, banana bread, or stirred into yogurt for extra flavor without refined sugar.
Frequently Asked Questions
Can I use margarine instead of butter?
While you technically can substitute margarine, I don’t recommend it for several practical reasons. Margarine contains more water and less fat than real butter, which means your honey butter won’t whip up as fluffy and may separate when stored. The flavor also won’t be as rich and authentic – you’ll miss that true buttery taste that makes this recipe special. If dairy is a concern, look for high-quality plant-based butter alternatives specifically formulated for baking and spreading, but expect slightly different texture and flavor results.
How long does homemade honey butter last?
When stored properly in an airtight container in the refrigerator, your honey butter will maintain optimal quality for about 3 weeks. The honey acts as a natural preservative, but the dairy content means it will eventually spoil. You’ll know it’s gone bad if you notice any mold, off smells, or significant color changes. For longer storage, you can freeze honey butter for up to 3 months – just thaw overnight in the refrigerator before using. Always use clean utensils when scooping it out to prevent contamination.
Why did my honey butter separate or become grainy?
This usually happens when the butter was either too cold or too warm during mixing. If your butter was still partially chilled, it won’t incorporate properly with the honey. If it became too warm during whipping, the fat can separate out. To fix grainy honey butter, chill it for 15-20 minutes until firm but not hard, then re-whip until smooth. Prevention is easier – ensure your butter is properly softened (able to hold a fingerprint but not melting) and don’t over-mix once it becomes creamy and combined.
Can I make honey butter without an electric mixer?
Absolutely – while a mixer gives you that light, fluffy texture fastest, you can definitely make honey butter by hand. Use a sturdy whisk and plenty of elbow grease, beating vigorously for 5-7 minutes until the mixture lightens in color and becomes creamy. Another option is to use a fork to mash everything together thoroughly, though the texture will be denser. For the easiest hand method, place all ingredients in a jar with a tight lid and shake vigorously for several minutes until well combined – great for involving kids in the kitchen.
Is raw honey better than regular honey for this recipe?
Raw honey does offer more complex floral notes and retains more natural enzymes, but regular pasteurized honey works perfectly fine and is often more budget-friendly for family cooking. The main difference you’ll notice is flavor intensity – raw honey tends to have more distinctive character depending on the flowers the bees visited. For everyday use, whatever honey you have on hand will work, though I’d avoid strongly flavored varieties like buckwheat honey unless you specifically enjoy that taste profile.
Summary
This five-minute honey butter solves the busy parent breakfast dilemma with minimal effort and maximum flavor. Keep it stocked for quick morning solutions that feel special without the stress. Your family will love the homemade touch, and you’ll appreciate the time saved.
Honey Butter
5
servings5
minutesIngredients
Instructions
- 1 Ensure butter is properly softened to room temperature (65-68°F)
- 2 Combine all ingredients in mixing bowl
- 3 Beat with electric mixer on medium speed for 2-3 minutes until light and fluffy
- 4 Transfer to airtight container and refrigerate
- 5 Let soften slightly before serving for easy spreading


