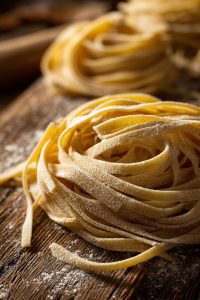
Oh, the audacity of thinking you can’t make pasta from scratch! Let me tell you, dear reader, that transforming humble flour and eggs into silky, glorious noodles is less about culinary wizardry and more about embracing your inner Italian nonna (minus the yelling). Once you taste these tender strands of homemade heaven, that boxed stuff will taste like cardboard disappointment.
Why This Recipe Works
- Using the perfect flour-to-egg ratio creates a dough that’s neither too tough nor too delicate, striking that Goldilocks balance that makes Italian grandmothers nod in approval from across the ocean.
- The resting period isn’t just for dramatic effect—it allows the gluten to relax so your pasta won’t fight back when you roll it out, preventing that frustrating spring-back that makes you question your life choices.
- No fancy pasta machine required! This method embraces the rustic charm of hand-rolling, giving you bragging rights and forearms that could open any stubborn pickle jar in your kitchen.
- The simple ingredient list means you probably have everything already, saving you from that awkward moment when you realize you’ve driven to the store in your slippers just for semolina flour.
Ingredients
- 2 cups all-purpose flour, plus extra for dusting
- 3 large eggs, at room temperature (don’t use chilly eggs—they’re moody)
- 1 tablespoon olive oil
- 1 teaspoon salt
- 2 tablespoons water, if needed (the dough’s hydration therapist)
Equipment Needed
- Large mixing bowl
- Clean work surface (countertop, large cutting board, or that table you never use)
- Rolling pin (wine bottle works in emergencies)
- Sharp knife or pizza cutter
- Kitchen scale (optional but helpful)
- Pasta drying rack or clean hangers (embrace the MacGyver spirit)
Instructions
Create Your Flour Volcano
First, mound your flour on a clean surface like you’re building a tiny Mount Vesuvius that’s about to erupt with deliciousness. Make a well in the center large enough to contain your eggs without causing a culinary avalanche. Crack your eggs into this flour crater along with the olive oil and salt. Now comes the fun part: using a fork, gently beat the eggs while gradually incorporating flour from the walls of your volcano. This method prevents egg escapees from running across your counter like they’ve just witnessed a kitchen crime. Work slowly and patiently—this isn’t a race, unless you’re competing in the Pasta-making Olympics, in which case, may the flour be with you. The goal is to create a shaggy dough that looks like it can’t decide if it wants to be liquid or solid.
Knead Until Your Arms Complain
Once the dough comes together enough to handle without leaving eggy fingerprints everywhere, it’s time to knead. Push the dough away from you with the heel of your hand, fold it back over itself, give it a quarter turn, and repeat. Think of this as giving your dough a therapeutic massage—you’re working out its tension so it becomes smooth and elastic. Continue this process for 8-10 minutes until the dough transforms from a lumpy mess into a smooth, supple ball that feels like a baby’s cheek. If the dough feels too dry and cracks like desert ground, add water one tablespoon at a time. If it’s sticking to everything like unwanted advice, sprinkle more flour. The dough is ready when it springs back slowly when poked, not immediately—that means it’s still too tense and needs more kneading therapy.
The Patience Game (aka Resting)
Wrap your beautiful dough ball in plastic wrap or place it in an airtight container and let it rest at room temperature for at least 30 minutes, though an hour is even better. This isn’t just downtime for you to scroll through cat videos—it’s crucial for gluten relaxation. The proteins in the flour need this quiet time to stop fighting each other and become best friends. While waiting, you can clean your flour-dusted surfaces, prepare your sauce, or practice your Italian hand gestures. The dough will become more pliable and easier to roll out after this beauty sleep. Don’t skip this step unless you enjoy wrestling with stubborn dough that fights back like a toddler refusing vegetables.
Roll It Like You Mean It
Lightly flour your surface and cut the dough into four equal pieces, keeping the others covered while you work with one. Using a rolling pin, start from the center and roll outward, rotating the dough frequently to maintain an even thickness. You’re aiming for about 1/16-inch thin—thin enough to see the shadow of your hand through it but not so thin it disintegrates into pasta confetti. This process requires some elbow grease, so consider it your daily workout. If the dough starts shrinking back, it’s telling you it needs more rest—cover it and let it nap for another 10 minutes. The finished sheet should be smooth and even, ready for cutting into whatever pasta shape makes your heart sing.
Cutting and Drying Your Masterpiece
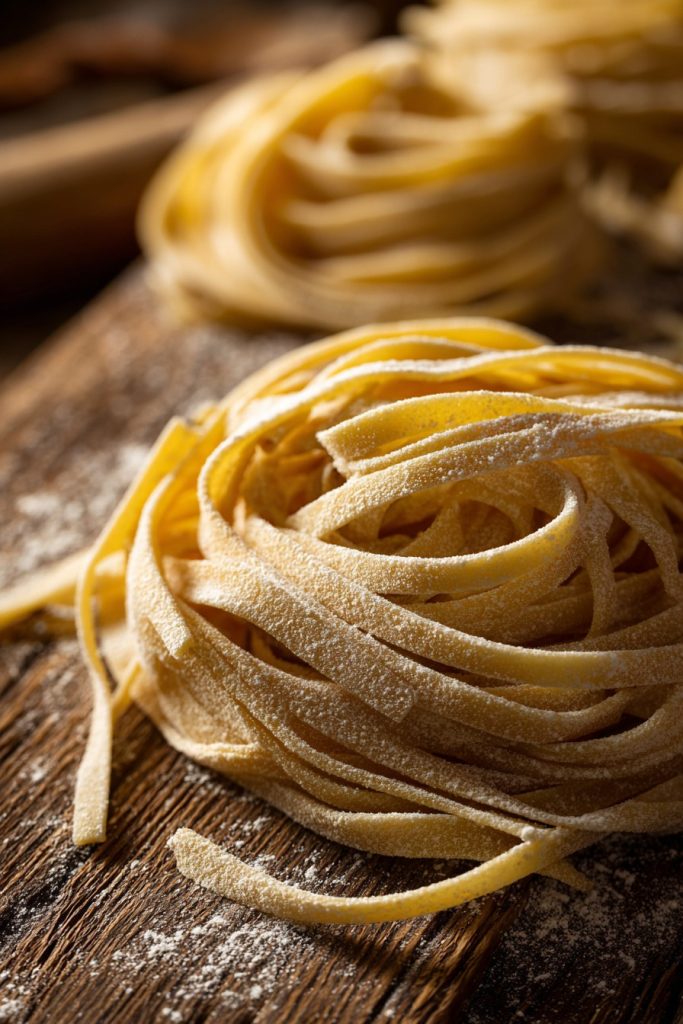
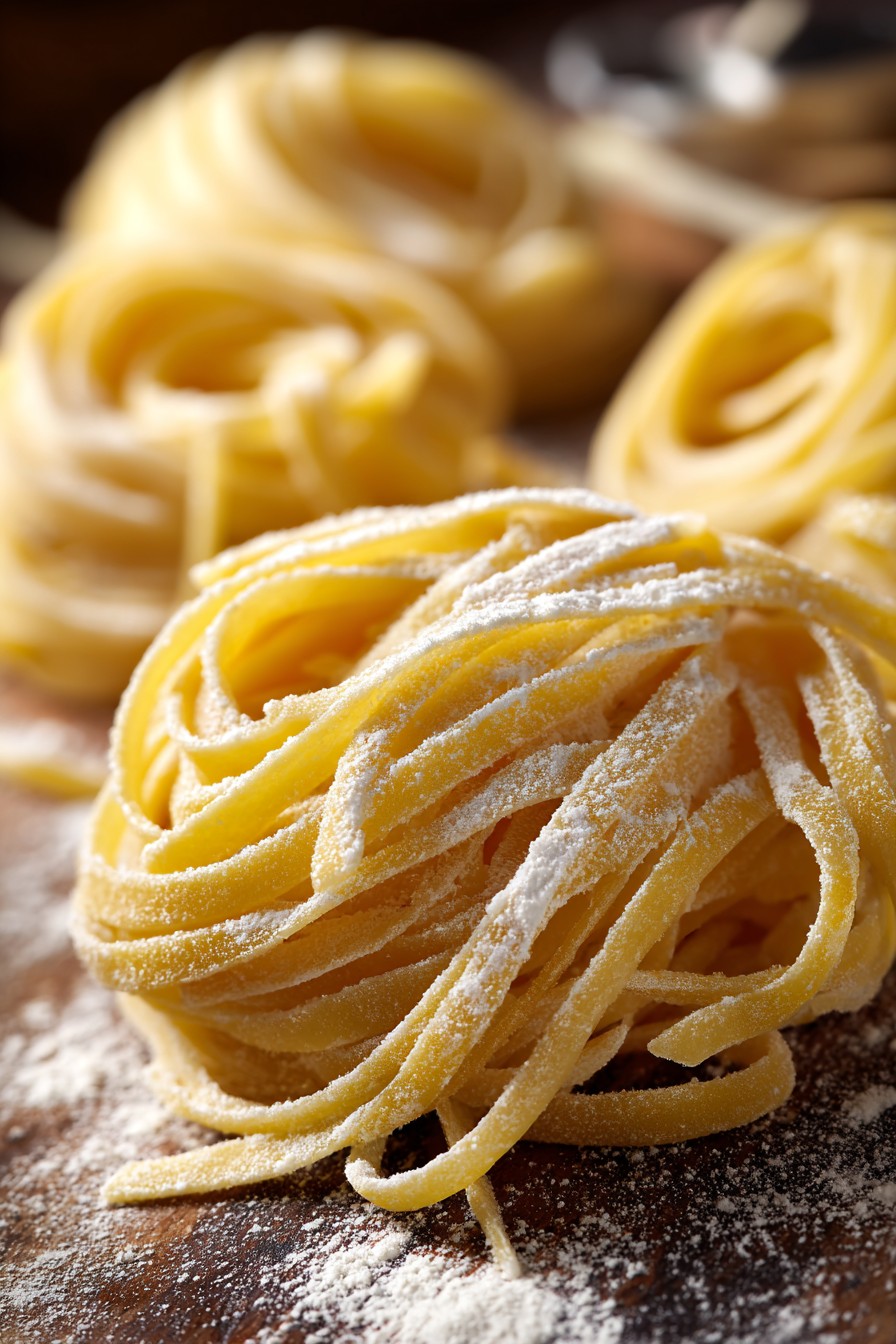
Lightly dust your rolled dough with flour and loosely roll it up like a yoga mat. Using a sharp knife, slice across the roll to create your desired noodle width—about 1/4-inch for fettuccine or 1/8-inch for tagliatelle. Unfurl the cut noodles and toss them with a bit more flour to prevent sticking. If you’re not cooking immediately, hang them on a drying rack or the back of chairs. They need about 30 minutes to dry slightly, which helps them hold their shape during cooking. Fresh pasta cooks much faster than dried—just 2-3 minutes in boiling salted water until al dente, which means “to the tooth” but really means “perfectly cooked and not mushy.”
Tips and Tricks
Let’s talk flour philosophy: while all-purpose works beautifully, using “00” flour will give you that authentic Italian restaurant texture that makes people ask if you’ve been taking secret cooking classes. The protein content matters less than you’d think—what really counts is how you treat the dough. If you’re feeling extra fancy, substitute one egg yolk for one whole egg to create a richer, more golden dough that looks like it costs $28 at a trendy restaurant.
Temperature is your secret weapon here. Room temperature eggs incorporate more easily than cold ones straight from the fridge. Think of cold eggs as grumpy morning people—they don’t want to cooperate. If you forgot to take them out, place them in warm water for 5-10 minutes to take the chill off. Your hands should be clean and dry, but don’t worry about them being warm—despite what some recipes claim, your body heat won’t make or break the dough.
When rolling, resist the urge to add too much flour to the surface. A light dusting is all you need—excess flour can make your pasta tough and dry. If the dough sticks, it’s telling you it needs a bit more kneading, not more flour. The windowpane test is your friend: stretch a small piece of dough between your fingers—if you can see light through it without tearing, you’ve achieved gluten nirvana.
Storage is simpler than you’d think: fresh pasta can be refrigerated for up to 2 days or frozen for 3 months. To freeze, arrange portions on a baking sheet until solid, then transfer to freezer bags. No need to thaw before cooking—just add an extra minute to the boiling time. And remember: salt your pasta water like the sea—it should taste like ocean water, not like you accidentally knocked over the salt shaker.
Recipe Variations
- Herb-Infused Elegance: Add 2 tablespoons of finely chopped fresh herbs like basil, parsley, or thyme to the flour before adding eggs. The herbs will create beautiful green speckles throughout your pasta, making it look like it came from a fancy Italian marketplace. This works particularly well with lighter sauces that won’t overpower the delicate herb flavors.
- Colorful Vegetable Pastas: Replace one egg with 1/4 cup of pureed cooked vegetables. Spinach puree creates vibrant green pasta, beet puree makes dramatic magenta strands, and carrot puree gives you sunny orange noodles. Kids will actually eat vegetables when they’re hidden in pasta form—it’s the culinary equivalent of a magic trick.
- Whole Wheat Wonder: Substitute half the all-purpose flour with whole wheat flour for a nuttier, heartier pasta that makes you feel virtuous about your life choices. The texture will be slightly denser but packed with fiber and flavor that stands up beautifully to robust meat sauces or mushroom ragù.
- Cheese-Stuffed Ravioli: Roll your dough slightly thicker, then place small mounds of ricotta mixture (ricotta, parmesan, egg, and herbs) spaced evenly on one sheet. Brush around the filling with water, top with another sheet, press around the filling to seal, and cut into squares. You’ve just upgraded from pasta maker to pasta artist.
Frequently Asked Questions
Can I make pasta without eggs?
Absolutely! For egg-free pasta, replace the eggs with 3/4 cup of warm water mixed with 1 tablespoon of olive oil. The texture will be slightly different—more like commercial dried pasta than rich egg noodles—but still delicious. You might need to adjust the flour amount slightly since eggless dough tends to be stickier. This version works particularly well for pasta shapes that don’t require the elasticity that eggs provide, like maltagliati or pappardelle. The cooking time remains roughly the same, though eggless pasta can sometimes take an extra minute to reach that perfect al dente texture.
Why did my pasta turn out tough?
Tough pasta usually results from over-kneading, insufficient resting time, or using too much flour during rolling. Think of gluten as tiny rubber bands—when you overwork them, they become tense and tight. The resting period allows these gluten strands to relax, making the dough more pliable. If you skipped the rest or rushed the kneading, your pasta might resemble shoe leather rather than tender noodles. Also, rolling the dough too thin can cause it to become tough when cooked—aim for that sweet spot where it’s thin but still has some substance. Remember: pasta should be tender but still have some bite, not challenge your jaw muscles.
How do I prevent my fresh pasta from sticking together?
Fresh pasta sticking is the universe’s way of testing your patience. After cutting, toss the noodles generously with semolina flour or cornmeal—these coarser grains create little barriers between strands. If cooking immediately, make sure your water is at a rolling boil with plenty of space for the pasta to move around—crowding leads to sticky situations. Stir during the first minute of cooking to separate strands. For storing, hang individual portions rather than piling them together, or arrange them in single layers between parchment paper. The key is adequate flour coating and not letting them sit too long before cooking or properly drying.
Can I use a pasta machine instead of hand-rolling?
Of course! Pasta machines are like the luxury sedans of noodle-making—they make the journey smoother but aren’t strictly necessary. If using a machine, divide your dough into smaller pieces and start at the widest setting, gradually working your way thinner. Feed the dough through each setting 2-3 times, dusting lightly with flour if it sticks. The machine gives you perfectly even sheets with less effort, but you miss out on the rustic charm and forearm workout of hand-rolling. Either method produces delicious results—it’s about whether you prefer precision or the satisfaction of doing it the old-fashioned way.
Summary
Making homemade pasta transforms simple ingredients into culinary magic with patience and practice. The process rewards attention to detail but forgives imperfections, creating noodles far superior to anything from a box. Once mastered, you’ll never look at flour and eggs the same way again.