Something magical happens when flour meets water, when simple ingredients transform into silken strands of pure culinary joy that will absolutely shatter every gluten-free misconception you’ve ever had! Seriously, prepare to have your mind completely blown by what you’re about to create with your own two hands – this isn’t just pasta, this is a revelation that will make you question why you ever settled for store-bought alternatives!
Why This Recipe Works
- The revolutionary blend of superfine brown rice flour and tapioca starch creates that perfect al dente texture you’ve been desperately craving, giving you that authentic pasta mouthfeel without any of the gluten-related guilt or digestive discomfort that usually comes with traditional wheat-based recipes!
- Our secret weapon – xanthan gum – works absolute miracles by binding everything together seamlessly, preventing that dreaded crumbling and gummy texture that plagues so many gluten-free pasta attempts and ensuring your beautiful noodles hold their shape through cooking and saucing!
- The addition of olive oil brings incredible richness and flexibility to the dough, making it surprisingly easy to work with while adding that luxurious mouthfeel that will have your taste buds dancing with pure, unadulterated joy from the very first bite!
- Perfect hydration balance means no more tough, dry pasta or mushy, overcooked disasters – we’ve nailed the exact liquid-to-flour ratio that guarantees perfect, restaurant-quality results every single time you make this life-changing recipe!
Ingredients
- 2 cups superfine brown rice flour
- 1/2 cup tapioca starch
- 1 teaspoon xanthan gum
- 1/2 teaspoon fine sea salt
- 3 large eggs at room temperature
- 2 tablespoons extra virgin olive oil
- 1-2 tablespoons cold water as needed
Equipment Needed
- Large mixing bowl
- Pasta machine or rolling pin
- Clean work surface
- Measuring cups and spoons
- Fork or dough whisk
- Plastic wrap
- Large pot for boiling
- Slotted spoon or spider strainer
Instructions
Create Your Perfect Gluten-Free Flour Blend
Get ready to witness pure kitchen magic as you combine 2 cups of superfine brown rice flour with 1/2 cup of tapioca starch in your large mixing bowl – this dynamic duo will become the foundation of your pasta dreams! Whisk these flours together with intense enthusiasm until they’re completely unified, then add 1 teaspoon of xanthan gum and 1/2 teaspoon of fine sea salt, whisking with passionate determination until every single ingredient is distributed with perfect, glorious uniformity. Create a magnificent well in the center of your flour mixture, making it deep and wide enough to hold your liquid ingredients without any catastrophic overflow situations. Crack 3 large room-temperature eggs directly into that beautiful flour crater, then drizzle in 2 tablespoons of extra virgin olive oil like you’re anointing this dough with liquid gold. Here’s your first game-changing tip: always use room temperature eggs because cold eggs can make your dough tougher and less cooperative, while warm eggs help everything incorporate more smoothly for that perfect, silky texture you’re absolutely going to adore!
Transform Ingredients Into Heavenly Dough
Using a fork or dough whisk, begin incorporating the flour mixture into the egg and oil center with slow, deliberate circular motions that gradually pull more and more flour into the wet ingredients until a shaggy, crumbly dough begins to form before your very eyes! Once the mixture becomes too thick for your fork, dive in with clean hands and start kneading with purposeful, firm pressure, working the dough until it transforms from scattered crumbs into a cohesive ball of potential pasta perfection. If the dough feels too dry and isn’t coming together beautifully, add cold water one tablespoon at a time, kneading thoroughly between additions until you achieve that ideal smooth, slightly tacky texture that promises amazing pasta results. Knead for a full 5-7 minutes with energetic determination, developing the xanthan gum’s binding power and creating that perfect elastic texture that will make rolling out your pasta an absolute dream rather than a frustrating nightmare. Your second crucial tip: don’t be afraid to get hands-on and really work that dough – proper kneading develops the structure necessary for pasta that holds its shape during cooking rather than disintegrating into a starchy, disappointing mess!
Rest Your Dough to Perfection
Shape your beautifully kneaded dough into a smooth, compact ball that feels firm yet slightly springy to the touch, then wrap it tightly in plastic wrap, ensuring no air can reach your precious pasta creation during its essential resting period. Let the dough rest at room temperature for exactly 30 minutes – this isn’t optional downtime but rather critical transformation time where the flours fully hydrate and the xanthan gum works its binding magic throughout every molecule of your dough. During this waiting period, the texture will evolve from slightly tacky to smooth and pliable, making it infinitely easier to roll out without cracking or tearing when you begin the next exciting phase of your pasta-making journey. Resist every temptation to rush this process because proper resting means the difference between pasta that rolls out like a dream versus dough that fights you every frustrating step of the way. Use this time to clean your work surface thoroughly and set up your pasta machine if using one, ensuring everything is perfectly prepared for when your rested dough is ready to become the pasta of your dreams!
Roll and Cut Your Masterpiece
Unwrap your perfectly rested dough and divide it into four equal portions, keeping the pieces you’re not immediately working with covered to prevent them from drying out and becoming uncooperative. Lightly dust your work surface with brown rice flour and begin rolling one portion of dough using a rolling pin or pasta machine, starting at the thickest setting and gradually working your way thinner with each pass. If using a pasta machine, pass the dough through each setting 2-3 times, dusting lightly with flour only if absolutely necessary to prevent sticking, until you reach your desired thickness – usually setting 6 or 7 for perfect gluten-free pasta. For cutting, you can use a pasta machine attachment, a sharp knife for pappardelle, or a pizza cutter for tagliatelle, creating beautiful, uniform strands that will cook evenly and look absolutely spectacular on your plate. Your third brilliant tip: when cutting pasta by hand, use a pizza cutter for straight, clean edges and consistent width, and immediately separate the cut strands to prevent them from sticking together before cooking!
Cook Your Pasta to Absolute Perfection
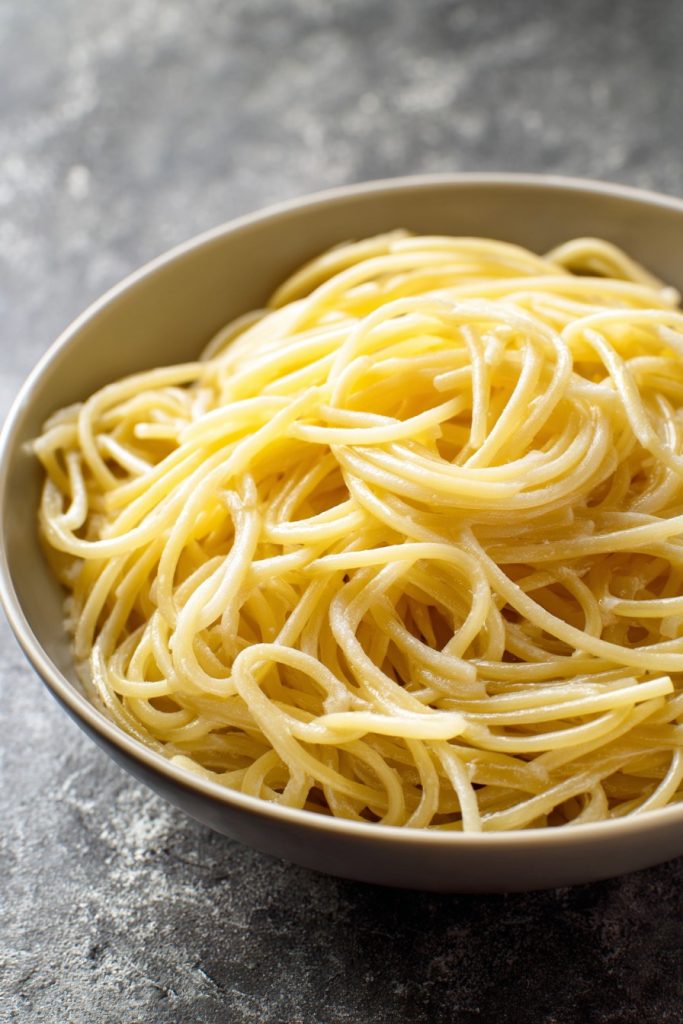
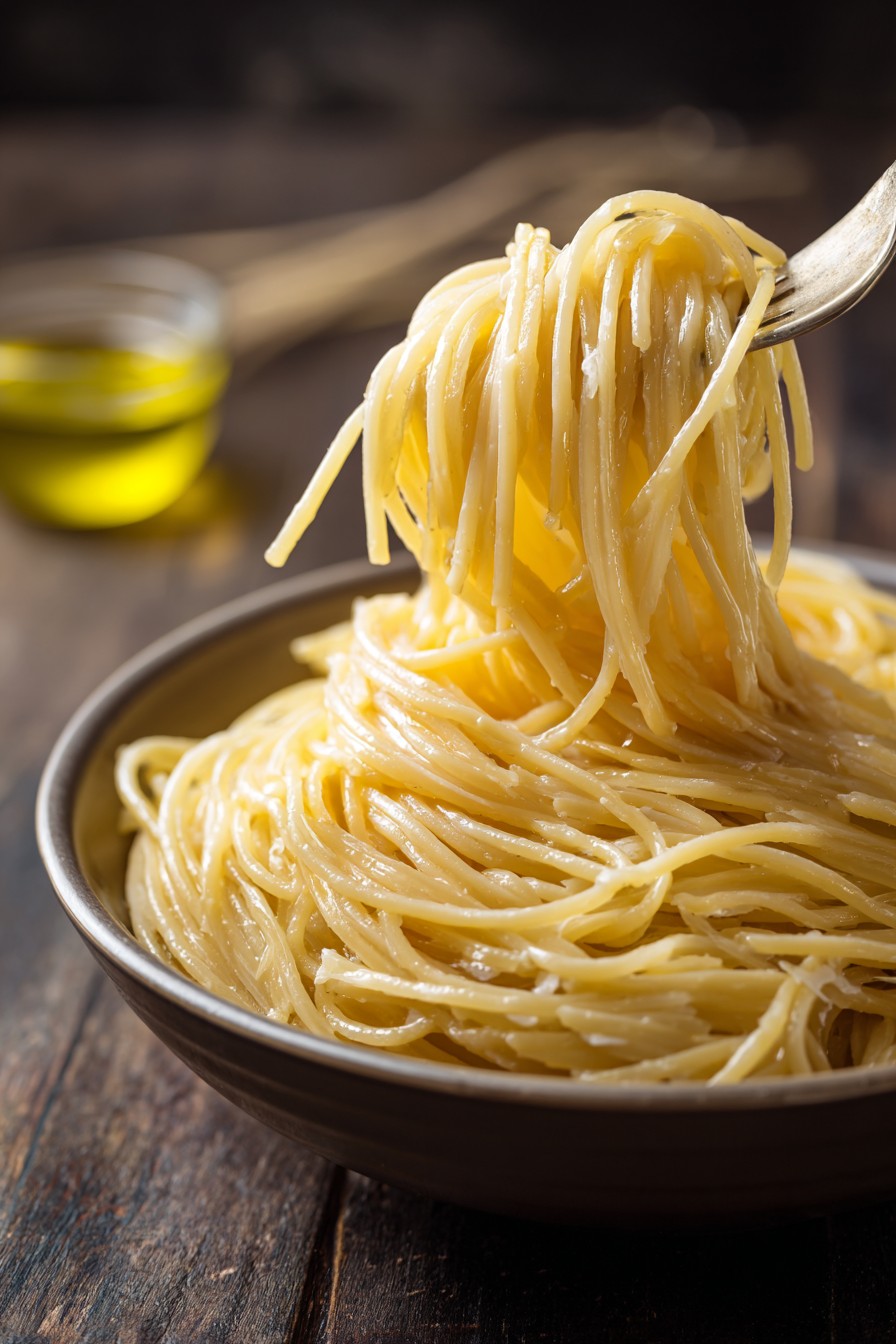
Bring a large pot of generously salted water to a rolling, vigorous boil – you want enough water so your pasta has plenty of room to dance and move freely without sticking together during cooking. Gently add your fresh pasta to the boiling water, stirring immediately with a long-handled spoon to ensure every strand is separated and cooking evenly from the very first moment. Cook for just 2-3 minutes, watching carefully for the moment when your pasta floats to the surface and the water returns to a boil – this is your visual cue that perfection is mere moments away. Test for doneness by tasting a single strand at the 2-minute mark, looking for that perfect al dente texture that’s tender yet still has a slight resistance when you bite into it. Drain immediately but reserve about 1 cup of that precious, starchy pasta water – it’s liquid gold for adjusting your sauce consistency and helping it cling beautifully to every single strand of your homemade masterpiece!
Tips and Tricks
Let me share the insider secrets that will elevate your gluten-free pasta game from good to absolutely extraordinary! First, understand that gluten-free flours behave completely differently than wheat flour – they absorb moisture at varying rates depending on humidity, temperature, and even the brand you’re using. This means you must become a texture detective, learning to feel when your dough has reached that perfect balance between too dry and too sticky. If your dough feels crumbly and won’t come together, add water just one teaspoon at a time, kneading thoroughly between additions until you achieve that ideal smooth, slightly tacky consistency. Conversely, if your dough feels overly sticky and clings to your hands like culinary glue, dust with small amounts of brown rice flour until it becomes workable but still moist. When rolling out your pasta, work quickly but deliberately to prevent the dough from drying out, and if you notice any cracking around the edges during rolling, lightly mist the surface with water from a spray bottle before continuing. For storage, you can dry your fresh pasta by hanging it over a pasta drying rack or the back of a chair for several hours until completely brittle, then store in an airtight container for up to a month. If freezing, arrange your cut pasta in single layers on parchment-lined baking sheets, freeze until solid, then transfer to freezer bags where they’ll keep beautifully for three months – no need to thaw before cooking, just add an extra minute to your boiling time. When cooking, remember that fresh gluten-free pasta cooks much faster than dried, so set that timer and stay vigilant because overcooking by even 30 seconds can turn your masterpiece into mush. The starchy pasta water you reserve is absolutely crucial – it contains released starches that act as natural emulsifiers, helping your sauce cling to every strand and creating that restaurant-quality finish that will make your guests think you’re a culinary genius. If you don’t have a pasta machine, don’t despair – a rolling pin and sharp knife work perfectly fine, just be patient and roll your dough as evenly as possible, turning it frequently and dusting lightly to prevent sticking. Finally, embrace the imperfections! Homemade pasta should have character, with slight variations in thickness and shape that prove it was made with love and care rather than manufactured in a factory – these little quirks are what make your creation truly special and memorable!
Recipe Variations
- Transform your basic pasta into vibrant spinach pasta by adding 1/4 cup of cooked, squeezed-dry, and finely chopped spinach to the dough during the kneading process – the beautiful green color will make your dish visually stunning while adding subtle earthy flavors that pair magnificently with cream sauces, garlic, and Parmesan cheese! The moisture content in the spinach may require adjusting your flour slightly, so add an extra tablespoon of brown rice flour if the dough feels too sticky, and remember that the vibrant color intensifies during cooking, creating pasta that looks as incredible as it tastes!
- Create stunning beetroot pasta that will absolutely dazzle your dinner guests by incorporating 1/4 cup of roasted beet puree into your dough mixture – the spectacular deep magenta color makes every plate look like a work of art while adding natural sweetness that complements brown butter sage sauce or goat cheese crumbles perfectly! Roast your beets until tender, peel them while warm, then puree until completely smooth before measuring, and be prepared for the most Instagram-worthy pasta you’ve ever created that tastes even more incredible than it looks!
- Infuse your pasta with incredible herb flavor by adding 2 tablespoons of finely chopped fresh herbs like basil, parsley, or chives to your flour mixture before adding wet ingredients – the herbs distribute evenly throughout the dough, creating beautiful speckled pasta that tastes amazing with simple olive oil, garlic, and lemon zest! For the best results, chop your herbs just before using to preserve their vibrant color and fresh flavor, and consider pairing herb pasta with complementary sauces that won’t overpower those delicate herbal notes you’ve worked so hard to incorporate!
- Make luxurious egg yolk pasta by using 5 egg yolks instead of 3 whole eggs for incredibly rich, golden pasta with superior texture and flavor that stands up beautifully to hearty meat sauces or simple brown butter preparations! The additional fat from the extra yolks creates pasta with amazing flexibility and that beautiful yellow color people associate with premium fresh pasta, plus it cooks up with a wonderfully silky mouthfeel that will make this variation your new special occasion go-to recipe!
- Create fun, colorful confetti pasta by adding 2 tablespoons of finely chopped sun-dried tomatoes, black olives, or sautéed mushrooms to your dough during the final kneading stage – the colorful specks create visual interest and bursts of flavor that make every bite exciting and unpredictable! This variation works particularly well when you want to impress guests or make weeknight dinners feel extra special, and the added ingredients can be customized based on what you have available or what complements your planned sauce!
Frequently Asked Questions
Can I make this pasta without eggs for a vegan version?
Absolutely, and the results will blow your mind! Replace the 3 eggs with a flax egg mixture made from 3 tablespoons of ground flaxseed mixed with 9 tablespoons of warm water, letting it thicken for 10 minutes before using. You’ll also want to increase the water in the recipe by 1-2 tablespoons since the flax mixture doesn’t provide quite the same hydration as eggs. The texture will be slightly different – more delicate and requiring careful handling – but still absolutely delicious and perfect for those avoiding animal products. Just be extra gentle when rolling and cutting, and consider making thicker shapes like pappardelle that hold up better to the more fragile vegan dough structure!
Why does my gluten-free pasta sometimes turn out gummy or mushy?
This heartbreaking texture tragedy usually happens for one of three reasons that are completely preventable with the right knowledge! First, you might be overcooking – fresh gluten-free pasta needs just 2-3 minutes in boiling water, and every second beyond that can push it from perfect to mushy. Second, your dough might have been too wet initially, absorbing excess water during cooking and becoming gummy, so always err on the slightly drier side when adjusting hydration. Third, you might not be using enough boiling water – pasta needs plenty of room to move freely, so use the largest pot you have and generous amounts of water to ensure proper cooking!
Can I use different gluten-free flour blends in this recipe?
While you can experiment, I must warn you that not all gluten-free flour blends are created equal when it comes to pasta making! Superfine brown rice flour provides the necessary structure, while tapioca starch adds flexibility and that perfect chew – substituting either can dramatically alter your results. If you must substitute, look for blends specifically designed for pasta or bread, and avoid those with bean flours that can create strong flavors and dense textures. Whatever blend you choose, make sure it includes some form of starch and binding agent, and be prepared to adjust liquid amounts since different flours absorb moisture at varying rates!
How long does fresh gluten-free pasta last, and what’s the best way to store it?
Your beautiful homemade creation can be refrigerated for up to 3 days if stored properly in an airtight container with parchment between layers to prevent sticking! For longer storage, drying is your best friend – hang your cut pasta until completely brittle (usually 12-24 hours depending on humidity), then store in airtight containers where it will keep beautifully for about a month. Freezing is another excellent option – arrange your cut pasta in single layers on baking sheets, freeze until solid, then transfer to freezer bags where they’ll maintain quality for three months. Always label with the date, and remember that frozen pasta can go directly from freezer to boiling water, just add an extra minute to your cooking time!
Why is my pasta dough cracking when I try to roll it out?
This frustrating issue typically means your dough is too dry, which happens more frequently with gluten-free flours because they absorb moisture differently than wheat flour! The solution is simple but requires patience – lightly mist the surface of your dough with water from a spray bottle, then knead briefly to incorporate the additional moisture. You can also try covering the dough with a damp cloth for 10-15 minutes to allow the moisture to redistribute evenly throughout. If cracking persists, your dough might need more kneading to properly develop the xanthan gum’s binding properties, so don’t be afraid to put some muscle into it!
Summary
This revolutionary gluten-free pasta recipe will completely transform your relationship with homemade noodles, delivering perfect texture, incredible flavor, and the pure joy of creating something extraordinary with your own hands. Embrace the process, trust the techniques, and prepare to amaze yourself with results that rival any Italian grandmother’s masterpiece!