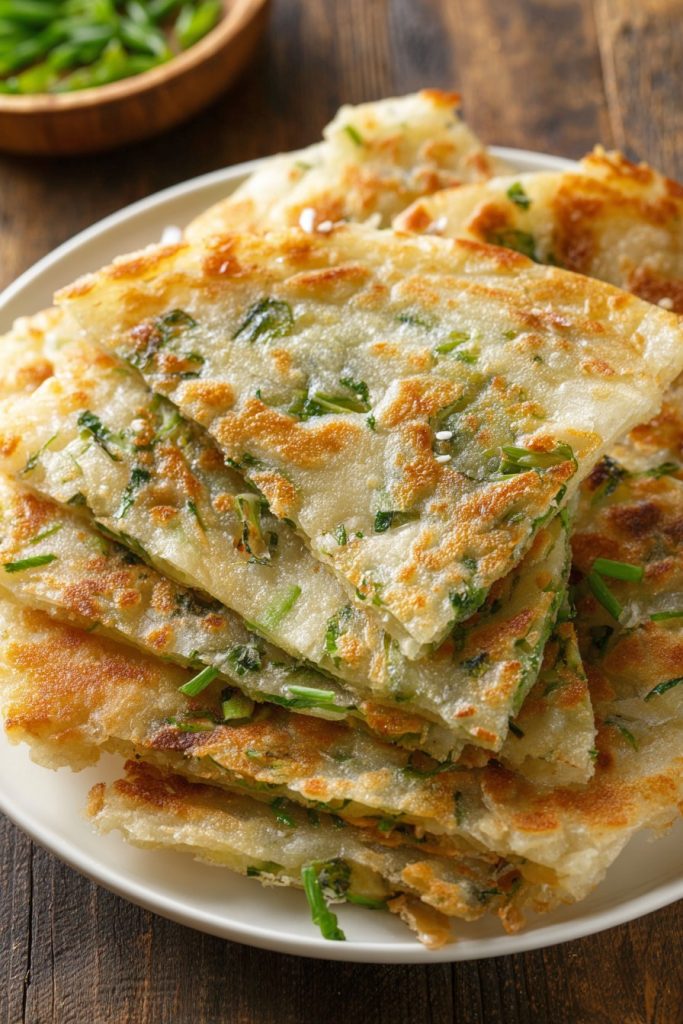
Cramped schedules and hungry kids don’t leave much room for complicated cooking, which is why this green onion pancake recipe has become my go-to solution for busy weeknights. Creating these crispy, savory pancakes requires minimal ingredients you likely already have in your pantry, and the whole process from start to finish takes less time than waiting for pizza delivery. Cleanup is equally straightforward since we’re using just one bowl and a single skillet, making this the perfect stress-free meal when you’re juggling homework, activities, and everything else family life throws your way.
Why This Recipe Works
- The hot water dough method creates incredibly tender, flaky layers without requiring any resting time, which means you can go from mixing to eating in under 30 minutes total. This technique bypasses the traditional lengthy dough development process that often discourages busy parents from making scratch pancakes.
- Using both the green and white parts of scallions maximizes flavor while minimizing food waste, and the simple seasoning of just salt and sesame oil lets the natural onion flavor shine through without overwhelming young palates. The minimal ingredient list means fewer items to purchase and store.
- The pan-frying technique creates that perfect crispy exterior while keeping the interior soft and layered, giving you restaurant-quality texture without the grease-heavy deep-frying that many similar recipes require. This method uses just enough oil to achieve crispiness while keeping the dish relatively light.
- The recipe scales beautifully whether you’re feeding one hungry teenager or a family of six, and leftovers reheat wonderfully in the toaster oven for quick snacks or next-day lunches. Unlike many fried foods that turn soggy, these maintain their texture when properly stored and reheated.
- Minimal equipment requirements mean you’re not pulling out every bowl and utensil in your kitchen, and the quick cooking time allows you to make multiple batches back-to-back if needed without spending hours in the kitchen while your family waits impatiently.
Ingredients
- 2 cups all-purpose flour, plus extra for dusting
- 3/4 cup boiling water
- 1/4 cup cold water
- 1 bunch green onions (about 6-8), finely chopped
- 1 teaspoon salt
- 2 tablespoons sesame oil
- 3 tablespoons vegetable oil, divided for cooking
Equipment Needed
- Mixing bowl
- Measuring cups and spoons
- Rolling pin
- Large skillet or non-stick pan
- Spatula
- Knife and cutting board
- Kitchen towel or plastic wrap
Instructions
Prepare the Simple Dough
Measure out 2 cups of all-purpose flour into your mixing bowl and create a well in the center. Carefully pour 3/4 cup of boiling water into the flour well, then immediately begin stirring with a fork or chopsticks until the water is fully incorporated and the mixture resembles coarse crumbs. The hot water will partially cook the flour, creating that signature tender texture that makes these pancakes so delightfully flaky. Once the boiling water is mixed in, add 1/4 cup of cold water and continue mixing until a shaggy dough forms. At this point, use your hands to knead the dough directly in the bowl for about 2-3 minutes until it becomes smooth and no longer sticky. If the dough feels too dry, add cold water one tablespoon at a time; if too sticky, sprinkle in a bit more flour. The beauty of this method is that unlike yeast doughs, this hot water dough requires no resting time, so you can move directly to the next step without waiting.
Combine Flavor Components
Create the Layered Structure
Starting from one of the longer sides, tightly roll the rectangle into a log shape, similar to how you’d roll a cinnamon roll. Once you have a complete log, take one end and begin coiling it inward like a snail shell, tucking the final end underneath to secure it. Use your palm to gently flatten this coil, then let it rest while you repeat the process with the remaining three dough portions. This rolling and coiling technique is what creates the distinctive layered texture—as the pancake cooks, steam forms between these layers, causing them to separate and become flaky. Don’t worry if some green onions peek through or if the shape isn’t perfectly round; these imperfections actually contribute to a more interesting final texture and appearance.
Cook to Golden Perfection
Heat a large skillet or non-stick pan over medium heat and add 1 tablespoon of vegetable oil. While the oil heats, take your first coiled dough and roll it out into a circle about 1/4-inch thick—thicker than you might expect, as this helps maintain those beautiful layers during cooking. Once the oil shimmers (about 2 minutes of heating), carefully place the pancake in the pan. Cook for 3-4 minutes until the bottom develops golden brown spots and the edges begin to look cooked through. Flip using a spatula and cook the second side for another 3-4 minutes, pressing down gently to ensure even contact with the pan. You’ll know it’s ready when both sides are speckled with brown and the pancake feels firm to the touch. Transfer to a cutting board and repeat with remaining pancakes, adding more oil as needed between batches.
Serve Immediately for Best Texture
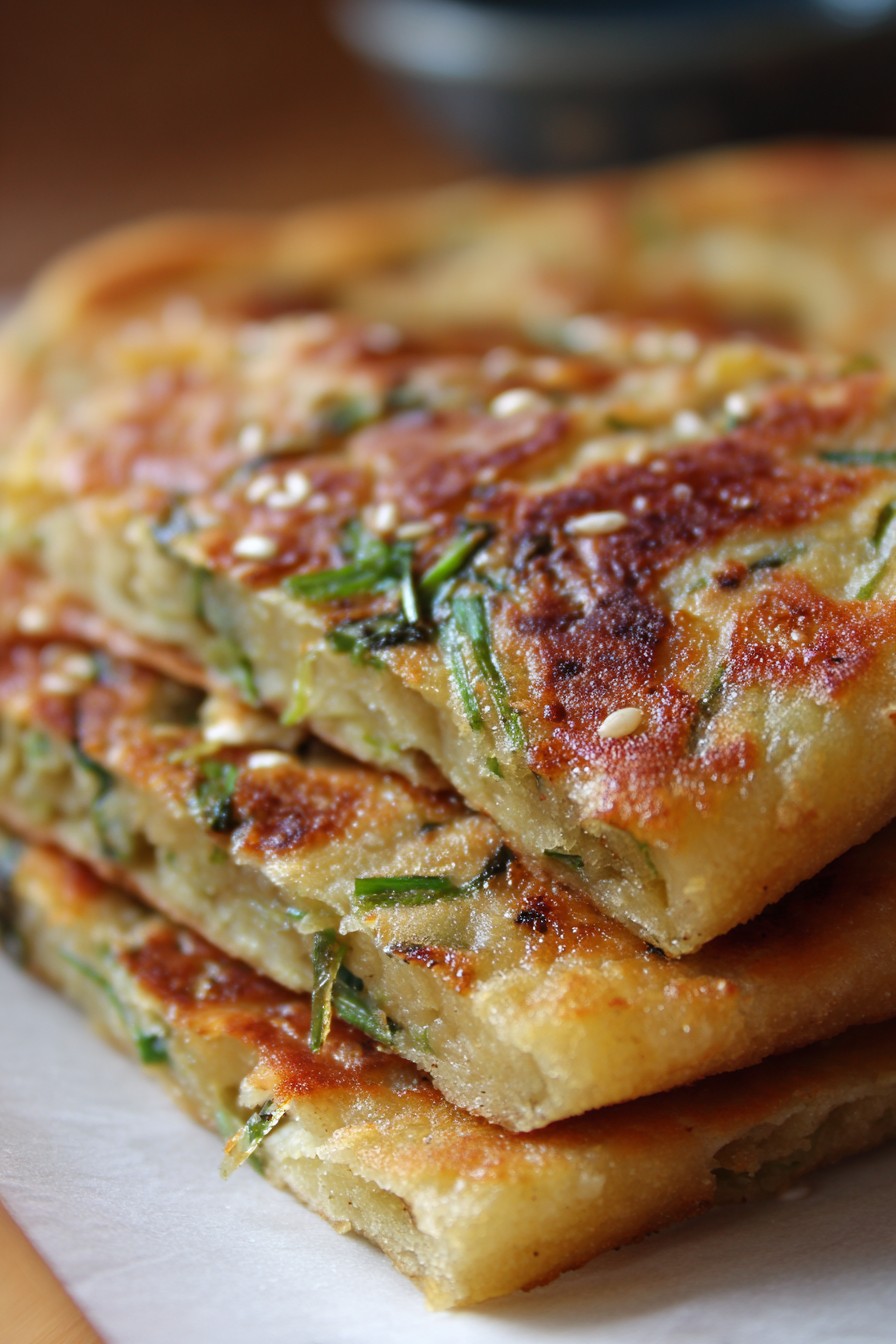
As each pancake finishes cooking, transfer it to a cutting board and use a sharp knife or pizza cutter to slice it into wedges—I find 6-8 wedges per pancake works well for sharing. Serve immediately while still hot and crispy, as these are truly at their peak texture right out of the pan. The exterior should be delightfully crisp while the interior remains tender and flaky, with the green onions providing bursts of fresh flavor throughout. If you need to keep multiple batches warm while cooking the rest, place them on a baking sheet in a 200°F oven—they’ll maintain their crispness much better than if covered with foil, which can trap steam and make them soggy. These are fantastic on their own or served with a simple dipping sauce of soy sauce mixed with a splash of rice vinegar.
Tips and Tricks
If you find yourself with extra green onions, chop them finely and freeze them in an airtight container—they’ll work perfectly in this recipe straight from the freezer, saving you prep time on busy nights. For families with varying spice preferences, consider setting up a DIY topping bar with chili oil, hoisin sauce, and sweet chili sauce so everyone can customize their own pancake wedges. When measuring flour, use the spoon-and-level method rather than scooping directly from the bag with your measuring cup—this prevents packing too much flour into your measurement, which can make the dough too dry and difficult to work with.
If your kitchen tends to be cool, you can warm your mixing bowl by rinsing it with hot water before adding the flour—this helps maintain the dough’s temperature during mixing and makes it more pliable. For particularly busy weeks, you can prepare the coiled dough discs ahead of time and refrigerate them between layers of parchment paper for up to 2 days, then simply roll and cook when needed. When cooking multiple batches, wipe out any burnt bits from the pan between pancakes to prevent them from sticking to subsequent batches and affecting their flavor.
If you’re cooking for a crowd, you can keep finished pancakes warm and crisp in a single layer on a baking sheet in a 200°F oven for up to 30 minutes without significant texture loss. For extra crispy edges, gently separate the layers around the perimeter with your fingers after the first flip—this allows hot oil to penetrate between the layers. If your family includes particularly picky eaters who might object to visible green pieces, you can blend the green onions into the water before adding to the flour—the flavor will still be there without the visual green specks.
When storing leftovers, place them in a single layer in an airtight container with parchment paper between layers—they’ll reheat beautifully in a toaster oven or air fryer at 350°F for 3-4 minutes. For a fun family activity, let older kids help with the rolling and coiling process—it’s forgiving enough that imperfect shapes still taste delicious, and it helps them feel involved in meal preparation. If you notice your pancakes are browning too quickly, reduce the heat slightly and extend the cooking time—the goal is golden brown, not dark brown, with the interior fully cooked through.
Recipe Variations
- For a heartier meal that can stand on its own, add 1/2 cup of finely chopped cooked bacon or ham along with the green onions—the salty, savory addition makes these substantial enough for dinner rather than just a side dish. You can also mix in 1/4 cup of shredded cheese between the layers for extra richness that kids particularly love. The fat from the bacon or cheese will create even more separation between layers, resulting in an exceptionally flaky texture.
- Transform these into a complete vegetarian meal by adding 1/2 cup of finely chopped mushrooms sautéed with garlic until their moisture evaporates. Spinach lovers can incorporate 1 cup of finely chopped fresh spinach—just be sure to squeeze out any excess moisture first to prevent soggy pancakes. These vegetable additions not only boost nutrition but also create interesting textural contrasts within the flaky layers.
- For an Asian-inspired twist, mix 1 tablespoon of five-spice powder into the flour before adding water, and include 1/4 cup of finely chopped Chinese sausage (lap cheong) along with the green onions. You could also substitute the sesame oil with chili oil for a spicy version that adults will appreciate. Serve these with a dipping sauce made from equal parts soy sauce and rice vinegar with a teaspoon of honey stirred in.
- Create a breakfast version by adding 1/4 cup of cooked breakfast sausage crumbles and replacing 2 tablespoons of the water with beaten egg when making the dough. For sweeter palates, omit the green onions and salt, instead adding 2 tablespoons of sugar to the flour and filling with cinnamon sugar before rolling. These sweet versions are fantastic with morning coffee or as an after-school treat.
- For gluten-free families, substitute the all-purpose flour with a 1:1 gluten-free baking blend and add 1/2 teaspoon of xanthan gum to help with texture. The hot water method works equally well with gluten-free flours, though you may need to adjust water amounts slightly depending on your specific blend. The resulting pancakes will be slightly more delicate but still deliciously flaky.
Frequently Asked Questions
Can I make the dough ahead of time for even faster weeknight meals?
Absolutely—this is one of my favorite time-saving strategies for particularly hectic weeks. After kneading the dough, you can wrap it tightly in plastic wrap and refrigerate for up to 2 days. The cold actually improves the dough’s texture, making it easier to roll out without sticking. When ready to use, let it sit at room temperature for about 15 minutes to take the chill off before proceeding with the rolling and filling steps. You can even prepare the filled coils ahead and refrigerate them between layers of parchment paper, then simply roll and cook when needed. This advance prep means you can have fresh, hot pancakes on the table in under 10 minutes on busy nights.
My pancakes turned out tough instead of flaky—what went wrong?
This usually happens when the dough gets overworked during the rolling process or if you used too much flour when rolling out the coils. Remember that with this hot water dough method, gentle handling is key—you’re not developing gluten like with bread dough. When rolling out the initial rectangle and again when flattening the coiled dough, use light pressure and try to complete the process with as few rolls as possible. Also ensure your skillet is properly preheated before adding the pancake—if the pan isn’t hot enough, the pancake will cook too slowly and steam rather than fry, resulting in a tougher texture. Using enough oil to properly fry rather than just grease the pan is also crucial for achieving that signature flakiness.
Can I freeze these pancakes for future quick meals?
Yes, they freeze remarkably well! The best method is to cook them completely, let them cool completely to room temperature, then wrap individually in plastic wrap and place in a freezer bag. They’ll keep for up to 3 months this way. To reheat, there’s no need to thaw—just place frozen pancake directly in a 350°F toaster oven or conventional oven for 8-10 minutes until hot and crispy again. Avoid microwaving if possible, as this will make them soft and chewy rather than crisp. This freezing method makes these perfect for those nights when even 20 minutes of cooking feels like too much—you can have a homemade meal ready in the time it takes to preheat your oven.
What’s the best way to get my kids involved in making these?
This recipe is wonderfully kid-friendly at several stages! Younger children can help measure ingredients and mix the initial dough with a fork—the hot water step should be handled by adults, but everything else is safe for little hands. School-age kids typically enjoy sprinkling the green onions and salt, and even the rolling and coiling process is simple enough for most children ages 7 and up. Teenagers can often handle the entire process with minimal supervision, making this a great recipe for building kitchen confidence. The forgiving nature of the dough means imperfect shapes still taste delicious, so there’s no pressure for perfection. Many parents find that involving kids in preparation makes them more excited to eat the final product.
Why use both boiling and cold water in the dough?
This combination creates the perfect texture—the boiling water partially cooks the flour proteins, limiting gluten development and resulting in a tender, soft dough that’s easy to work with. The cold water then brings the temperature down to a workable level and provides the moisture needed to bring the dough together without making it sticky. This hot water method, sometimes called “scalded flour” technique, is what gives these pancakes their signature flaky, tender quality that’s different from traditional bread-like pancakes. It also significantly reduces the resting time needed compared to yeast or cold-water doughs, making this method ideal for busy families who need quick results without compromising texture.
Summary
These green onion pancakes deliver restaurant-quality flakiness with minimal effort, using pantry staples and a clever hot-water dough technique that bypasses lengthy resting times. The simple seven-ingredient recipe scales easily for any family size and accommodates numerous variations while maintaining its essential crisp exterior and tender, layered interior. Perfect for busy weeknights, these come together faster than takeout and leave you with minimal cleanup.
Green Onion Pancake
6
servings15
minutes15
minutesIngredients
Instructions
- 1 Mix flour with boiling water until crumbly, then add cold water and knead until smooth.
- 2 Divide dough into 4 portions, roll each into rectangle, brush with sesame oil, sprinkle with salt and green onions.
- 3 Roll each rectangle into log, then coil into spiral and flatten slightly.
- 4 Heat vegetable oil in skillet, roll coiled dough into 1/4-inch thick circles, cook 3-4 minutes per side until golden brown.
- 5 Slice into wedges and serve immediately while hot and crispy.


