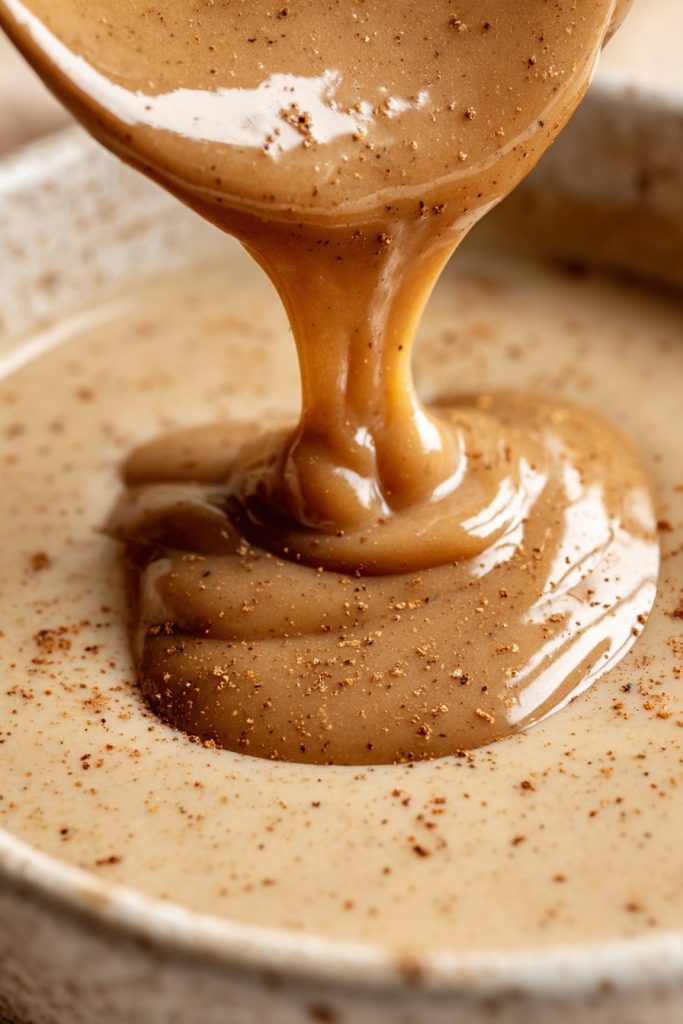
Glaze your world with this explosive cinnamon icing that transforms ordinary baked goods into extraordinary flavor experiences. Get ready to awaken your senses with a drizzle that delivers pure cinnamon intensity in every single bite. This isn’t just icing—it’s liquid gold that elevates everything it touches.
Why This Recipe Works
- The perfect balance of powdered sugar creates a smooth, velvety texture that drapes beautifully over any surface while maintaining just enough thickness to cling to every nook and cranny of your baked creations.
- Real ground cinnamon delivers that authentic, warm spice kick that artificial flavorings can never replicate, creating layers of complexity that dance across your palate with each sweet, spicy bite.
- Whole milk provides the ideal creamy base that allows the glaze to achieve that perfect pouring consistency—not too thin to run off, not too thick to spread unevenly, just pure drizzle perfection.
- Pure vanilla extract adds a subtle floral note that complements the cinnamon’s warmth, creating a symphony of flavors that makes this glaze unforgettable and utterly addictive.
- The simple addition of salt transforms this from one-dimensional sweetness to a multidimensional flavor explosion that keeps you coming back for just one more taste.
Ingredients
- 2 cups powdered sugar, sifted
- 1 tablespoon ground cinnamon
- 3 tablespoons whole milk, at room temperature
- 1 teaspoon pure vanilla extract
- ¼ teaspoon fine sea salt
Equipment Needed
- Medium mixing bowl
- Whisk
- Measuring cups and spoons
- Fine-mesh sieve
- Rubber spatula
Instructions
Prepare Your Foundation
Begin by sifting your powdered sugar through a fine-mesh sieve into your medium mixing bowl. This crucial step eliminates any stubborn lumps that could ruin your glaze’s silky smooth texture. Watch as the sugar cascades down in a snowy white waterfall, creating the perfect foundation for your cinnamon masterpiece. The sifting process aerates the sugar, making it lighter and more receptive to the other ingredients. Take your time here—rushing this step means risking gritty texture that will haunt your final product. As you sift, notice how the sugar becomes fluffier and more voluminous, ready to absorb all the incredible flavors we’re about to introduce. This isn’t just preparation; it’s setting the stage for icing perfection that will make every bite feel like a cloud of cinnamon-spiced heaven.
Incorporate the Spice
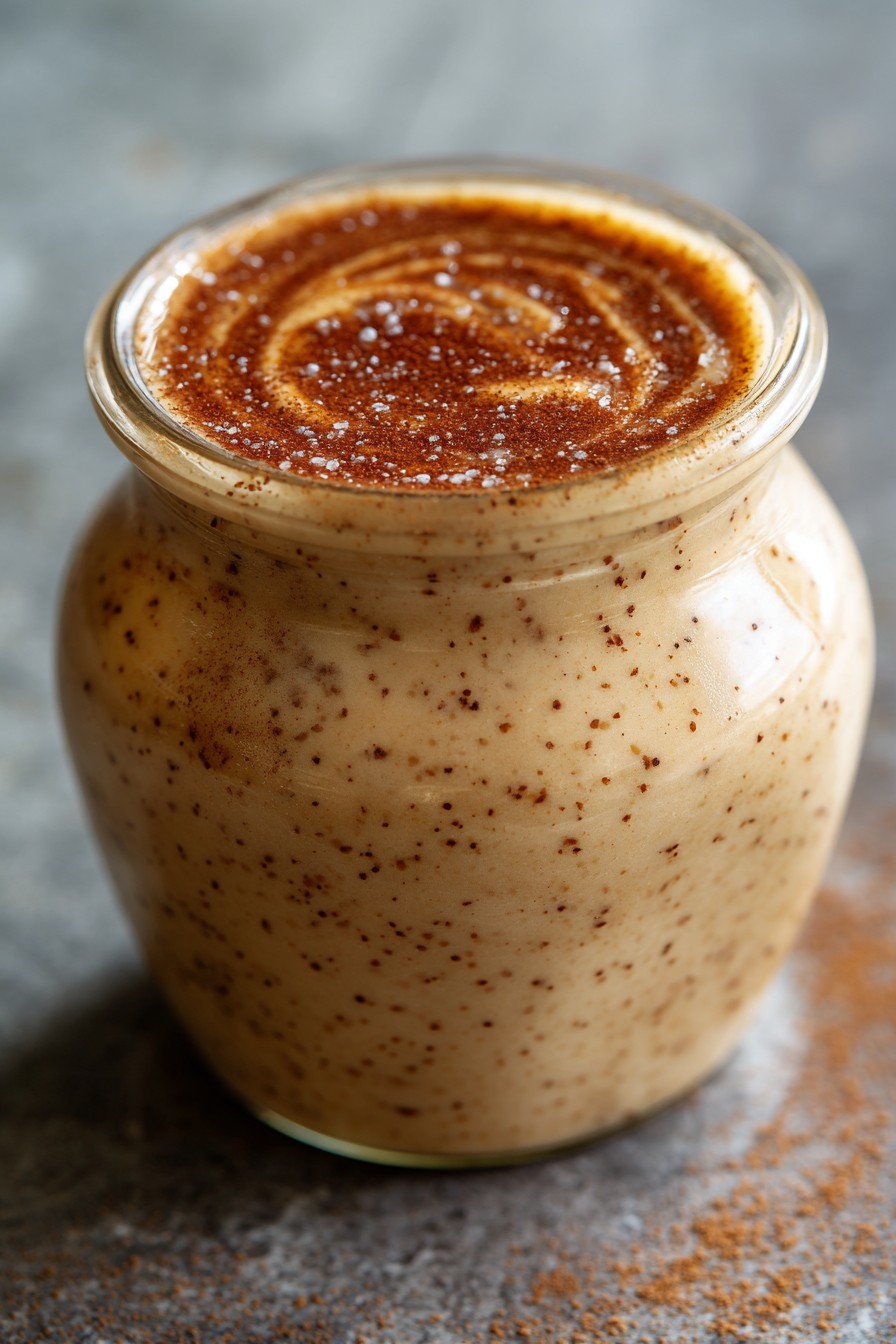
Now comes the magic moment—measure out that glorious tablespoon of ground cinnamon and sprinkle it evenly over your sifted powdered sugar. Don’t just dump it in one spot; distribute it like you’re seasoning the entire surface of your sugar canvas. As you begin whisking, watch the transformation from pure white to that warm, inviting tan color that promises spicy goodness. The aroma will start to release immediately, filling your kitchen with that unmistakable cinnamon warmth that makes everything feel cozier. Whisk for a full minute, ensuring every grain of sugar becomes acquainted with the cinnamon. You’ll see the color deepen and uniform, creating that beautiful speckled appearance that signals proper incorporation. This thorough mixing prevents any cinnamon clumps from forming surprise spice bombs in your otherwise smooth glaze.
Create the Liquid Base
Pour your three tablespoons of room temperature whole milk into the center of your dry ingredients, followed immediately by that teaspoon of pure vanilla extract. The temperature of your milk matters significantly here—cold milk can cause the sugar to seize up, while milk that’s too warm might thin your glaze excessively. Watch as the liquid creates a small well in the sugar-cinnamon mixture, then begin whisking from the center outward, gradually incorporating more of the dry ingredients. The mixture will initially look thick and pasty, but continue whisking with determination. You’re building the foundation of your glaze’s texture right now, creating that perfect balance between thickness and pourability. After about two minutes of vigorous whisking, you should have a thick, spreadable base that’s ready for its final adjustments.
Adjust to Perfection
Now assess your glaze’s consistency by lifting your whisk and observing how the glaze drips back into the bowl. It should form a thick ribbon that holds its shape for a moment before melting back into the mixture. If it’s too thick, add milk one teaspoon at a time, whisking thoroughly after each addition until you reach that perfect drizzling consistency. If it’s too thin, add more sifted powdered sugar one tablespoon at a time. This is where your personal preference comes into play—some like a thicker glaze that sits proudly on top, while others prefer a thinner version that cascades down the sides. Remember that the glaze will thicken slightly as it sits, so err on the side of slightly thinner if you’re unsure. The perfect glaze should coat the back of a spoon but still drip off slowly.
Final Seasoning and Resting
Sprinkle that quarter teaspoon of fine sea salt across the surface of your nearly finished glaze. This might seem counterintuitive, but trust the process—the salt will elevate every other flavor, making the cinnamon more vibrant and the vanilla more pronounced. Whisk for another thirty seconds to fully incorporate, then let the glaze rest for five minutes. This resting period allows the flavors to meld together beautifully and gives the glaze time to settle into its final consistency. During this time, the cinnamon continues to hydrate and release more of its essential oils, deepening the flavor profile. After resting, give it one final whisk to ensure perfect homogeneity before using immediately on your warm baked goods for that magical melt-in effect.
Tips and Tricks
For professional-level glaze results that will make your baked goods look and taste bakery-perfect, consider these advanced techniques. When working with particularly humid environments, reduce your initial milk by one teaspoon to account for atmospheric moisture that can thin your glaze unexpectedly. The opposite applies in dry climates—you might need an extra half tablespoon of milk to achieve that perfect pouring consistency. For an ultra-glossy finish that catches the light beautifully, consider substituting one tablespoon of corn syrup for one tablespoon of milk—this creates a stunning sheen that makes your glazed items look professionally finished. If you’re planning to pipe intricate designs with your glaze, chill it in the refrigerator for fifteen minutes first to thicken it slightly, making it more manageable for detailed work. When glazing multiple items, work in batches and keep your main glaze bowl covered with a damp cloth to prevent skin from forming on the surface. For temperature-sensitive applications where you need the glaze to set quickly but don’t want to refrigerate your baked goods, add a tiny pinch of cream of tartar—this helps the glaze firm up faster without compromising texture. If you accidentally over-thin your glaze, don’t panic—place the bowl in the refrigerator for ten-minute intervals, whisking between each chill session until it thickens to your desired consistency. For large batch preparation, you can make this glaze up to three days in advance—store it in an airtight container in the refrigerator, then bring it to room temperature and re-whisk before using. When glazing delicate items like cinnamon rolls or donuts, place them on a wire rack over a baking sheet—this allows excess glaze to drip off cleanly and makes for easier cleanup. For the most intense cinnamon flavor, toasting your cinnamon lightly in a dry skillet for thirty seconds before grinding (if using whole) or incorporating it into the sugar can unlock deeper, more complex flavor notes that will make your glaze truly unforgettable.
Recipe Variations
- For a creamy cinnamon roll glaze that clings beautifully to warm surfaces, increase the milk to four tablespoons and add two tablespoons of softened cream cheese beaten until smooth before incorporating other ingredients. This creates a tangy counterpoint to the sweet spice that makes classic cinnamon rolls absolutely irresistible.
- Transform this into an orange-cinnamon glaze by replacing one tablespoon of milk with freshly squeezed orange juice and adding one teaspoon of finely grated orange zest. The citrus brightness cuts through the richness while complementing the warm spice notes in unexpected, delightful ways.
- Create a maple-cinnamon glaze by substituting the vanilla extract with pure maple syrup and reducing the milk by one teaspoon. The deep, caramel notes of maple syrup marry exquisitely with cinnamon, creating an autumnal flavor profile that’s perfect for fall baking.
- For a spiced chocolate twist, add two tablespoons of Dutch-process cocoa powder when incorporating the cinnamon and increase the milk by one additional tablespoon. The combination of chocolate and cinnamon creates a Mexican hot chocolate-inspired glaze that’s sophisticated and deeply satisfying.
- Make an adult-friendly version by replacing one tablespoon of milk with bourbon or spiced rum—the alcohol cooks off while leaving behind complex flavor notes that elevate simple baked goods into gourmet treats perfect for entertaining.
Frequently Asked Questions
Can I make this glaze ahead of time?
Absolutely, and it actually improves with a brief rest! You can prepare this cinnamon glaze up to three days in advance when stored properly in an airtight container in the refrigerator. The resting period allows the cinnamon flavor to fully hydrate and distribute evenly throughout the glaze, creating a more harmonious flavor profile. When ready to use, bring it to room temperature—this usually takes about thirty minutes—then whisk vigorously to restore the smooth, pourable consistency. If it seems too thick after refrigeration, you can whisk in additional milk one teaspoon at a time until it reaches your desired consistency. Never microwave the glaze to warm it up, as this can cause separation and ruin the texture you worked so hard to achieve.
What’s the difference between glaze and frosting?
The distinction comes down to texture, composition, and application method. Glazes like this cinnamon version are thinner, pourable, and set with a slight crust while remaining soft underneath—they’re designed to drizzle and create that beautiful cascading effect down the sides of baked goods. Frostings are thicker, spreadable, and maintain their shape, often containing butter or cream cheese as a base. Glazes typically use liquid (like milk) as their primary moistener, while frostings rely on fat content for structure. This cinnamon glaze specifically enhances rather than overwhelms your baked goods, allowing the underlying flavors to shine through while adding that signature spicy sweetness.
Why did my glaze turn out gritty?
Grittiness usually stems from insufficiently sifted powdered sugar or improperly incorporated cinnamon. Always sift your powdered sugar through a fine-mesh sieve—even if it claims to be pre-sifted—to eliminate any stubborn sugar crystals that didn’t get properly ground during manufacturing. When adding cinnamon, whisk it thoroughly with the sugar before introducing liquids to ensure even distribution. If your glaze does turn out gritty, you can often save it by pressing it through a fine-mesh sieve to remove the offending particles, though this works best before the glaze fully sets. Using high-quality cinnamon without any added anti-caking agents also helps prevent grittiness.
Can I use this glaze for piping designs?
While this glaze is primarily designed for drizzling, you can absolutely adapt it for piping with a few adjustments. For detailed work, reduce the milk by one teaspoon to create a thicker consistency that will hold its shape better. Transfer the thickened glaze to a piping bag fitted with your desired tip—small round tips work best for writing and outlines. Chill the filled piping bag in the refrigerator for fifteen minutes before using to help the glaze firm up slightly. Work quickly once you remove it from refrigeration, as it will thin out as it comes to room temperature. Practice your designs on parchment paper first to get a feel for the flow rate and pressure needed.
How long does glazed food stay fresh?
Glazed items maintain optimal texture and flavor for about two days when stored properly at room temperature in an airtight container. The glaze acts as a protective barrier, actually helping to keep baked goods moist underneath. Avoid refrigeration unless absolutely necessary, as the cold can cause the glaze to become tacky and lose its beautiful sheen. If you must refrigerate, bring items to room temperature before serving to restore the glaze’s perfect texture. For longer storage, freeze unglazed baked goods and apply fresh glaze after thawing—this preserves both the baked item’s texture and the glaze’s appearance and flavor integrity.
Summary
This cinnamon glaze transforms ordinary baked goods into extraordinary creations with its perfect balance of sweet spice and velvety texture. Master the art of the drizzle with techniques that ensure professional results every time, from proper sifting to ideal consistency adjustments. Your kitchen will never be the same once you experience the magic of homemade cinnamon glaze.
Cinnamon Glaze Icing
5
servings10
minutesIngredients
Instructions
- 1 Sift powdered sugar into medium mixing bowl through fine-mesh sieve
- 2 Add cinnamon and whisk thoroughly with sugar until fully incorporated
- 3 Pour in milk and vanilla extract, whisking from center outward until thick paste forms
- 4 Adjust consistency with additional milk or sugar until perfect drizzling texture achieved
- 5 Add salt, whisk to incorporate, then let rest 5 minutes before final whisk and use