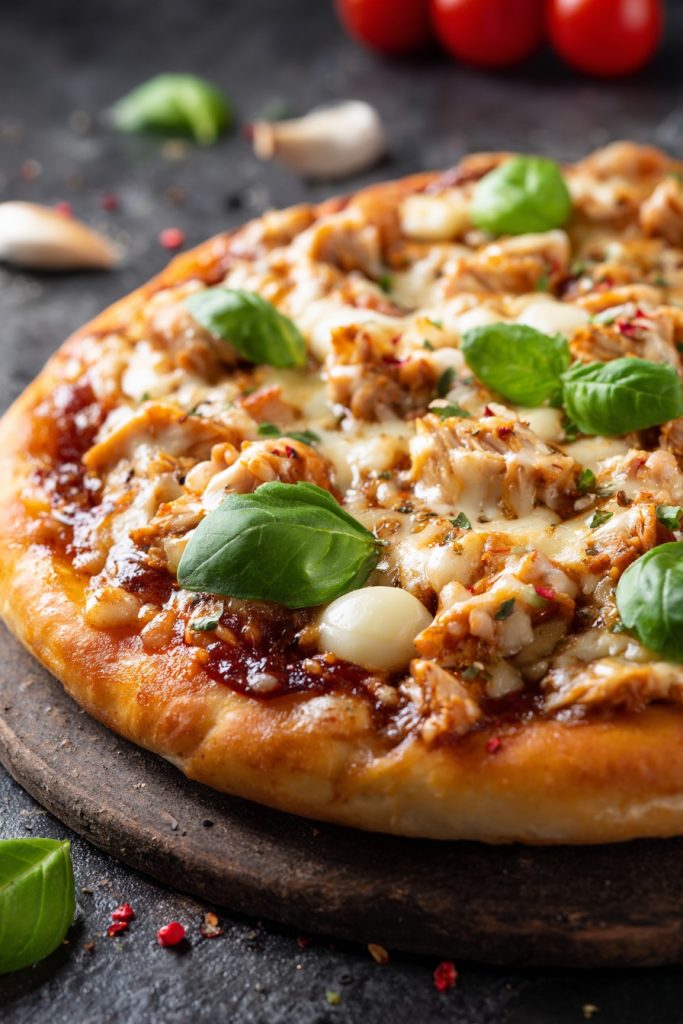
Ready to revolutionize your pizza night with a pantry-staple surprise? Really, who knew that humble canned chicken could transform into the most incredible low-carb pizza crust you’ve ever tasted? This game-changing recipe delivers all the cheesy, saucy goodness without the guilt or gluten.
Why This Recipe Works
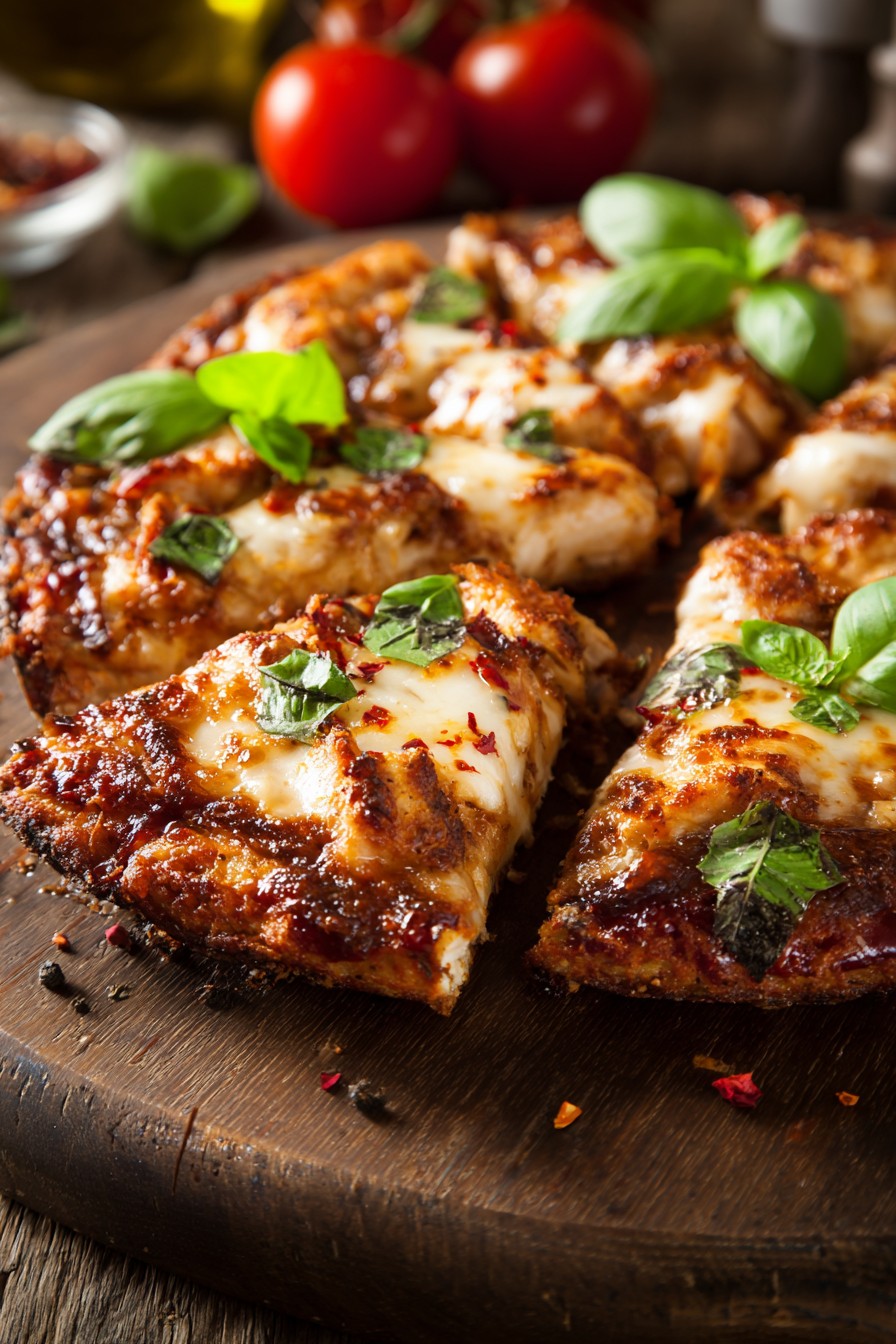
- The canned chicken creates a surprisingly sturdy and flavorful crust that crisps up beautifully in the oven, providing the perfect base for all your favorite toppings without any flour or grains.
- Using pantry staples means you can whip up this pizza anytime cravings strike – no special shopping trips required, making it the ultimate convenient weeknight dinner solution.
- The combination of Parmesan cheese and Italian seasoning infuses every bite with authentic pizza parlor flavor that will have everyone asking for seconds (and the recipe!).
- This crust bakes up firm enough to hold generous amounts of sauce, cheese, and toppings without becoming soggy or falling apart, giving you that perfect pizza slice experience.
- At only a fraction of the carbs and calories of traditional pizza, you can enjoy this guilt-free while still satisfying those intense pizza cravings that strike at the most inconvenient times.
Ingredients
- 2 (12.5 ounce) cans chicken breast, thoroughly drained
- 1 large egg, lightly beaten
- 1/2 cup grated Parmesan cheese
- 1 teaspoon Italian seasoning
- 1/2 teaspoon garlic powder
- 1/4 teaspoon black pepper
- 1/4 teaspoon salt
- 1/2 cup pizza sauce
- 2 cups shredded mozzarella cheese
- Your favorite pizza toppings (pepperoni, mushrooms, bell peppers, etc.)
- Fresh basil leaves for garnish (optional)
- Red pepper flakes for serving (optional)
Equipment Needed
- Medium mixing bowl
- Fork or potato masher
- Measuring cups and spoons
- Parchment paper
- Baking sheet
- Rolling pin (optional)
- Pizza cutter
Instructions
Prepare the Chicken Crust Base
Start by preheating your oven to 400°F and lining a baking sheet with parchment paper. Take your thoroughly drained canned chicken and place it in a medium mixing bowl. Using a fork or potato masher, break down the chicken until it resembles coarse shreds – you want to eliminate any large chunks while maintaining some texture. Add the beaten egg, grated Parmesan cheese, Italian seasoning, garlic powder, black pepper, and salt to the bowl. Mix everything together until well combined and the mixture holds together when pressed. The consistency should be similar to wet sand that clumps together easily. Pro tip: Make sure your chicken is as dry as possible by pressing it between paper towels before mixing to ensure a crispier crust.
Form and Pre-Bake the Crust
Transfer the chicken mixture onto your prepared parchment-lined baking sheet. Using clean hands or a spatula, press the mixture into a circle about 1/4-inch thick, making sure the edges are slightly thicker than the center to create a crust-like border. Aim for a 12-inch diameter circle for the perfect personal pizza size. If the mixture sticks to your hands, lightly wet them with water to prevent sticking. Once shaped, place the baking sheet in the preheated 400°F oven and bake for 15-18 minutes until the edges turn golden brown and the surface appears dry and firm to the touch. The crust should release easily from the parchment paper when gently lifted at the edges.
Add Sauce and Toppings
Remove the pre-baked crust from the oven and let it cool for about 3-5 minutes – this helps prevent the sauce from making the crust soggy. Spread the pizza sauce evenly over the crust, leaving about a 1/2-inch border around the edges for that classic pizza crust look. Sprinkle 1 1/2 cups of the shredded mozzarella cheese over the sauce, then arrange your favorite toppings in an even layer. If using pepperoni, place them slightly overlapping for maximum flavor coverage. For vegetables like mushrooms or bell peppers, slice them thinly so they cook through during the final baking phase. Remember not to overload with toppings to maintain structural integrity.
Final Bake to Perfection
Return the topped pizza to the 400°F oven and bake for an additional 10-12 minutes. Watch carefully during the last few minutes – you’re looking for the cheese to be completely melted and bubbly with some golden spots appearing. The edges of the crust should be deep golden brown and crisp. If you prefer extra crispy cheese, you can switch to broil for the final 1-2 minutes, but watch constantly to prevent burning. The internal temperature of the pizza should reach at least 165°F when measured with an instant-read thermometer to ensure food safety.
Rest, Slice, and Serve
Remove the pizza from the oven and let it rest on the baking sheet for exactly 5 minutes – this crucial resting period allows the cheese to set slightly and makes slicing much cleaner. Use a pizza cutter or sharp knife to slice into 8 equal wedges. Garnish with fresh basil leaves and a sprinkle of red pepper flakes if desired. Serve immediately while hot and crispy. The crust will maintain its structural integrity best when served warm, though leftovers can be reheated in a 350°F oven for 5-7 minutes to restore crispiness.
Tips and Tricks
For the absolute crispiest crust possible, consider pressing your drained canned chicken between several layers of paper towels to remove every last bit of moisture before mixing with other ingredients. The drier your starting chicken, the crispier your final crust will be. If you find your crust sticking to the parchment paper during the pre-bake phase, try lightly spraying the parchment with cooking spray before adding the chicken mixture – this extra insurance policy ensures easy release every time.
When it comes to cheese selection, freshly grated Parmesan and mozzarella will always yield superior results compared to pre-shredded varieties, which contain anti-caking agents that can affect melting quality. If you have time, grating your own cheese makes a noticeable difference in both flavor and texture. For those who enjoy extra flavor depth, try adding a tablespoon of nutritional yeast to the crust mixture – it contributes a cheesy, umami quality that complements the chicken beautifully.
Storage and reheating are important considerations for this pizza. Leftovers can be stored in an airtight container in the refrigerator for up to 3 days. To reheat, avoid the microwave unless you enjoy soggy crust – instead, use a 350°F oven or air fryer for 5-7 minutes until heated through and crispy again. For meal prep enthusiasts, you can pre-bake multiple crusts and freeze them between layers of parchment paper for up to 2 months, then add toppings and bake from frozen (adding 3-5 extra minutes to the final bake time).
If your crust seems too wet after mixing, you can add an extra tablespoon of Parmesan cheese to help absorb excess moisture. Conversely, if the mixture seems too dry to hold together, add another teaspoon of beaten egg until the desired consistency is achieved. For those watching sodium intake, look for low-sodium canned chicken and reduce or eliminate the added salt in the crust mixture. The beauty of this recipe is its adaptability to various dietary needs and preferences.
Recipe Variations
- Buffalo Chicken Pizza: Mix 2 tablespoons of hot sauce into the crust mixture and use ranch dressing instead of pizza sauce. Top with blue cheese crumbles, diced celery, and shredded chicken for the ultimate game-day pizza that packs serious flavor punch while keeping carbs in check.
- BBQ Chicken Pizza: Spread barbecue sauce over the pre-baked crust instead of pizza sauce, then top with shredded cooked chicken, red onion slices, and Monterey Jack cheese. Finish with fresh cilantro after baking for a sweet and smoky variation that will become an instant family favorite.
- White Pizza Deluxe: Skip the tomato sauce entirely and spread a layer of ricotta cheese mixed with garlic and herbs over the pre-baked crust. Top with mozzarella, sautéed spinach, and artichoke hearts for an elegant, restaurant-quality pizza that feels indulgent yet remains low-carb.
- Breakfast Pizza: Create a morning version by topping the pre-baked crust with scrambled eggs, cooked breakfast sausage or bacon, and cheddar cheese. Bake until the cheese melts for the ultimate brunch centerpiece that will have everyone asking for this recipe every weekend.
- Mediterranean Style: Use pesto instead of pizza sauce and top with sun-dried tomatoes, kalamata olives, feta cheese, and fresh basil. This bright, flavorful variation brings Greek restaurant flavors right to your kitchen with minimal effort and maximum deliciousness.
Frequently Asked Questions
Can I use fresh cooked chicken instead of canned?
Absolutely! While canned chicken provides convenience, you can substitute 3 cups of finely shredded cooked chicken breast. The key is ensuring your chicken is very dry – pat it thoroughly with paper towels and make sure it’s cooled completely before mixing with other ingredients. Fresh chicken may require slightly less baking time during the pre-bake phase, so check at 12 minutes instead of 15. The flavor will be slightly different but equally delicious, and you’ll have more control over the sodium content when using fresh chicken.
Why is my crust sticking to the parchment paper?
This usually happens when there’s excess moisture in your chicken mixture or if you didn’t use enough Parmesan cheese. Make sure to drain your canned chicken extremely well – I recommend pressing it between several layers of paper towels until no more moisture comes out. Also ensure your oven reached the proper temperature before baking, as an underheated oven can cause sticking. If problems persist, try lightly spraying your parchment paper with cooking spray before adding the chicken mixture for extra insurance against sticking.
Can I make this crust ahead of time?
Yes, this crust is excellent for meal prep! You can pre-bake the crusts and store them in an airtight container in the refrigerator for up to 3 days or freeze for up to 2 months. When ready to use, add your toppings and bake from refrigerated (may need an extra 2-3 minutes) or frozen (add 5-7 minutes to the final bake time). The pre-baked crusts also make great crackers or bread substitutes for dipping when broken into pieces and baked until extra crispy.
Is this pizza keto-friendly?
Yes, this recipe is naturally keto-friendly and low-carb! The entire crust contains only about 4-6 net carbs depending on your specific ingredient brands, making it perfect for keto, low-carb, or gluten-free diets. Just be mindful of your pizza sauce choice – some brands add sugar, so look for sugar-free varieties. Most toppings are keto-friendly, but avoid high-carb options like pineapple or sweet barbecue sauces. Each slice typically contains 1-2 grams of net carbs, allowing you to enjoy pizza night while staying within your macros.
Can I use different types of canned meat?
While canned chicken works best for its neutral flavor and texture, you can experiment with canned tuna or salmon for a different flavor profile. These will result in a stronger fish flavor that pairs well with complementary toppings like lemon, capers, and dill. The texture may be slightly different, and you may need to adjust baking times. I don’t recommend canned turkey as it tends to be too moist, but if you try it, make sure to press out every bit of liquid possible before mixing.
Summary
This revolutionary canned chicken crust pizza delivers incredible flavor and texture while being low-carb, gluten-free, and surprisingly easy to make. Perfect for pizza night without the guilt!
Canned Chicken Crust Pizza
6
servings15
minutes25
minutesIngredients
Instructions
- 1 Preheat oven to 400°F and line baking sheet with parchment paper
- 2 Mix drained chicken with egg, Parmesan, and seasonings until combined
- 3 Press into 12-inch circle on prepared sheet and bake 15-18 minutes until golden
- 4 Spread sauce, add cheese and toppings, bake additional 10-12 minutes
- 5 Rest 5 minutes before slicing and serving immediately