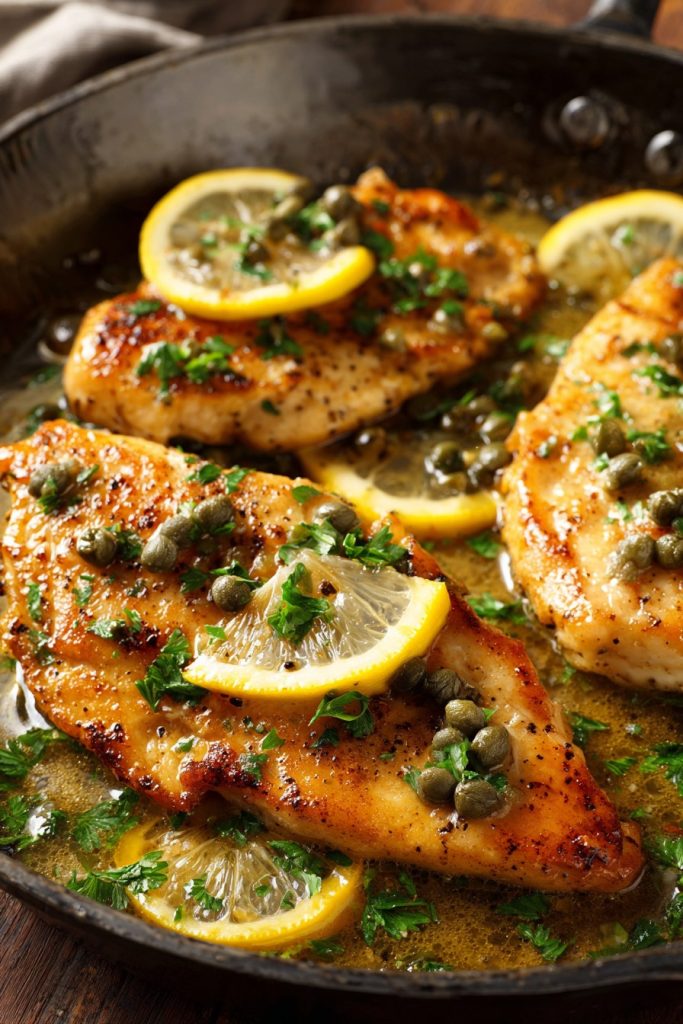
A culinary adventure awaits as we recreate the iconic California Pizza Kitchen Chicken Piccata that has delighted diners for decades. Anyone who’s ever tasted this lemony, caper-studded masterpiece knows it’s more than just chicken—it’s a flavor explosion that transforms ordinary weeknights into special occasions.
Why This Recipe Works
- The combination of fresh lemon juice and briny capers creates that signature tangy flavor profile that makes CPK’s version stand out from traditional Italian piccata
- Pounding the chicken breasts to an even thickness ensures quick, uniform cooking without dry spots while allowing maximum sauce absorption
- Using both butter and olive oil provides the richness of butter with the high-heat stability of oil, creating the perfect sear and luxurious sauce consistency
- The quick pan sauce technique captures all the flavorful browned bits from cooking the chicken, transforming them into an incredibly complex sauce in minutes
- Finishing with fresh parsley and lemon zest right before serving preserves their bright flavors and vibrant colors that make this dish visually stunning
Ingredients
- 4 boneless, skinless chicken breasts (about 1.5 pounds), pounded to ½-inch thickness
- ½ cup all-purpose flour for dredging
- 1 teaspoon kosher salt
- ½ teaspoon freshly ground black pepper
- 3 tablespoons olive oil
- 2 tablespoons unsalted butter, divided
- ⅓ cup fresh lemon juice (from about 2 large lemons)
- ½ cup chicken broth
- ¼ cup brined capers, drained
- ¼ cup fresh parsley, finely chopped
- 1 lemon, thinly sliced for garnish
- 1 tablespoon fresh lemon zest
Equipment Needed
- Large skillet or frying pan (preferably stainless steel)
- Meat mallet or rolling pin
- Plastic wrap or parchment paper
- Measuring cups and spoons
- Cutting board
- Sharp knife
- Citrus juicer
- Zester or microplane
- Tongs
- Whisk
- Plate for dredged chicken
Instructions
Prepare the Chicken for Perfect Browning
Place each chicken breast between two sheets of plastic wrap or parchment paper and gently pound with a meat mallet or rolling pin until uniformly ½-inch thick. This step is crucial because uneven thickness leads to uneven cooking—some parts dry out while others remain undercooked. In a shallow dish, combine the flour, salt, and pepper, whisking thoroughly to distribute the seasoning evenly. Dredge each chicken breast in the flour mixture, shaking off any excess but ensuring a light, even coating. The flour will create that beautiful golden crust and help thicken the sauce later. Let the coated chicken rest on a wire rack for 5 minutes—this allows the flour to hydrate slightly, preventing it from burning and helping it adhere better during cooking.
Achieve the Perfect Golden Sear
Heat your large skillet over medium-high heat for about 2 minutes until properly preheated—you should feel strong heat when holding your hand about 3 inches above the surface. Add 2 tablespoons of olive oil and 1 tablespoon of butter, swirling to combine as the butter melts. When the butter stops foaming and just begins to turn golden (about 30-45 seconds), carefully add the chicken breasts, laying them away from you to prevent oil splatter. Cook for 4-5 minutes without moving them—this develops that beautiful crust. Flip using tongs and cook another 3-4 minutes until the internal temperature reaches 160°F and the exterior is golden brown. Transfer to a clean plate, tent loosely with foil, and let rest while you make the sauce.
Create the Signature Lemon Caper Sauce
Reduce the heat to medium and add the remaining 1 tablespoon of butter to the same skillet—don’t you dare wash it! Those browned bits are flavor gold. Add the capers and cook for 1 minute until they become slightly crispy and fragrant. Pour in the chicken broth and use a wooden spoon to scrape up all those delicious browned bits from the bottom of the pan—this process called deglazing is what builds incredible flavor depth. Add the fresh lemon juice and bring the mixture to a simmer, cooking for 2-3 minutes until slightly reduced. The sauce should coat the back of a spoon—if it’s too thin, simmer another minute; if too thick, add another tablespoon of broth.
Combine and Finish with Fresh Elements
Return the chicken breasts and any accumulated juices to the skillet, nestling them into the sauce. Spoon the sauce over the chicken continuously for 2 minutes, allowing the flavors to meld and the chicken to heat through completely. The acid in the lemon juice will actually continue to “cook” the chicken slightly, so don’t overdo this step. Remove from heat and stir in the fresh parsley and lemon zest—the residual heat will wilt the parsley perfectly without making it bitter. The zest adds incredible aromatic quality that bottled juice alone can’t provide. Let the dish rest for 2 minutes off heat—this allows the sauce to thicken slightly as it cools.
Plate and Serve Immediately
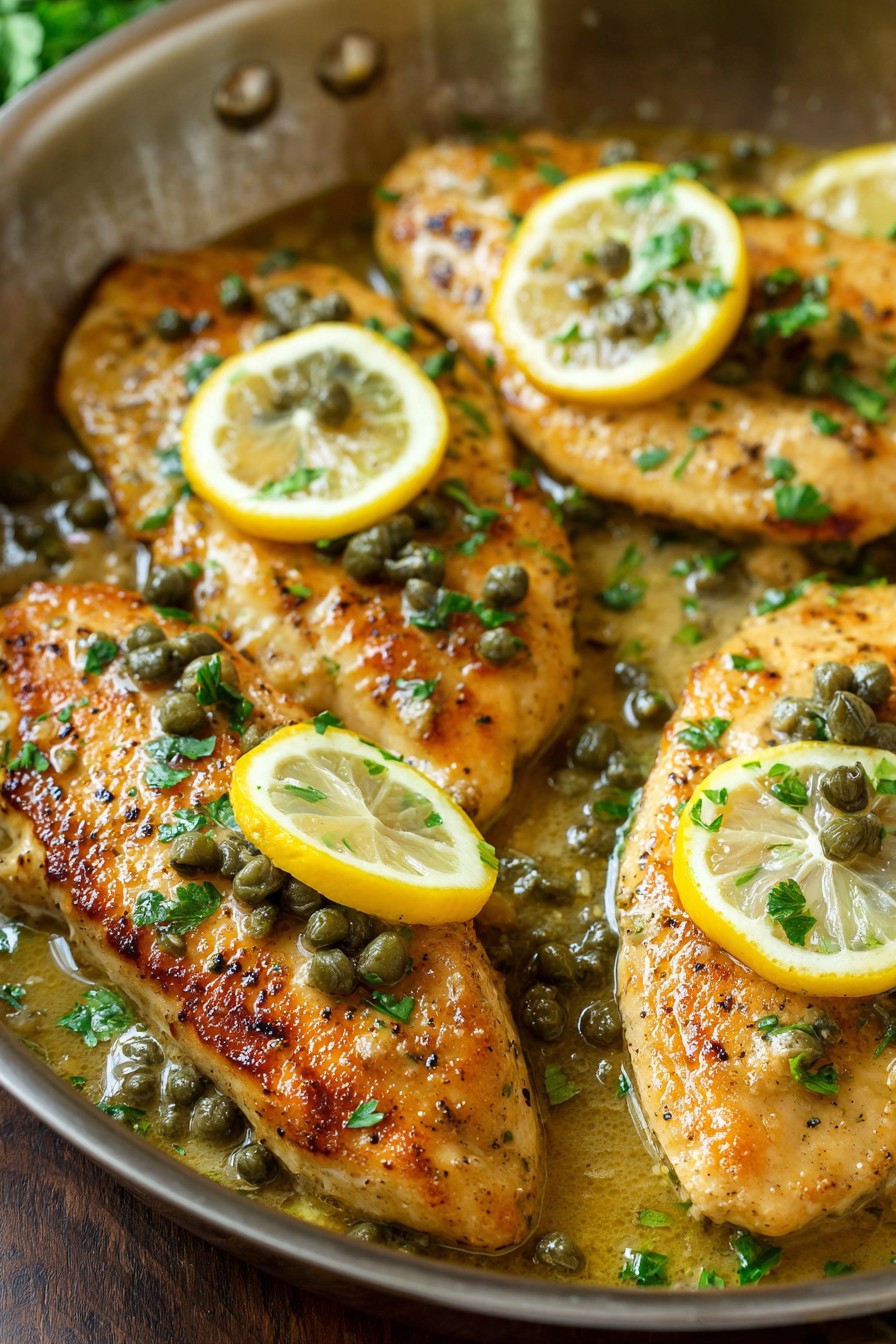
Transfer the chicken to serving plates, spooning plenty of sauce and capers over each piece. Garnish with thin lemon slices and an extra sprinkle of fresh parsley for that restaurant-quality presentation. Serve immediately while hot—this dish doesn’t wait well as the sauce can break if reheated improperly. The ideal serving temperature is about 145-150°F—hot enough to enjoy but not so hot that it burns your mouth and you miss all those beautiful flavors. Pair with your favorite pasta, mashed potatoes, or crusty bread to soak up every last drop of that incredible sauce.
Tips and Tricks
For the absolute best results, use a digital instant-read thermometer to check your chicken doneness—remove it from the pan at 160°F since it will continue cooking to the safe 165°F during resting. The carryover cooking is real, folks, and it’s your secret weapon against dry chicken. When selecting lemons, choose ones that feel heavy for their size with smooth, bright yellow skin—these will yield the most juice. Roll them firmly on the counter before cutting to break down the membranes and maximize juice extraction. For the capers, I prefer the smaller nonpareil variety as they have a more delicate flavor and better texture, but any brined capers will work—just avoid salt-packed unless you rinse them thoroughly first.
If your sauce breaks or looks oily, don’t panic! Remove from heat and whisk in a teaspoon of cold butter—the emulsifying power of cold fat can often bring a broken sauce back together. For an extra flavor boost, add a splash of dry white wine to the pan after the capers and reduce it by half before adding the broth—this adds wonderful complexity. When pounding your chicken, work from the center outward in all directions to create even thickness without tearing the meat. If you don’t have a meat mallet, a heavy skillet, rolling pin, or even a wine bottle works in a pinch. For meal prep, you can pound and flour the chicken ahead of time, but cook it fresh—the flour coating will become gummy if refrigerated too long.
The quality of your chicken broth makes a huge difference here—if using store-bought, choose low-sodium so you can control the salt level. Better yet, make your own if you have time! If you need to double the recipe, cook the chicken in batches to avoid overcrowding the pan—crowding creates steam instead of sear, and nobody wants steamed flour-coated chicken. Leftovers (if you have any!) store well for up to 3 days, but the sauce may separate when reheated—gently warm in a skillet over low heat, stirring frequently. For extra restaurant-style presentation, slice the chicken on a bias before serving and fan it out on the plate—it looks fancy but takes seconds to do.
Recipe Variations
- For a creamier version, stir in ¼ cup of heavy cream or half-and-half at the very end after removing from heat—this creates a luxurious, velvety sauce that’s still bright from the lemon
- Make it gluten-free by using almond flour or gluten-free all-purpose flour for dredging—the coating will be slightly different but still delicious, and ensure your chicken broth is gluten-free
- Add ½ cup of sliced mushrooms when cooking the capers for an earthy dimension—cremini or shiitake work particularly well with the lemon and caper flavors
- For a seafood twist, use large sea scallops instead of chicken—sear them for just 2-3 minutes per side and proceed with the sauce as directed, cooking just until heated through
- Create a piccata pasta by doubling the sauce recipe and tossing with 1 pound of cooked linguine, adding the chicken sliced on top—this makes it a complete one-dish meal
Frequently Asked Questions
Can I use bottled lemon juice instead of fresh?
While you technically can use bottled lemon juice in a pinch, I strongly recommend fresh for this recipe. Bottled juice lacks the bright, vibrant flavor of fresh lemons and often contains preservatives that can alter the taste. Fresh lemon juice provides not just acidity but also complex citrus notes that bottled simply can’t replicate. The difference is especially noticeable in a sauce-forward dish like piccata where the lemon is a star player. If you must use bottled, add a teaspoon of fresh zest to help boost the citrus flavor.
Why did my sauce turn out too thin?
A thin sauce usually results from insufficient reduction or not enough flour from the dredging process making it into the sauce. To fix it, mix 1 teaspoon of cornstarch with 1 tablespoon of cold water, whisk into the simmering sauce, and cook for 1 minute until thickened. Alternatively, you can remove the chicken and boil the sauce for an extra 2-3 minutes to reduce it further. Remember that the sauce will also thicken slightly as it cools, so don’t over-thicken it initially. The ideal consistency should coat the back of a spoon but still be pourable.
Can I make this recipe ahead of time?
You can prepare components ahead but I don’t recommend fully making this dish in advance. The chicken can be pounded and refrigerated up to 24 hours ahead, and you can measure all ingredients beforehand. However, the flour coating will become gummy if applied too early, and the sauce doesn’t reheat well as it can separate. For best results, cook everything fresh and serve immediately. If you must reheat, do so gently in a skillet over low heat, stirring frequently, and add a splash of broth or water to loosen the sauce.
What can I substitute for capers if I don’t have any?
If you’re out of capers, you can use chopped green olives for a similar briny flavor, though the taste will be different. Another option is to use chopped dill pickles or cornichons, though these will add more sweetness. For a completely different but still delicious twist, try using artichoke hearts or sun-dried tomatoes. However, capers are pretty essential to the classic piccata flavor profile, so I recommend keeping a jar in your pantry—they last for months refrigerated after opening.
How do I know when the chicken is cooked perfectly?
The most reliable method is using an instant-read thermometer—insert it into the thickest part of the chicken, avoiding the pan bottom. Remove at 160°F as the temperature will rise to 165°F during resting. Without a thermometer, make a small cut in the thickest part—the juices should run clear with no pinkness. The meat should feel firm but still have some give when pressed. Remember that pounded chicken cooks very quickly, so watch it carefully to avoid overcooking, which makes it dry and tough.
Summary
This California Pizza Kitchen Chicken Piccata recipe delivers restaurant-quality results with bright lemon flavor, briny capers, and perfectly cooked chicken in a luxurious pan sauce that comes together in under 30 minutes.
California Pizza Kitchen Chicken Piccata
6
servings15
minutes20
minutesIngredients
Instructions
- 1 Pound chicken to ½-inch thickness between plastic wrap
- 2 Dredge in flour mixed with salt and pepper
- 3 Heat oil and 1 tablespoon butter in skillet
- 4 Cook chicken 4-5 minutes per side until golden and 160°F internal temperature
- 5 Remove chicken and add remaining butter and capers to skillet
- 6 Add broth and lemon juice, scraping up browned bits
- 7 Simmer 2-3 minutes until slightly reduced
- 8 Return chicken to pan, spoon sauce over for 2 minutes
- 9 Remove from heat, stir in parsley and zest
- 10 Serve immediately with extra sauce spooned over


