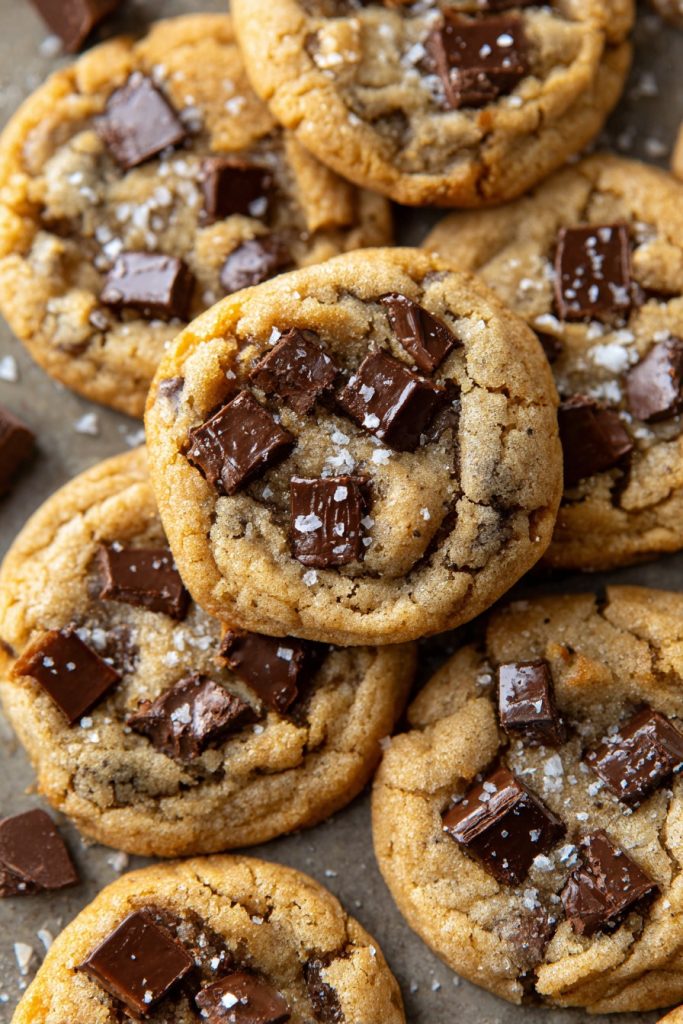
Melted butter transforms into something magical when heated to that perfect golden-brown stage, releasing deep, nutty aromas that will haunt your kitchen for days. These brown butter bites capture that transformative moment in every single bite, creating little morsels of pure caramelized bliss that shatter with buttery intensity and melt into rich, toasty perfection on your tongue. Prepare to become completely obsessed with these dangerously addictive treats.
Why This Recipe Works
- The brown butter technique elevates simple ingredients into complex flavor bombs, creating notes of toasted nuts, caramel, and deep savory richness that regular butter simply cannot achieve
- Perfect temperature control during the browning process ensures you capture those beautiful amber-colored milk solids without crossing into bitter territory, giving you maximum nutty complexity
- The combination of brown sugar and granulated sugar creates the ideal texture—crisp edges with chewy centers that practically dissolve into buttery ecstasy in your mouth
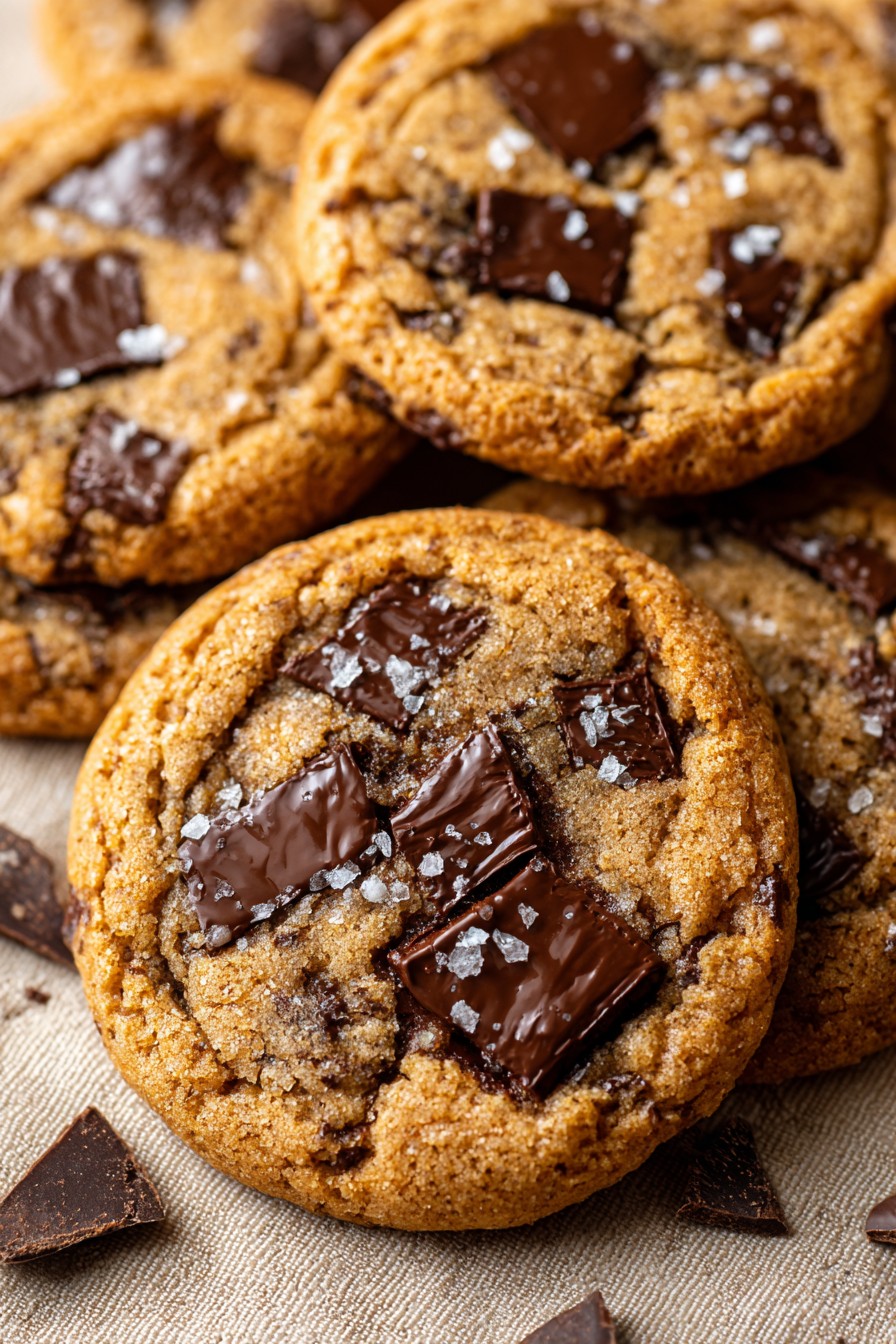
- Chilling the dough overnight develops incredible depth of flavor while preventing excessive spreading, resulting in perfectly thick, substantial bites with craggy, textured tops
- Generous sea salt sprinkles cut through the richness, creating explosive flavor contrasts that make each bite more addictive than the last
Ingredients
- 1 cup unsalted butter, cut into tablespoon-sized pieces
- 1 cup dark brown sugar, packed firmly
- 1/2 cup granulated sugar
- 2 large eggs, at room temperature
- 2 teaspoons pure vanilla extract
- 2 1/4 cups all-purpose flour, spooned and leveled
- 1 teaspoon baking soda
- 1 teaspoon fine sea salt
- 1 cup semi-sweet chocolate chunks
- Flaky sea salt for finishing
Equipment Needed
- Heavy-bottomed saucepan
- Stand mixer or electric hand mixer
- Large mixing bowls
- Measuring cups and spoons
- Baking sheets
- Parchment paper
- Wire cooling rack
- Ice cream scoop (2-tablespoon size)
- Rubber spatula
Instructions
Brown the Butter to Perfection
Place your tablespoon-sized butter pieces into a heavy-bottomed saucepan over medium heat. Watch closely as the butter melts, bubbles vigorously, and then begins to foam dramatically—this is when the magic happens. You’ll notice the foam gradually subsiding after 5-7 minutes, revealing golden liquid beneath. Swirl the pan constantly and watch for tiny brown specks forming at the bottom—these are the precious milk solids caramelizing. The moment you smell deep, nutty aromas reminiscent of toasted hazelnuts and see the butter turn a beautiful amber color, immediately remove from heat and pour into a heatproof bowl to stop the cooking. This critical step transforms ordinary butter into liquid gold with complex, toasty flavors that will define your entire recipe.
Combine Wet Ingredients with Precision
Allow your beautifully browned butter to cool for exactly 15 minutes—it should still be warm but not hot enough to cook your eggs. Pour this fragrant, nutty liquid into your stand mixer bowl, then add both the dark brown sugar and granulated sugar. Beat on medium-high speed for a full 3 minutes until the mixture becomes pale, thick, and gloriously creamy. The sugars should completely dissolve into the brown butter, creating a silky foundation. Now add your room-temperature eggs one at a time, beating for 30 seconds after each addition until fully incorporated. Finally, stream in the vanilla extract while mixing—the alcohol will help carry those beautiful brown butter flavors throughout the dough. The mixture should ribbon beautifully when you lift the beater.
Incorporate Dry Ingredients for Perfect Texture
Chill for Flavor Development
Cover your mixing bowl tightly with plastic wrap, pressing it directly against the dough surface to prevent drying. Refrigerate for at least 4 hours, but ideally overnight—this resting period allows the flour to fully hydrate and the flavors to meld into something extraordinary. The brown butter notes will deepen and intensify, while the chilled dough will bake up thicker with those beautiful craggy tops everyone craves. When ready to bake, the dough should be firm enough to scoop but still pliable. This patience-testing step separates good brown butter bites from truly legendary ones that haunt your dreams.
Scoop and Bake to Golden Perfection
Preheat your oven to 375°F and line baking sheets with parchment paper. Using a 2-tablespoon ice cream scoop, portion chilled dough onto prepared sheets, spacing them 3 inches apart to allow for spreading. Gently press a few extra chocolate chunks onto the tops for bakery-style appearance. Bake for 10-12 minutes until the edges are set and golden brown while the centers still appear slightly underdone. The bites will puff dramatically, develop beautiful cracks, and release that incredible nutty aroma throughout your kitchen. For that signature texture contrast, firmly bang the baking sheet on your countertop halfway through baking to create those desirable wrinkles.
Finish with Flaky Salt and Cooling
Immediately upon removing your brown butter bites from the oven, generously sprinkle with flaky sea salt—the heat will help it adhere while the salt crystals provide explosive flavor bursts against the sweet, rich dough. Let the bites cool on the baking sheet for exactly 5 minutes to set their structure, then transfer to a wire rack to cool completely. This gradual cooling process ensures crisp edges with gloriously chewy centers that maintain that perfect brown butter flavor in every single bite. Resist eating them warm if you can—though nobody would blame you for sneaking one straight from the pan.
Tips and Tricks
For truly next-level brown butter bites, consider browning your butter until it reaches a deep amber color with visible dark brown milk solids—this creates more intense, almost coffee-like notes that contrast beautifully with the sweetness. Always use a light-colored saucepan when browning butter so you can accurately monitor the color change from pale yellow to golden to that perfect nutty brown. If your butter starts browning too quickly, immediately remove from heat and swirl—the residual heat will continue the process without burning. For extra flavor dimension, consider browning your butter with a vanilla bean pod split lengthwise, then removing it before adding to your dough. The vanilla seeds will infuse throughout the butter, creating floral notes that complement the nuttiness. When measuring flour, always spoon it into your measuring cup and level with a knife—packing flour leads to dense, dry bites rather than the tender crumb you’re after. For professional-looking cookies every time, reserve about 1/4 cup of chocolate chunks to press onto the tops right before baking—this creates those beautiful, melty chocolate pools that make bakery-style cookies so irresistible. If your dough seems too soft after chilling, don’t hesitate to chill it longer—properly chilled dough is the secret to thick, substantial bites rather than flat, spread-out disappointments. For extra crisp edges with fudgy centers, try the double-pan method: place your baking sheet on top of another empty baking sheet to insulate the bottom from excessive browning. And always, always use parchment paper rather than silicone mats—the slight breathability allows for better browning and easier removal. Finally, for the ultimate flavor experience, consider toasting your flour in a 350°F oven for 5-7 minutes before using—this nutty, cooked flavor amplifies the brown butter notes spectacularly.
Recipe Variations
- Brown Butter Sage Bites: Add 2 tablespoons finely chopped fresh sage to your brown butter during the last minute of browning, then strain out before using. The herbal, slightly peppery notes create an sophisticated, unexpected flavor profile that pairs beautifully with the nutty butter.
- Espresso Chip Brown Butter Bites: Dissolve 2 tablespoons instant espresso powder into your vanilla extract before adding to the dough, then use dark chocolate chunks instead of semi-sweet. The coffee enhances the caramel notes in the brown butter while the dark chocolate provides bitter contrast.
- Brown Butter Toffee Pecan Bites: Fold in 1 cup chopped toasted pecans and 3/4 cup crushed toffee bits along with the chocolate chunks. The toffee melts into caramel pools while the pecans add crunch and complement the brown butter’s nutty character.
- Brown Butter Sea Salt Caramel Bites: Omit chocolate chunks and instead press a Rolo candy into the center of each dough ball before baking. The caramel center melts into gooey perfection while the chocolate coating creates a surprise center.
- Brown Butter White Chocolate Macadamia Bites: Use white chocolate chunks instead of semi-sweet and add 1 cup chopped roasted macadamia nuts. The creamy white chocolate and buttery macadamias create a luxurious, tropical twist on the classic.
Frequently Asked Questions
Can I use salted butter instead of unsalted?
While you technically can use salted butter, I strongly recommend against it for brown butter applications. The salt content varies significantly between brands, making it impossible to control the final seasoning accurately. More importantly, the browning process concentrates flavors—including salt—which could lead to unpleasantly salty bites. Starting with unsalted butter gives you complete control over the salt level, allowing you to balance the sweet, nutty, and salty elements perfectly. If you must use salted butter, reduce the added fine sea salt to 1/2 teaspoon and taste the dough before baking to adjust seasoning.
Why did my brown butter bites spread too much?
Excessive spreading typically results from insufficient chilling time or inaccurate oven temperature. The dough must chill for at least 4 hours to allow the flour to fully hydrate and the butter to solidify—skipping this step means melted butter spreads immediately in the oven. Also, oven thermometers often run hot or cold; invest in a reliable oven thermometer to ensure your 375°F is accurate. If spreading persists, try reducing temperature to 350°F and extending baking time slightly. Proper spacing—3 inches between dough balls—is also crucial as overcrowding creates steam that encourages spreading.
Can I freeze the dough for later baking?
Absolutely! Brown butter bite dough freezes magnificently and actually benefits from extended freezing. Portion chilled dough into balls, place on a parchment-lined baking sheet, and freeze until solid (about 2 hours). Then transfer to freezer bags, pressing out all air before sealing. Frozen dough balls can go straight from freezer to oven—just add 1-2 minutes to baking time. The extended freezing allows flavors to meld even more deeply, resulting in incredibly complex, well-developed bites. Frozen dough keeps beautifully for 3 months, giving you instant access to fresh-baked perfection whenever cravings strike.
My brown butter burned—can I save it?
Once brown butter crosses into burned territory, there’s no saving it—the bitter compounds overwhelm any nutty goodness. However, prevention is straightforward: use medium heat (not medium-high), swirl constantly, and remove from heat the moment you see amber color and smell nutty aromas. Have your heatproof bowl ready nearby for immediate transfer. If you’re nervous about burning, remove from heat when the butter is light golden—the residual heat will continue browning it perfectly. Always use a light-colored pan so you can monitor color changes accurately. When in doubt, err on the side of under-browning rather than risking bitterness.
Can I make these without a stand mixer?
You can absolutely make spectacular brown butter bites without a stand mixer—just use a sturdy whisk and some elbow grease. After browning your butter and letting it cool slightly, whisk vigorously with the sugars until the mixture lightens in color and becomes creamy. Switch to a wooden spoon when adding eggs and vanilla, then incorporate dry ingredients gradually. The key is thorough mixing at each stage to properly emulsify the ingredients. While a mixer creates slightly more aeration, hand-mixed versions have a delightful denseness that many prefer. Just ensure your brown butter is properly cooled to avoid cooking the eggs during manual mixing.
Summary
These brown butter bites transform simple ingredients through the magical process of browning butter, creating intensely nutty, caramel-kissed treats with perfect crisp edges and chewy centers. Proper technique, patient chilling, and precise baking yield addictive morsels that showcase brown butter’s incredible complexity in every single bite.
Brown Butter Bites
6
servings20
minutes12
minutesIngredients
Instructions
- 1 Brown butter in saucepan over medium heat until amber-colored with nutty aroma, then transfer to bowl to cool 15 minutes
- 2 Beat browned butter with sugars until pale and creamy, then add eggs one at a time followed by vanilla
- 3 Whisk flour, baking soda, and salt together, then gradually mix into wet ingredients until just combined
- 4 Fold in chocolate chunks, cover dough, and refrigerate at least 4 hours or overnight
- 5 Preheat oven to 375°F, scoop chilled dough onto parchment-lined sheets, and bake 10-12 minutes until edges are set
- 6 Immediately sprinkle with flaky salt, cool 5 minutes on sheet, then transfer to wire rack to cool completely


