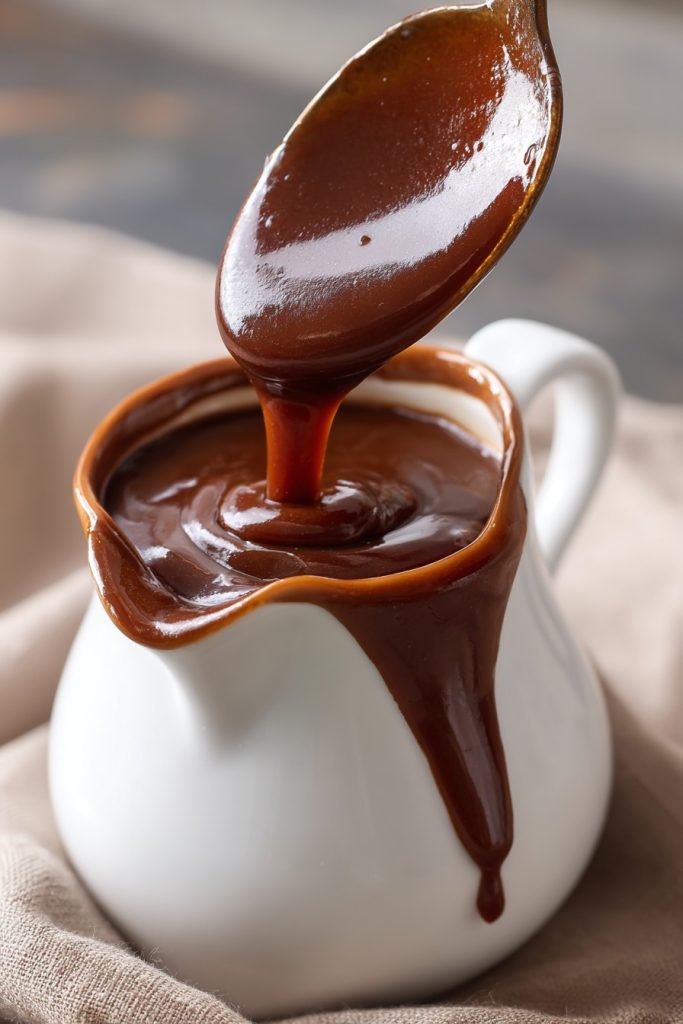
You know that magical moment when you pull a beautiful roast from the oven, and there it sits—that glorious pool of golden-brown drippings just waiting to be transformed. Years ago, my grandmother taught me that wasting those precious pan juices was practically a sin in her farmhouse kitchen, and she showed me how to turn them into the most velvety, flavor-packed gravy you’ll ever taste.
Why This Recipe Works
- Using the actual drippings from your roast captures all those deep, caramelized flavors that developed during cooking—the fond stuck to the pan bottom becomes liquid gold when properly deglazed
- The combination of butter and flour creates a rich roux that gives the gravy its perfect thickness and silky texture without any lumps or graininess
- Simmering the gravy for a full 15-20 minutes allows the flour to fully cook out that raw taste while letting all the flavors meld together beautifully
- Finishing with a splash of Worcestershire sauce adds just enough umami depth to elevate the natural beefiness without overpowering the delicate pan juices
- Straining at the end ensures you get that restaurant-smooth consistency while removing any bits that might have cooked too dark or gotten stuck during the process
Ingredients
- 1/4 cup pan drippings from roasted beef
- 1/4 cup unsalted butter
- 1/3 cup all-purpose flour
- 4 cups beef broth, warmed
- 1 teaspoon Worcestershire sauce
- 1/2 teaspoon freshly ground black pepper
- 1/4 teaspoon kosher salt, or to taste
Equipment Needed
- Medium saucepan or the roasting pan itself
- Whisk
- Fine-mesh strainer
- Measuring cups and spoons
- Gravy boat or serving bowl
Instructions
Prepare Your Pan and Drippings
After you’ve removed your beautiful roast to rest, carefully pour those precious pan drippings into a heatproof measuring cup, making sure to scrape up all those delicious browned bits from the bottom of your roasting pan. Let the drippings settle for about 3-4 minutes—you’ll see the golden fat rise to the top while the darker meat juices settle below. You should have approximately 1/4 cup of fat; if you’re short, supplement with additional butter to reach that measurement. Meanwhile, place your roasting pan over medium heat on the stovetop, being careful as the handles will be hot. This initial preparation ensures you capture every bit of flavor that developed during roasting—those caramelized bits are pure gold for building depth in your gravy.
Create the Flavor Foundation with Roux
Add 1/4 cup of butter to your hot roasting pan and let it melt completely, swirling it around to coat the bottom evenly. Once the butter is foaming but not browned—about 1-2 minutes—sprinkle in 1/3 cup of all-purpose flour while whisking constantly to prevent any lumps from forming. Continue cooking this roux over medium heat, stirring continuously with your whisk, for exactly 4-5 minutes until it turns a beautiful pale golden color and develops a nutty, toasted aroma. The key here is patience—don’t rush this step, as properly cooked roux eliminates that raw flour taste and gives your gravy that velvety texture we’re after. You’ll know it’s ready when the mixture pulls away from the sides of the pan slightly and the color resembles light honey.
Incorporate Drippings and Build the Base
Now carefully pour in those reserved pan drippings—both the golden fat and the rich meat juices—while whisking vigorously to incorporate them into your roux. The mixture will immediately thicken and bubble enthusiastically, which is exactly what we want. Continue whisking for about 2 minutes until the mixture becomes smooth and paste-like, making sure to scrape up any remaining browned bits from the pan bottom—this is called deglazing and it’s where you capture all those concentrated flavors. Tip: If you notice any lumps forming at this stage, simply whisk more vigorously or press them against the side of the pan with your whisk to break them up before proceeding to the next step.
Gradually Add Broth and Develop Flavor
Begin adding your warmed beef broth about 1 cup at a time, whisking constantly after each addition until the mixture is completely smooth before adding more liquid. Once all 4 cups of broth are incorporated, bring the gravy to a gentle simmer over medium heat—you should see small bubbles breaking the surface around the edges rather than a rolling boil. Now add 1 teaspoon of Worcestershire sauce and 1/2 teaspoon of freshly ground black pepper, then reduce the heat to low and let it simmer uncovered for 15-20 minutes, stirring occasionally with your whisk. During this time, the gravy will thicken to the perfect coating consistency and the flavors will meld together beautifully.
Finish and Strain for Perfection
After your gravy has simmered and thickened properly, taste it carefully and season with 1/4 teaspoon of kosher salt—remember that your broth and drippings may already be salty, so adjust gradually. Now set a fine-mesh strainer over a clean saucepan or your gravy boat and carefully pour the hot gravy through to remove any lumps or overcooked bits. Use the back of a spoon to press any remaining liquid through the strainer, then give the strained gravy one final stir. Tip: If your gravy seems too thick after straining, simply whisk in additional warm broth 1 tablespoon at a time until it reaches your desired consistency. Serve immediately while piping hot.
Tips and Tricks
If you find yourself with more or less than the recommended 1/4 cup of drippings, don’t panic—the beauty of gravy making is in the adjustments. For extra drippings, you can increase your butter and flour proportionally (maintaining equal parts by volume) and add slightly more broth to compensate. If you’re short on drippings, supplement with additional butter to reach that 1/4 cup fat measurement, but consider adding a teaspoon of beef bouillon paste to boost that deep meaty flavor. When warming your beef broth, I highly recommend doing this in a separate saucepan rather than the microwave—gently heated broth incorporates much more smoothly into your roux and helps maintain a consistent temperature throughout the cooking process.
For those who prefer their gravy on the thicker side, you can create what’s called a “slurry” by mixing 1 tablespoon of cornstarch with 2 tablespoons of cold water until smooth, then stirring this into your finished gravy during the last 2 minutes of cooking. This method gives you a clearer, glossier finish than additional roux. Conversely, if your gravy becomes too thick, simply whisk in additional warm broth or even hot water a tablespoon at a time until it reaches the perfect pouring consistency. Remember that gravy continues to thicken as it cools, so it’s better to err on the slightly thin side when serving hot.
Storage and reheating are just as important as the initial preparation. Leftover gravy can be stored in an airtight container in the refrigerator for up to 4 days. When reheating, do so gently over low heat while whisking frequently—gravy tends to separate when microwaved. If separation does occur, simply whisk vigorously or use an immersion blender to re-emulsify. For longer storage, gravy freezes beautifully for up to 3 months—portion it into ice cube trays for small servings, or freezer bags laid flat for larger quantities. Always thaw frozen gravy overnight in the refrigerator before reheating gently on the stovetop.
Recipe Variations
- For a richer, deeper flavor profile, try substituting 1 cup of the beef broth with red wine—a nice Cabernet or Merlot works beautifully. Simply add the wine to your pan after creating the roux and let it reduce by half before proceeding with the broth addition. The alcohol cooks out, leaving behind wonderful fruity notes that complement the beef perfectly. This variation is particularly lovely for holiday meals or when serving with prime rib.
- Create a creamy mushroom version by sautéing 8 ounces of sliced cremini mushrooms in 2 tablespoons of butter until golden brown before making your roux. Remove the mushrooms before proceeding with the recipe, then add them back in during the final 5 minutes of simmering. The earthy mushrooms add wonderful texture and depth, making this variation ideal for pouring over mashed potatoes or beef tips.
- For an herbed gravy that’s perfect with roasted chicken or turkey as well, add 1 tablespoon each of fresh chopped thyme and rosemary when you add the Worcestershire sauce. Let the herbs steep during the simmering time, then strain them out along with any other solids at the end. The fresh herbs provide a bright, aromatic quality that cuts through the richness beautifully.
- Transform your gravy into a peppercorn version by crushing 2 tablespoons of mixed peppercorns (black, green, and pink) using a mortar and pestle or the bottom of a heavy pan. Add these crushed peppercorns when you incorporate the Worcestershire sauce, and consider finishing with 2 tablespoons of brandy or cognac during the last minute of cooking for an extra flavor boost.
- For those who prefer a smoother, more refined consistency, you can create what’s known as a “bound gravy” by whisking 2 egg yolks with 1/4 cup of heavy cream, then slowly tempering this mixture into your finished gravy off the heat. This creates an incredibly silky, luxurious texture that’s perfect for special occasions, though it doesn’t reheat as well as the traditional version.
Frequently Asked Questions
Can I make this gravy ahead of time?
Absolutely, and many experienced cooks actually prefer making gravy ahead to reduce last-minute stress. Prepare the gravy completely according to the instructions, then let it cool to room temperature before transferring to an airtight container. It will keep in the refrigerator for up to 4 days. When ready to serve, reheat it gently over low heat while whisking frequently to prevent scorching or separation. If the gravy seems too thick after refrigeration, simply whisk in additional warm broth a tablespoon at a time until it reaches your desired consistency. Many flavors actually improve after resting overnight, giving the ingredients more time to meld together beautifully.
What if my gravy turns out too thin or too thick?
Can I use this method with other types of meat drippings?
This method works beautifully with any type of meat drippings—the principles remain the same regardless of the protein. For chicken or turkey, simply substitute poultry drippings and use chicken broth instead of beef. The cooking times and measurements remain identical. For pork drippings, you might want to reduce the Worcestershire sauce to 1/2 teaspoon as pork tends to have a sweeter flavor profile. Lamb drippings make particularly rich gravy—consider adding a teaspoon of red currant jelly during the simmering stage to balance the gaminess. The key is adjusting seasonings to complement your specific protein.
Why did my gravy turn out lumpy and how can I fix it?
Lumps typically form when the roux isn’t properly incorporated with the liquid, usually because the liquid was added too quickly or wasn’t warm enough. To fix lumpy gravy, simply strain it through a fine-mesh sieve, pressing the solids through with the back of a spoon. If lumps persist, you can use an immersion blender or transfer small batches to a regular blender—just be careful with hot liquids. To prevent lumps in the future, always warm your broth before adding it to the roux, and incorporate it gradually while whisking constantly. Properly cooked roux that’s been toasted to a pale gold color also tends to incorporate more smoothly than undercooked roux.
Is there a way to make this gravy gluten-free?
Yes, you can easily adapt this recipe for gluten-free needs by substituting the all-purpose flour with an equal amount of cornstarch, arrowroot powder, or a gluten-free flour blend. If using cornstarch or arrowroot, mix it with cold water to create a slurry rather than making a traditional roux—add this slurry during the last 2-3 minutes of cooking and simmer until thickened. For gluten-free flour blends, follow the same roux-making process but note that some blends may require slightly longer cooking times to eliminate any raw taste. Always check that your broth and Worcestershire sauce are certified gluten-free as well.
Summary
Transforming simple pan drippings into luxurious gravy is one of kitchen’s most rewarding alchemies. This timeless method captures every bit of flavor from your roast, creating a silky, deeply satisfying sauce that elevates any meal into something truly special. With patience and these grandmother-approved techniques, you’ll master the art of perfect gravy.
Beef Gravy from Drippings
4
servings5
minutes25
minutesIngredients
Instructions
- 1 Pour pan drippings into measuring cup after removing roast, supplement with butter if needed to reach 1/4 cup fat
- 2 Melt butter in roasting pan over medium heat, whisk in flour and cook roux 4-5 minutes until pale golden
- 3 Whisk in reserved drippings and cook 2 minutes until thickened and smooth
- 4 Gradually add warm broth while whisking, then add Worcestershire and pepper
- 5 Simmer 15-20 minutes until thickened, season with salt, then strain and serve