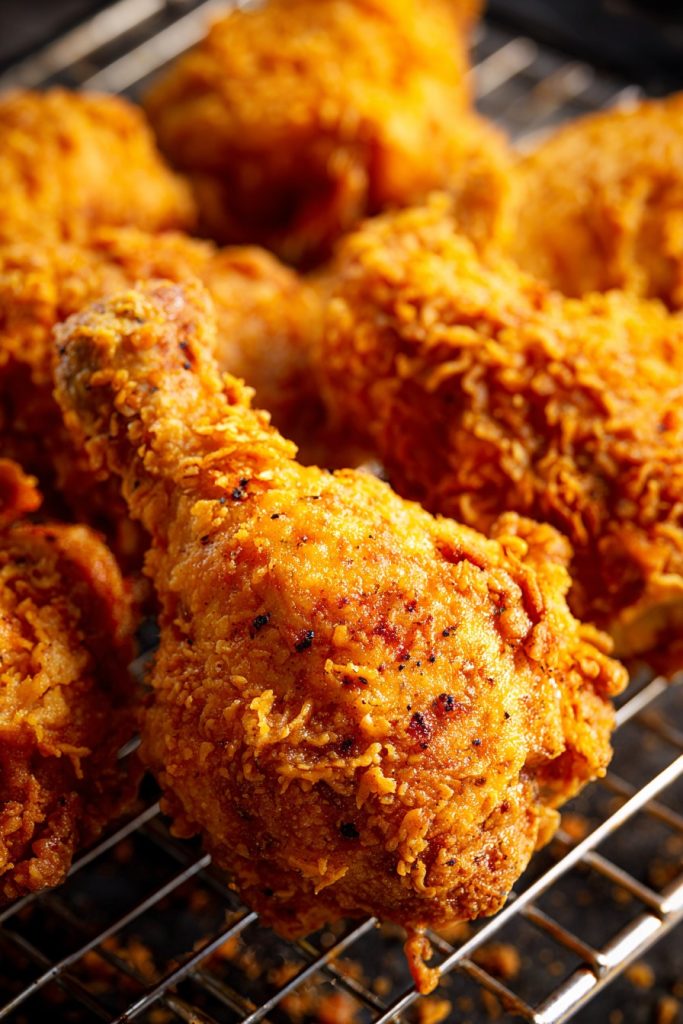
Never underestimate the power of a good baked fried chicken recipe! Now you can enjoy that crave-worthy crunch without the mess of deep frying. This method delivers all the flavor and texture you love, right from your oven.
Why This Recipe Works
- The combination of buttermilk marinade and a seasoned flour coating creates layers of flavor and ensures maximum crispiness.
- Baking at a high temperature (425°F) mimics the frying process, giving you that golden-brown crust without the oil.
- Using a wire rack allows hot air to circulate evenly around the chicken, preventing sogginess and promoting uniform cooking.
- The addition of baking powder in the flour mixture helps to lift and lighten the coating, making it extra crunchy.
- Resting the chicken after coating allows the flour to hydrate slightly, which helps the coating adhere better during baking.
Ingredients
- 3 pounds chicken pieces (bone-in, skin-on thighs and drumsticks recommended)
- 2 cups buttermilk
- 2 tablespoons hot sauce (such as Frank’s RedHot)
- 2 cups all-purpose flour
- 1 tablespoon baking powder
- 2 teaspoons garlic powder
- 2 teaspoons paprika
- 1 teaspoon onion powder
- 1 teaspoon cayenne pepper (adjust to taste)
- 1 tablespoon salt
- 1 teaspoon black pepper
- 1/2 cup melted butter or olive oil for brushing
Equipment Needed
- Large mixing bowls (2)
- Whisk
- Rimmed baking sheet
- Wire rack that fits inside baking sheet
- Tongs
- Pastry brush
- Measuring cups and spoons
- Plastic wrap or airtight container for marinating
Instructions
Step 1: Marinate the Chicken
In a large bowl, whisk together the buttermilk and hot sauce until well combined. Add the chicken pieces, making sure each piece is fully submerged in the buttermilk mixture. Cover the bowl with plastic wrap or transfer to an airtight container and refrigerate for at least 4 hours, or ideally overnight. This marinating time is crucial as the buttermilk tenderizes the chicken while infusing it with flavor. The acid in the buttermilk breaks down proteins, resulting in incredibly juicy meat. For best results, don’t rush this step – the longer it marinates, the more flavorful and tender your chicken will be. Tip: If you’re short on time, even 2 hours will help, but overnight is the gold standard for maximum flavor penetration.
Step 2: Prepare the Coating
About 30 minutes before you’re ready to bake, remove the chicken from the refrigerator to take the chill off. In another large bowl, whisk together the flour, baking powder, garlic powder, paprika, onion powder, cayenne pepper, salt, and black pepper until thoroughly combined. The baking powder is your secret weapon here – it creates tiny bubbles during baking that make the coating extra light and crispy. Make sure your seasoning mixture is well blended because any clumps of spice will create uneven flavor distribution. This is also a good time to taste your flour mixture (yes, taste raw flour – it’s fine!) and adjust seasonings if needed. Remember, this coating needs to be flavorful enough to stand up to the chicken and cooking process.
Step 3: Coat the Chicken Pieces
Preheat your oven to 425°F and place a wire rack inside a rimmed baking sheet. Remove chicken pieces from the buttermilk marinade, allowing excess to drip off. Working with one piece at a time, dredge the chicken in the flour mixture, pressing firmly to ensure an even, thick coating on all sides. Shake off any excess flour and place the coated chicken on the wire rack. Repeat with all chicken pieces, arranging them in a single layer with space between each piece. Let the coated chicken rest on the rack for 15-20 minutes before baking. This resting period allows the coating to set and adhere better to the chicken, preventing it from falling off during baking. Tip: Use one hand for wet ingredients and one for dry to avoid clumpy fingers!
Step 4: Bake to Perfection
Once the oven reaches 425°F and the chicken has rested, use a pastry brush to generously brush each piece with melted butter or olive oil. This step is non-negotiable – it helps the coating brown beautifully and adds richness. Place the baking sheet in the preheated oven and bake for 35-45 minutes. The exact time will depend on the size of your chicken pieces – drumsticks typically take 35-40 minutes while larger thighs may need 40-45 minutes. You’re looking for an internal temperature of 165°F when measured with an instant-read thermometer inserted into the thickest part of the meat without touching bone. The coating should be deep golden brown and very crispy. Rotate the baking sheet halfway through cooking for even browning.
Step 5: Rest and Serve
Remove the chicken from the oven and let it rest on the wire rack for 5-10 minutes before serving. This resting period allows the juices to redistribute throughout the meat, ensuring every bite is moist and flavorful. If you cut into the chicken immediately, those precious juices will run out and leave you with drier meat. The coating will continue to crisp up during this resting time as the residual heat works its magic. Serve your baked fried chicken while it’s still warm – this is when the contrast between the crispy coating and juicy interior is most dramatic. Tip: For extra crispiness, you can briefly broil the chicken for 1-2 minutes at the end, but watch carefully to prevent burning!
Tips and Tricks
For the ultimate crispy experience, consider patting your chicken pieces dry before marinating – excess moisture on the skin can prevent the coating from adhering properly. If you don’t have buttermilk, you can make a quick substitute by adding 1 tablespoon of lemon juice or vinegar to 1 cup of milk and letting it sit for 5 minutes. When arranging your chicken on the wire rack, make sure none of the pieces are touching – this allows hot air to circulate freely around each piece, promoting even cooking and maximum crispiness. If you notice any bare spots after the initial coating, you can do a second dredge in the flour mixture after the resting period for extra coverage.
For those who love extra seasoning, you can add grated Parmesan cheese, cornmeal, or crushed cornflakes to your flour mixture for additional texture and flavor. If you’re watching your fat intake, you can use cooking spray instead of butter for brushing, though the butter does contribute to both flavor and browning. Always use an instant-read thermometer to check for doneness – visual cues can be deceiving, and undercooked chicken is a food safety risk. The internal temperature should reach 165°F in the thickest part of the meat without touching bone. Leftover chicken can be stored in an airtight container in the refrigerator for up to 3 days and reheated in a 375°F oven for 10-15 minutes to restore crispiness.
If you’re cooking for a crowd, you can prepare the chicken through the coating stage and refrigerate it on the wire rack for up to 2 hours before baking. This make-ahead option is perfect for dinner parties. For extra crispy skin, you can place the chicken under the broiler for the last 1-2 minutes of cooking, but watch it carefully as it can burn quickly. If your chicken is browning too quickly, you can tent it loosely with aluminum foil. Remember that different ovens have hot spots, so rotating your baking sheet halfway through cooking ensures even browning. For the best results, use chicken pieces that are similar in size so they cook at the same rate.
Recipe Variations
- Spicy Nashville Hot Style: After baking, brush the chicken with a mixture of 1/4 cup melted butter, 2 tablespoons cayenne pepper, 1 tablespoon brown sugar, 1 teaspoon garlic powder, and 1/2 teaspoon paprika. This creates that signature Nashville heat and shine that makes this style so addictive. Serve with pickles and white bread for the authentic experience.
- Herb-Crusted Version: Add 2 tablespoons of dried herbs (such as thyme, oregano, and rosemary) to the flour mixture. You can also mix in 1/4 cup of grated Parmesan cheese for extra umami flavor. This variation gives you a more Italian-inspired chicken that pairs beautifully with pasta or roasted vegetables.
- Gluten-Free Option: Replace the all-purpose flour with a 1:1 gluten-free flour blend. You can also use crushed gluten-free crackers or cornmeal for part of the coating. Make sure your baking powder is gluten-free as well. This variation allows everyone to enjoy crispy chicken regardless of dietary restrictions.
- Asian-Inspired Twist: Replace the buttermilk with a marinade of 1 cup coconut milk, 1/4 cup soy sauce, 2 tablespoons ginger, and 2 cloves minced garlic. For the coating, use 1 cup flour mixed with 1 cup cornstarch and add 1 tablespoon five-spice powder. This creates a lighter, crispier coating with fantastic Asian flavors.
Frequently Asked Questions
Can I use boneless chicken for this recipe?
Absolutely! Boneless, skinless chicken breasts or thighs work well with this method. However, since they cook faster, reduce the baking time to 25-30 minutes and check for an internal temperature of 165°F. Boneless pieces might not get quite as crispy as bone-in chicken because they have less fat and no skin, but they’ll still be delicious. I recommend cutting larger breasts into uniform pieces for even cooking.
Why did my coating fall off during baking?
Coating failure usually happens for three reasons: not pressing the flour mixture firmly enough onto the chicken, not allowing the coated chicken to rest before baking, or moving the chicken too much during baking. Make sure you really press that flour into every nook and cranny, let it rest for 15-20 minutes to set, and avoid opening the oven door frequently during the first half of cooking. The resting period is crucial for adhesion.
Can I make this recipe ahead of time?
You can prepare the chicken through the coating stage and refrigerate it on the wire rack for up to 2 hours before baking. For longer preparation, you can marinate the chicken for up to 24 hours in advance. However, I don’t recommend coating the chicken more than 2 hours ahead as the coating can become gummy. Leftover baked chicken reheats beautifully in a 375°F oven for 10-15 minutes.
Is this really as crispy as fried chicken?
While it’s not identical to deep-fried chicken, this method produces remarkably crispy results that satisfy those fried chicken cravings. The high oven temperature, wire rack, and butter brushing create excellent browning and crunch. It won’t have quite the same oil-fried texture, but it’s significantly healthier and much less messy to make. Most people find the difference minimal when served immediately.
Can I use an air fryer instead of the oven?
Yes! This recipe adapts beautifully to air frying. Cook at 375°F for 20-25 minutes, flipping halfway through. The air fryer creates even crispier results than the oven method because of the intense air circulation. You may need to work in batches depending on your air fryer size. Reduce the butter brushing slightly as air fryers require less fat for browning.
Summary
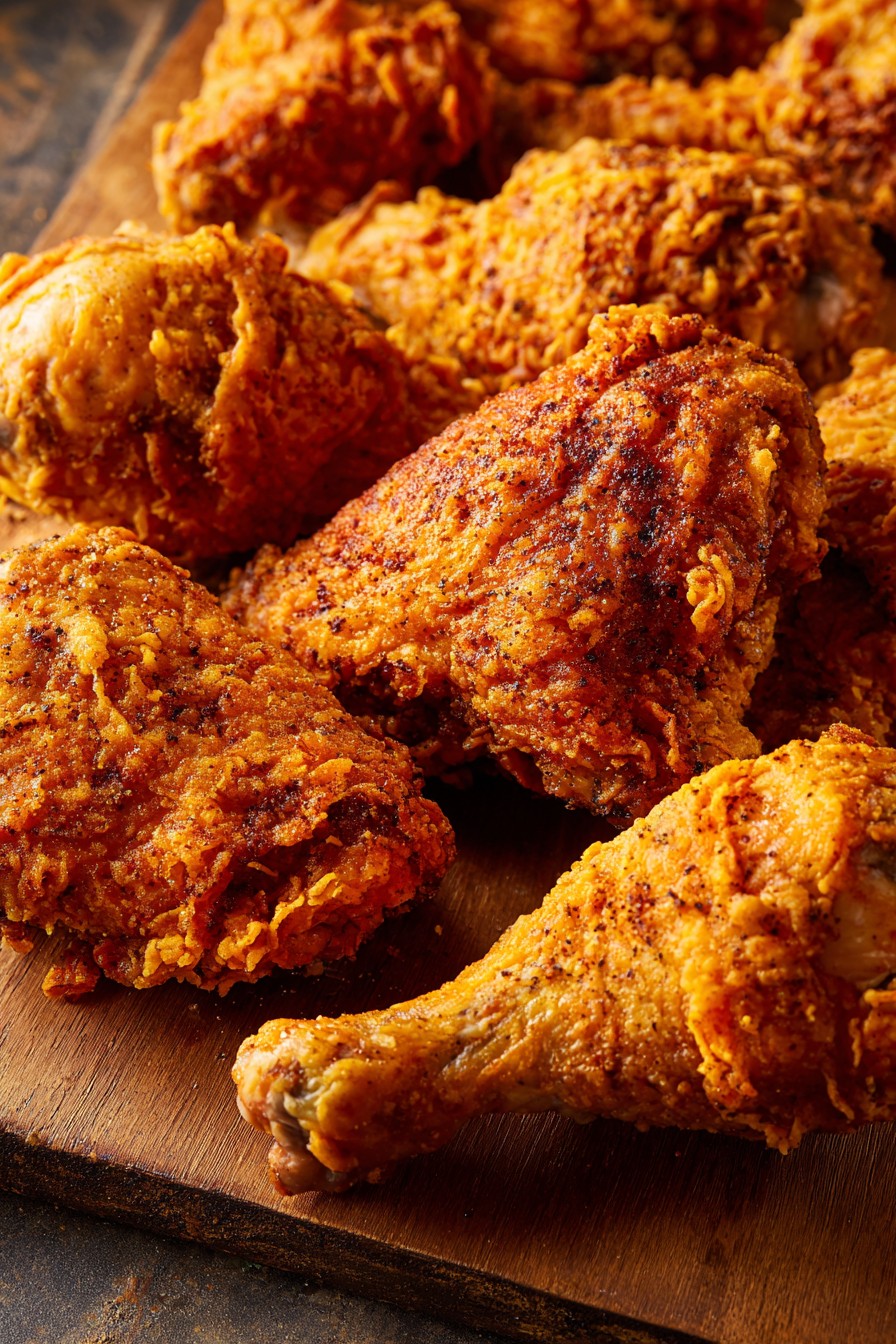
This baked fried chicken delivers incredible crunch without deep frying. Marinating in buttermilk ensures juicy meat, while the seasoned coating and high heat create perfect crispiness. It’s healthier, easier, and just as delicious as traditional fried chicken!
Baked Fried Chicken Recipe
6
servings20
minutes40
minutesIngredients
Instructions
- 1 Marinate chicken in buttermilk and hot sauce for 4-24 hours
- 2 Whisk together dry ingredients for coating
- 3 Coat chicken pieces thoroughly in flour mixture
- 4 Rest coated chicken for 15-20 minutes
- 5 Brush with melted butter and bake at 425°F for 35-45 minutes
- 6 Rest for 5-10 minutes before serving


