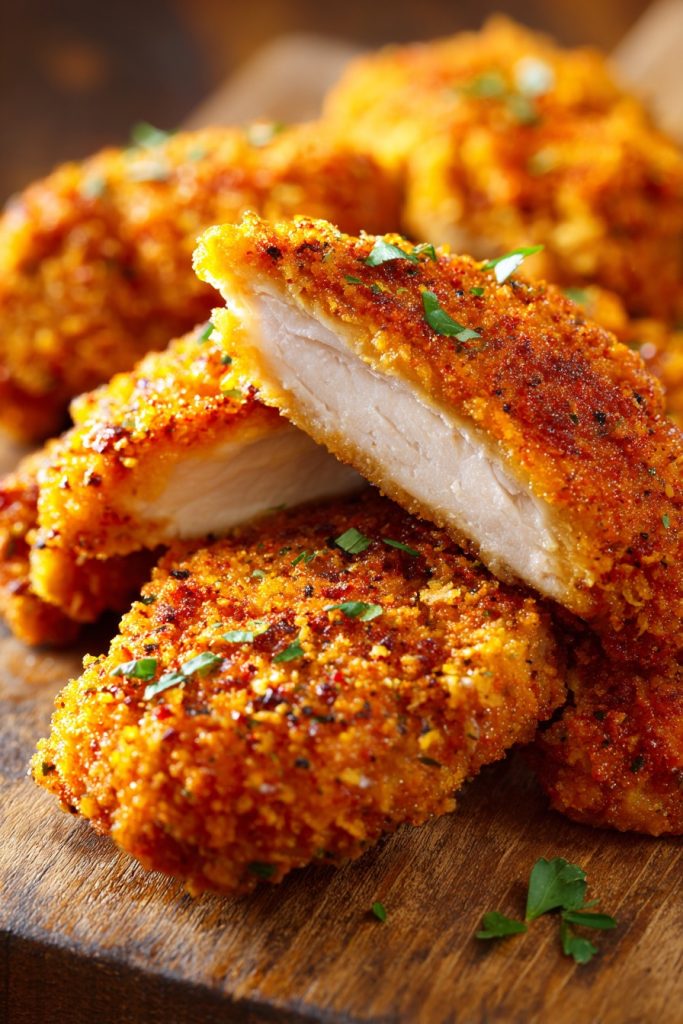
Hey there, fellow food fanatics! Have you ever craved that iconic KFC flavor but wanted to skip the drive-thru and deep-frying drama? How about we create that magical crispy, flavorful chicken right in your own oven? Hold onto your aprons because we’re about to bake our way to finger-licking goodness without all the greasy fuss!
Why This Recipe Works
- The secret blend of 11 herbs and spices creates that authentic KFC flavor profile without any mystery ingredients.
- Baking instead of frying delivers that satisfying crunch with 75% less fat, making it a healthier indulgence you can feel good about.
- A double-dredging technique ensures every piece gets maximum coating adhesion for that perfect crispy exterior that stays put.
- The buttermilk marinade tenderizes the chicken for hours, resulting in incredibly juicy meat that practically falls off the bone.
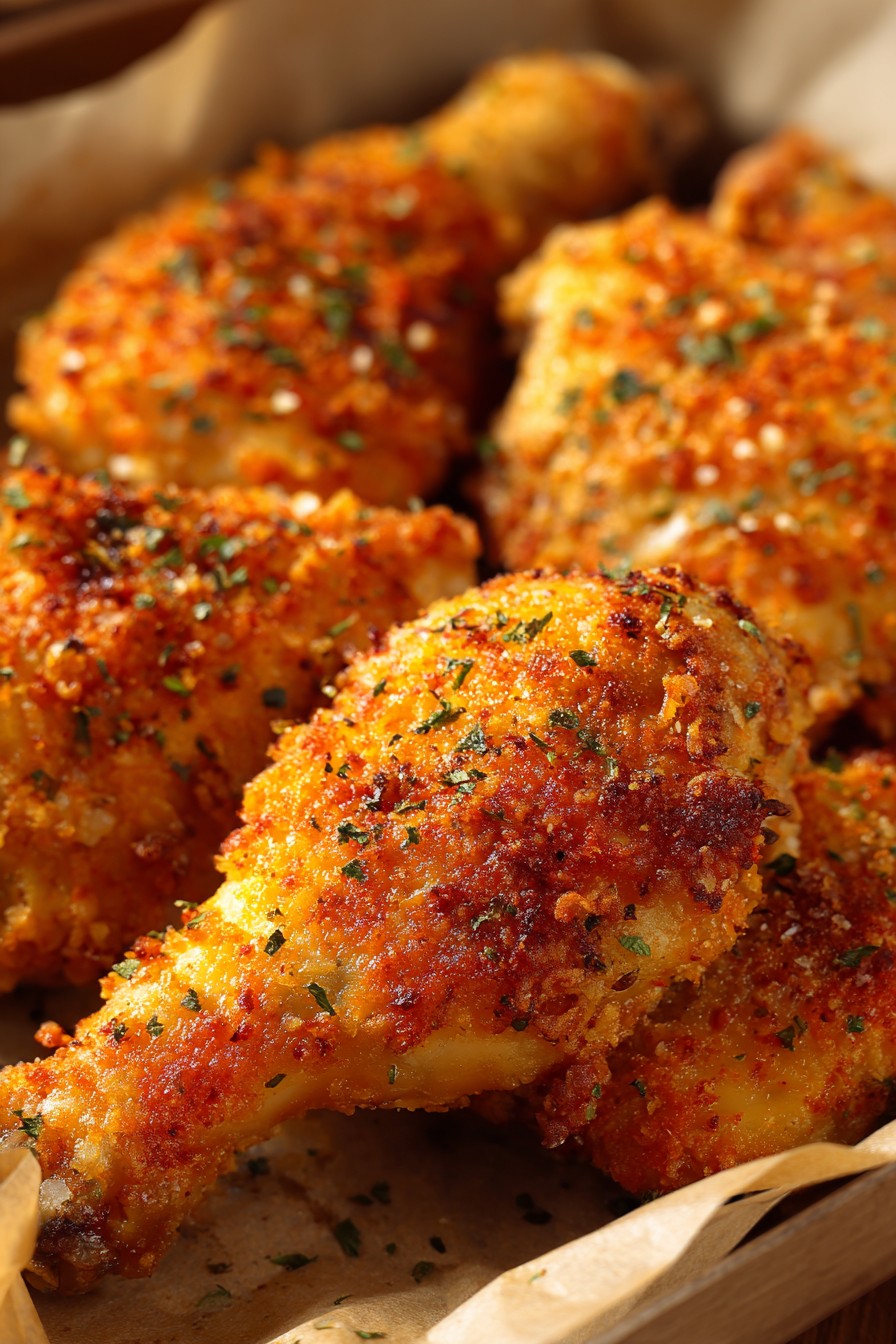
- High heat baking at 425°F creates that beautiful golden-brown crust while keeping the interior moist and perfectly cooked.
Ingredients
- 3 pounds chicken pieces (drumsticks and thighs work best)
- 2 cups buttermilk
- 2 cups all-purpose flour
- 2 tablespoons paprika
- 1 tablespoon garlic powder
- 1 tablespoon onion powder
- 2 teaspoons dried thyme
- 2 teaspoons dried basil
- 1 teaspoon dried oregano
- 1 teaspoon celery salt
- 1 teaspoon black pepper
- 1 teaspoon white pepper
- 1/2 teaspoon cayenne pepper (adjust for spice preference)
- 1 tablespoon salt
- 1/2 cup melted butter
- Cooking spray
Equipment Needed
- Large mixing bowls (2)
- Whisk
- Rimmed baking sheet
- Wire rack
- Measuring cups and spoons
- Ziplock bags or shallow dishes for dredging
- Tongs
- Meat thermometer
Instructions
Prepare the Chicken Marinade
Place your chicken pieces in a large bowl and pour the buttermilk over them, making sure every piece gets thoroughly coated. Cover the bowl with plastic wrap and refrigerate for at least 4 hours, though overnight marinating will give you the most tender results. The acidity in the buttermilk works magic on the chicken proteins, breaking them down for ultimate juiciness. Pro tip: If you’re short on time, you can marinate for just 2 hours, but trust me – patience pays off in flavor town! While the chicken marinates, it’s the perfect time to mix your spice blend and prepare your dredging station.
Create the Signature Spice Blend
In a medium bowl, whisk together the flour, paprika, garlic powder, onion powder, thyme, basil, oregano, celery salt, black pepper, white pepper, cayenne pepper, and salt until thoroughly combined. The key here is to really whisk it well – you want every spoonful of flour to contain all those wonderful spices. Taste a tiny pinch (just flour, no raw chicken contact!) and adjust seasoning if needed. Remember: the flavor intensifies during baking, so don’t be shy with the spices! This is where the magic happens – that secret blend that makes KFC so recognizable. Store any extra blend in an airtight container for future chicken adventures.
Dredge and Coat the Chicken
Remove chicken from buttermilk, letting excess drip off but don’t shake it vigorously. Working with one piece at a time, place chicken in the flour mixture and press firmly to ensure good adhesion. Flip and repeat on all sides, then return to the buttermilk for a quick second dip. Back into the flour for a final coating, pressing firmly again to create those beautiful craggy bits that will become extra crispy. Place coated pieces on a wire rack set over a baking sheet as you work. This double-dredging technique is crucial for that thick, crunchy coating that doesn’t fall off during baking. Let the coated chicken rest for 15 minutes before baking – this helps the coating set properly.
Bake to Golden Perfection
Preheat your oven to 425°F and position rack in the center. Line a baking sheet with foil and place a wire rack on top, spraying both with cooking spray. Arrange chicken pieces on the rack, leaving space between them for proper air circulation. Brush or drizzle the melted butter over each piece – this adds flavor and helps achieve that golden color. Bake for 35 minutes, then flip each piece carefully using tongs. Continue baking for another 25-35 minutes until the coating is deep golden brown and crispy. The internal temperature should reach 165°F when measured with a meat thermometer inserted into the thickest part without touching bone.
Rest and Serve Immediately
Once perfectly baked, remove the chicken from the oven and let it rest on the rack for 5-10 minutes. This allows the juices to redistribute throughout the meat, ensuring every bite is moist and flavorful. The coating will continue to crisp up during this resting period. Serve immediately while hot and crispy – because let’s be honest, nobody wants lukewarm fried chicken! Pair with your favorite sides like mashed potatoes, coleslaw, or corn on the cob. Pro tip: If you have leftovers (unlikely!), reheat in the oven at 375°F for 10-15 minutes to maintain crispiness rather than microwaving.
Tips and Tricks
For the ultimate crispy coating, pat your chicken pieces completely dry before starting the marinating process. Any surface moisture can prevent the buttermilk from properly penetrating and the coating from adhering well. When measuring your flour for the dredging mixture, fluff it up first then spoon into measuring cups and level off – don’t scoop directly from the bag as this packs the flour and can lead to a denser coating. If you want extra craggy bits on your chicken (those delicious crunchy peaks everyone fights over), try adding 1/4 cup of cornstarch to your flour mixture – it creates little pockets of extra crispiness. For even baking, make sure your chicken pieces are roughly the same size – if using a whole cut-up chicken, you might want to bake the breasts separately for the last 15 minutes as they cook faster than thighs and drumsticks. The wire rack is non-negotiable for crispy baked chicken – it allows hot air to circulate around the entire piece, preventing sogginess on the bottom. If you don’t have buttermilk, you can make a quick substitute by adding 1 tablespoon of lemon juice or white vinegar to 1 cup of milk and letting it sit for 5 minutes until slightly curdled. For maximum flavor penetration, you can add 1 teaspoon of your spice blend to the buttermilk marinade – it gives the chicken itself that signature flavor beyond just the coating. If your coating is browning too quickly before the chicken is cooked through, tent loosely with foil for the remaining baking time. For extra crispy skin, you can briefly broil during the last 2-3 minutes but watch carefully as it can burn quickly. Always use a meat thermometer to ensure food safety – visual cues alone aren’t reliable for poultry. The melted butter brushing step is crucial not just for color but for flavor – if you’re dairy-free, olive oil or avocado oil work well too. If you want to make ahead, you can coat the chicken and refrigerate on the rack for up to 2 hours before baking – this actually helps the coating set even better.
Recipe Variations
- Spicy Nashville Hot Version: After baking, brush chicken with a mixture of 1/4 cup melted butter, 2 tablespoons cayenne pepper, 1 tablespoon brown sugar, and 1 teaspoon each of paprika and garlic powder for that signature Nashville heat and sweetness.
- Extra Crispy Double-Dip: Add 1/2 cup of cornflake crumbs or panko breadcrumbs to your flour mixture for an even crunchier texture that holds up beautifully to baking.
- Gluten-Free Adaptation: Substitute the all-purpose flour with a 1:1 gluten-free flour blend and add 1 teaspoon of xanthan gum to help with binding. Use gluten-free buttermilk alternative made with gluten-free milk.
- Air Fryer Method: Cook at 375°F for 20-25 minutes, flipping halfway through. Reduce butter brushing to 1 tablespoon since air fryers require less fat. Works best with smaller pieces.
- Sheet Pan Dinner: Add chopped potatoes, carrots, and onions to the baking sheet around the chicken during the last 30 minutes of cooking for a complete meal with delicious veggies cooked in chicken drippings.
Frequently Asked Questions
Can I use boneless chicken for this recipe?
Absolutely! Boneless chicken breasts or thighs work wonderfully with this recipe. Reduce the baking time to 25-30 minutes total since boneless pieces cook faster. The internal temperature should still reach 165°F. I recommend cutting larger breasts into cutlets for more even cooking and better coating-to-meat ratio. Boneless chicken might not be as juicy as bone-in, so don’t skip the buttermilk marinade step – it’s crucial for moisture retention. You might need to flip boneless pieces more frequently during baking to ensure even browning on both sides.
How do I store and reheat leftovers?
Store leftover chicken in an airtight container in the refrigerator for up to 3 days. To reheat while maintaining crispiness, avoid the microwave! Instead, place on a wire rack over a baking sheet and bake at 375°F for 10-15 minutes until heated through and crispy again. You can also use an air fryer at 350°F for 5-8 minutes. The coating will never be quite as crisp as fresh-out-of-the-oven, but these methods work much better than microwaving which makes it soggy. For longer storage, you can freeze baked chicken for up to 2 months.
Why isn’t my coating sticking to the chicken?
The most common reason for coating not sticking is not letting the excess buttermilk drip off properly before dredging. The chicken should be moist but not dripping wet. Also, pressing firmly during the dredging process is crucial – don’t be gentle! Letting the coated chicken rest for 15 minutes before baking allows the coating to set and adhere better. If you’re still having issues, try patting the chicken drier after marinating, or adding 1 tablespoon of cornstarch to your flour mixture for better adhesion.
Can I make this recipe ahead of time?
You can prepare the components ahead in several ways. The buttermilk marinade with chicken can refrigerate for up to 24 hours. The spice blend can be mixed weeks in advance and stored in an airtight container. You can even coat the chicken and refrigerate on the rack for up to 2 hours before baking – this actually improves crispiness. However, I don’t recommend baking completely ahead as the coating will lose its crispness. For parties, you can have everything prepped and just pop in the oven 45 minutes before serving.
Is this really comparable to actual KFC?
While I can’t claim it’s an exact duplicate (Colonel Sanders took his secret to the grave!), this recipe comes incredibly close to the familiar KFC flavor and texture. The spice blend mimics their famous 11 herbs and spices, and the baking technique creates that crispy exterior without deep frying. Many taste testers actually prefer this version because it’s less greasy while maintaining that signature flavor. The buttermilk marinade ensures juiciness that rivals the original. It might not be identical, but it’s delicious in its own right!
Summary
This baked KFC-style chicken delivers all the crispy, flavorful goodness of the original with healthier baking. Perfect for family dinners or game day gatherings, it’s sure to become a household favorite.
Baked KFC-Style Chicken
6
servings20
minutes60
minutesIngredients
Instructions
- 1 Marinate chicken in buttermilk for 4-24 hours
- 2 Mix flour and spices in separate bowl
- 3 Dredge chicken twice in flour mixture
- 4 Bake at 425°F for 60-70 minutes
- 5 Rest for 10 minutes before serving


