Gather around, food friends! Get ready to transform your ordinary chicken dinner into a show-stopping masterpiece that will have everyone asking for seconds. This isn’t just another baked chicken recipe—it’s a flavor-packed journey that combines juicy chicken with savory stuffing in one glorious dish.
Why This Recipe Works
- The stuffing acts as a natural moisture barrier, keeping the chicken incredibly juicy while preventing it from drying out during baking
- Using a combination of fresh herbs and aromatics in the stuffing creates layers of flavor that infuse into the chicken as it cooks
- The high-temperature start followed by lower heat ensures a beautifully golden exterior while cooking the chicken through perfectly
- Butterflying the chicken breasts creates more surface area for the stuffing and allows for even cooking throughout
- The simple pan sauce made from the drippings elevates the entire dish with minimal extra effort
Ingredients
- 4 boneless, skinless chicken breasts (about 6 ounces each)
- 2 cups cubed day-old bread (½-inch cubes)
- 1 cup chicken broth
- ½ cup unsalted butter, divided
- 1 medium onion, finely chopped
- 2 celery stalks, finely chopped
- 2 garlic cloves, minced
- 2 tablespoons fresh parsley, chopped
- 1 tablespoon fresh sage, chopped
- 1 teaspoon fresh thyme leaves
- ½ teaspoon salt
- ¼ teaspoon black pepper
- ¼ teaspoon paprika
- 2 tablespoons olive oil
- ½ cup dry white wine (optional)
Equipment Needed
- 9×13 inch baking dish
- Large skillet
- Mixing bowls
- Cutting board and sharp knife
- Measuring cups and spoons
- Meat mallet or rolling pin
- Instant-read thermometer
- Wooden spoon
- Aluminum foil
Instructions
Prepare the Chicken and Make the Stuffing
Let’s start by getting our chicken ready for its stuffing transformation! Place each chicken breast between two pieces of plastic wrap and gently pound them to an even ½-inch thickness using a meat mallet or rolling pin. This creates the perfect canvas for our stuffing and ensures even cooking. Meanwhile, in a large skillet over medium heat, melt 4 tablespoons of butter and sauté the chopped onion and celery until they become soft and translucent, which should take about 5-7 minutes. Add the minced garlic and cook for another minute until fragrant. Remove from heat and stir in the bread cubes, fresh herbs, salt, pepper, and enough chicken broth to moisten the mixture—you want it cohesive but not soggy. Pro tip: Let the stuffing mixture cool slightly before spreading it on the chicken to prevent cooking the chicken prematurely.
Stuff and Roll the Chicken Breasts
Now for the fun part—creating our stuffed chicken parcels! Lay each pounded chicken breast flat on your work surface and season both sides lightly with salt and pepper. Divide the stuffing mixture evenly among the four breasts, spreading it in an even layer but leaving about a ½-inch border around the edges. Carefully roll each breast up tightly, starting from the shorter end if your breasts are oblong, or from the longer side if they’re more square. Secure the rolls with kitchen twine or toothpicks to prevent them from unraveling during baking. Make sure the seams are facing downward to help them stay closed. This rolling technique ensures every bite contains both chicken and stuffing in perfect harmony.
Sear the Chicken Rolls
Time to create that beautiful golden-brown crust that adds incredible flavor and texture! Heat the olive oil and remaining 2 tablespoons of butter in your skillet over medium-high heat until the butter stops foaming. Carefully place the chicken rolls seam-side down in the hot pan and sear for about 2-3 minutes per side, turning them until all sides are nicely browned. You’re looking for a deep golden color that will make your kitchen smell absolutely amazing. This step isn’t just for looks—the Maillard reaction that occurs during searing creates complex flavors that will enhance the entire dish. Don’t crowd the pan; work in batches if necessary to ensure proper browning.
Bake to Perfection
Transfer your beautifully seared chicken rolls to your baking dish, arranging them seam-side down with a little space between each roll. If you’re using white wine, pour it into the hot skillet to deglaze, scraping up all those delicious browned bits, then pour this liquid around the chicken in the baking dish. Cover the dish tightly with aluminum foil and bake in a preheated 375°F oven for 25 minutes. Then remove the foil and continue baking for another 10-15 minutes until the internal temperature reaches 165°F when measured with an instant-read thermometer inserted into the thickest part of the chicken. The stuffing should be hot throughout and the exterior beautifully golden.
Rest and Make the Pan Sauce
Patience, my friends—this is the most crucial step for juicy chicken! Remove the baking dish from the oven and transfer the chicken rolls to a cutting board, tenting them loosely with foil to keep warm. Let them rest for at least 10 minutes—this allows the juices to redistribute throughout the meat. Meanwhile, pour the pan drippings into your skillet and bring to a simmer over medium heat. If the liquid seems too reduced, add a splash of chicken broth. Cook for 2-3 minutes until slightly thickened, then taste and adjust seasoning if needed. This simple pan sauce is liquid gold that will elevate your dish to restaurant-quality status.
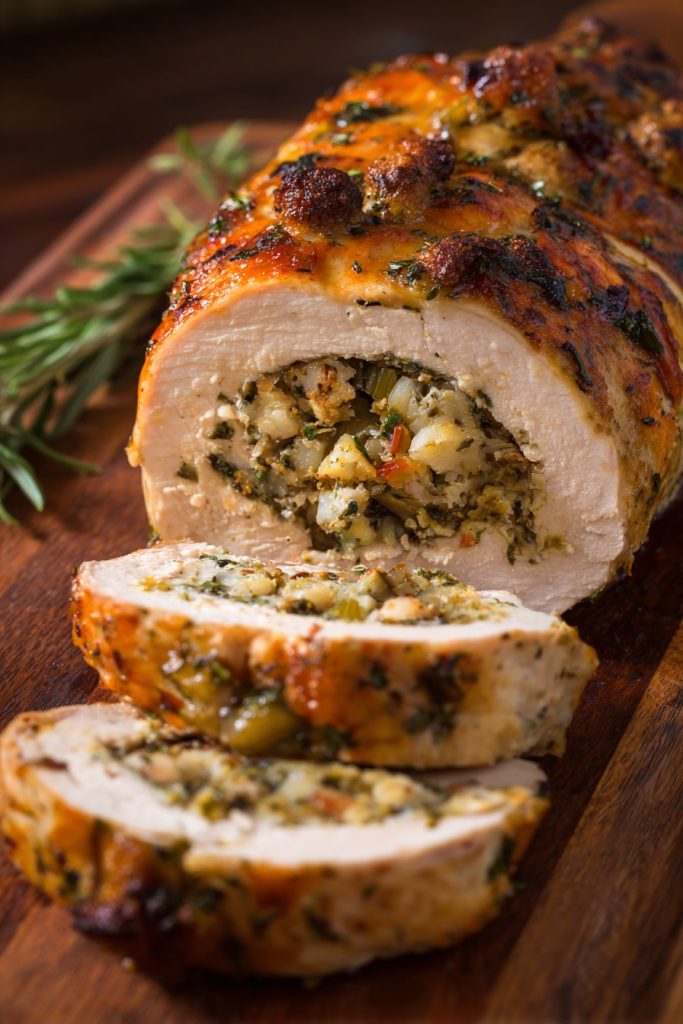
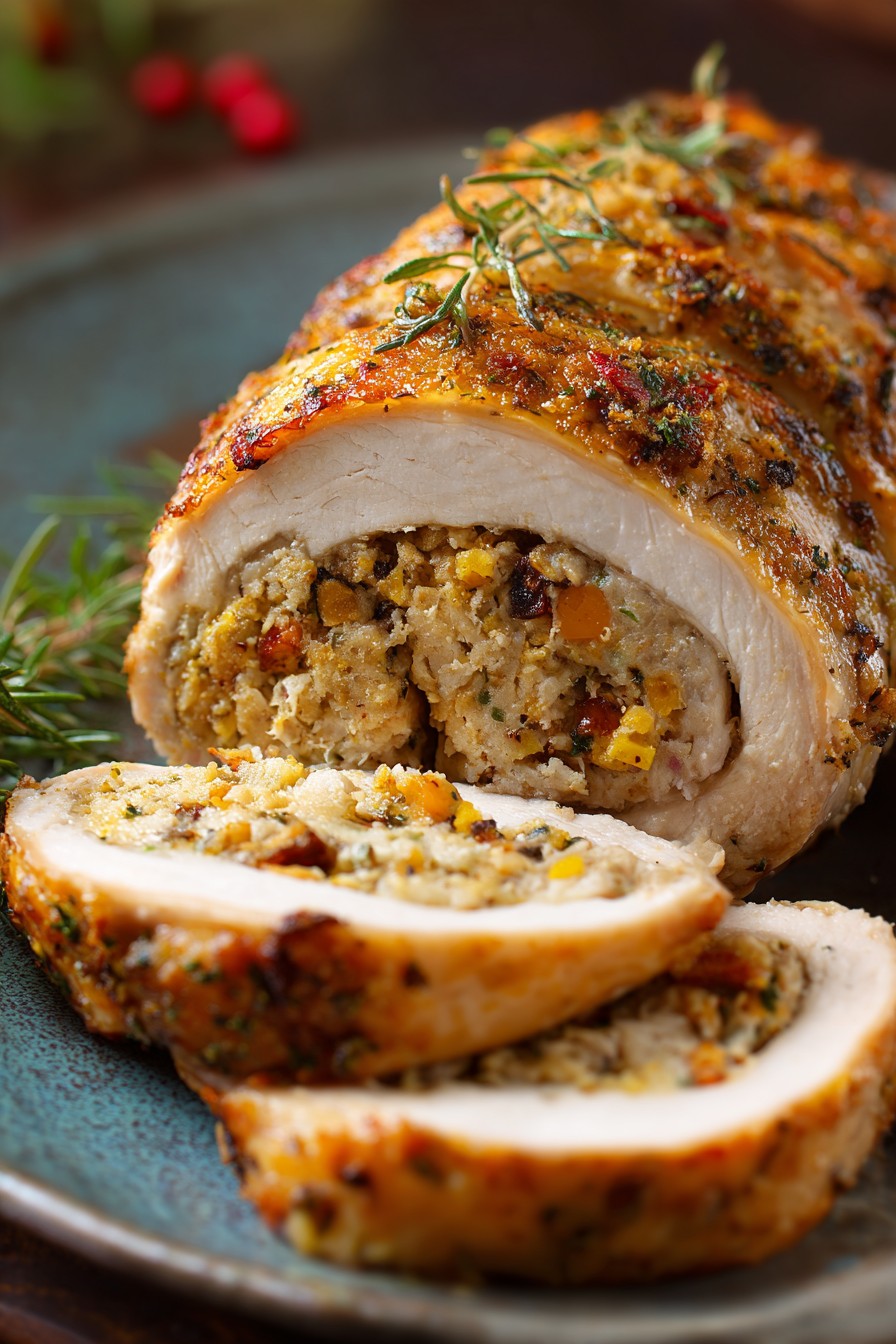
Serve and Enjoy
The moment of truth has arrived! Remove the twine or toothpicks from the chicken rolls and slice them into 1-inch thick medallions that showcase the beautiful spiral of chicken and stuffing. Arrange on plates and drizzle with the warm pan sauce. The visual appeal is just as impressive as the flavor—each slice reveals the colorful stuffing nestled within the tender chicken. Serve immediately while hot, and watch as your family or guests marvel at your culinary skills. This dish pairs wonderfully with roasted vegetables, mashed potatoes, or a simple green salad.
Tips and Tricks
For the absolute best results, consider these pro tips that will take your stuffed chicken from great to extraordinary. First, always use day-old bread for your stuffing—fresh bread becomes too mushy, while slightly stale bread maintains better texture and absorbs flavors more effectively. If you don’t have day-old bread, you can cube fresh bread and toast it in a 300°F oven for 10-15 minutes until slightly dried out. When butterflying your chicken breasts, make sure to pound them to an even thickness—this is non-negotiable for even cooking. If some parts are thicker than others, they’ll cook unevenly, leading to dry spots or undercooked areas.
Temperature control is everything when working with chicken. Always bring your chicken to room temperature for about 20-30 minutes before cooking—this helps it cook more evenly. When searing, make sure your pan is properly heated before adding the chicken; you should hear a satisfying sizzle when it hits the pan. Don’t move the chicken around too much while searing—let it develop that beautiful crust. For the baking stage, using an instant-read thermometer is the only reliable way to know when your chicken is perfectly cooked. The USDA recommends 165°F, but remember that carryover cooking will add another 5 degrees or so while resting.
If you’re making this for guests or meal prep, you can assemble the stuffed chicken rolls up to a day in advance and keep them refrigerated until ready to cook. Just make sure to let them come to room temperature for about 30 minutes before searing. For extra flavor, consider adding different ingredients to your stuffing—dried cranberries, chopped apples, walnuts, or even sausage crumbles can create wonderful variations. When making the pan sauce, if you prefer a thicker consistency, you can make a quick slurry with 1 teaspoon of cornstarch mixed with 1 tablespoon of cold water and whisk it into the simmering sauce. Finally, always let your chicken rest after baking—this is when the magic happens as the juices redistribute throughout the meat.
Recipe Variations
- Italian Herb Version: Replace the traditional herbs with 2 tablespoons of fresh basil, 1 tablespoon of oregano, and add ¼ cup of sun-dried tomatoes and ½ cup of shredded mozzarella to the stuffing mixture. The melted cheese creates a delightful surprise in every bite.
- Southwestern Twist: Use cornbread instead of regular bread cubes and add ½ cup of black beans, ¼ cup of corn kernels, 1 tablespoon of chili powder, and ½ teaspoon of cumin to the stuffing. Top with a spicy avocado crema instead of the pan sauce.
- Mushroom and Spinach: Sauté 8 ounces of sliced mushrooms with the onions and celery, then stir in 2 cups of fresh spinach until wilted. Add ½ cup of grated Parmesan cheese to the stuffing for extra umami flavor.
- Apple and Sage: This autumn-inspired version uses 1 diced apple sautéed with the aromatics, increased sage to 2 tablespoons, and adds ½ cup of chopped walnuts for crunch. Perfect for holiday meals or cozy fall dinners.
- Greek Style: Use panko breadcrumbs instead of cubed bread and add ½ cup of crumbled feta cheese, ¼ cup of chopped Kalamata olives, and 1 tablespoon of fresh dill. Serve with a lemon-herb sauce instead of the traditional pan sauce.
Frequently Asked Questions
Can I use chicken thighs instead of breasts?
Absolutely! Chicken thighs work wonderfully in this recipe and actually stay more moist due to their higher fat content. Use boneless, skinless thighs and pound them to an even ¼-inch thickness since they’re smaller than breasts. You may need to adjust the cooking time slightly—thighs typically take about 5-10 minutes less to reach the safe internal temperature of 165°F. The richer flavor of thighs pairs beautifully with the stuffing, and they’re often more affordable than chicken breasts too.
How do I prevent the stuffing from falling out during cooking?
Proper rolling and securing are key to keeping your stuffing where it belongs! Make sure to leave that ½-inch border around the edges when spreading the stuffing, and roll tightly but gently. Use kitchen twine tied at 1-inch intervals rather than toothpicks for more secure holding power. Always place the rolls seam-side down both during searing and baking, and avoid overfilling—the stuffing will expand slightly during cooking. Chilling the assembled rolls for 30 minutes before cooking can also help them hold their shape better.
Can I make this recipe gluten-free?
Yes, this adapts beautifully to gluten-free diets! Simply use your favorite gluten-free bread for the stuffing cubes—look for a denser variety that won’t become too mushy. For the pan sauce, use cornstarch instead of flour if you want to thicken it, and ensure your chicken broth is certified gluten-free. All other ingredients are naturally gluten-free, making this an easy conversion. The cooking times and methods remain exactly the same, so you don’t have to adjust your technique at all.
How long do leftovers keep, and how should I reheat them?
Leftovers will keep in the refrigerator for 3-4 days when stored in an airtight container. To reheat, place the sliced chicken in a baking dish with a splash of chicken broth or water, cover with foil, and warm in a 325°F oven for 15-20 minutes until heated through. Microwaving tends to make the chicken rubbery and the stuffing soggy, so oven reheating is definitely preferred. You can also freeze the baked stuffed chicken for up to 3 months—thaw overnight in the refrigerator before reheating.
What if I don’t have fresh herbs available?
While fresh herbs provide the best flavor, you can certainly use dried herbs in a pinch. The general conversion is 1 tablespoon fresh equals 1 teaspoon dried. So for this recipe, you’d use 1 teaspoon each of dried parsley, sage, and thyme. Add the dried herbs when you’re sautéing the vegetables to help release their oils and maximize flavor. Just remember that dried herbs are more concentrated, so you might want to start with slightly less and adjust to taste.
Summary
This baked chicken breast with stuffing combines juicy chicken, savory herb stuffing, and a simple pan sauce for an impressive yet approachable meal. Perfect for weeknights or entertaining, with make-ahead options and endless variations to keep it exciting.
Baked Chicken Breast with Stuffing
6
servings30
minutes45
minutesIngredients
Instructions
- 1 Pound chicken to ½-inch thickness between plastic wrap
- 2 Sauté onion, celery, and garlic in 4 tbsp butter until soft
- 3 Combine with bread cubes, herbs, and enough broth to moisten
- 4 Spread stuffing on chicken, roll tightly, and secure with twine
- 5 Sear rolls in oil and remaining butter until golden brown
- 6 Bake covered at 375°F for 25 minutes, then uncovered for 10-15 minutes until 165°F internal temperature
- 7 Rest 10 minutes, make pan sauce from drippings, slice and serve


