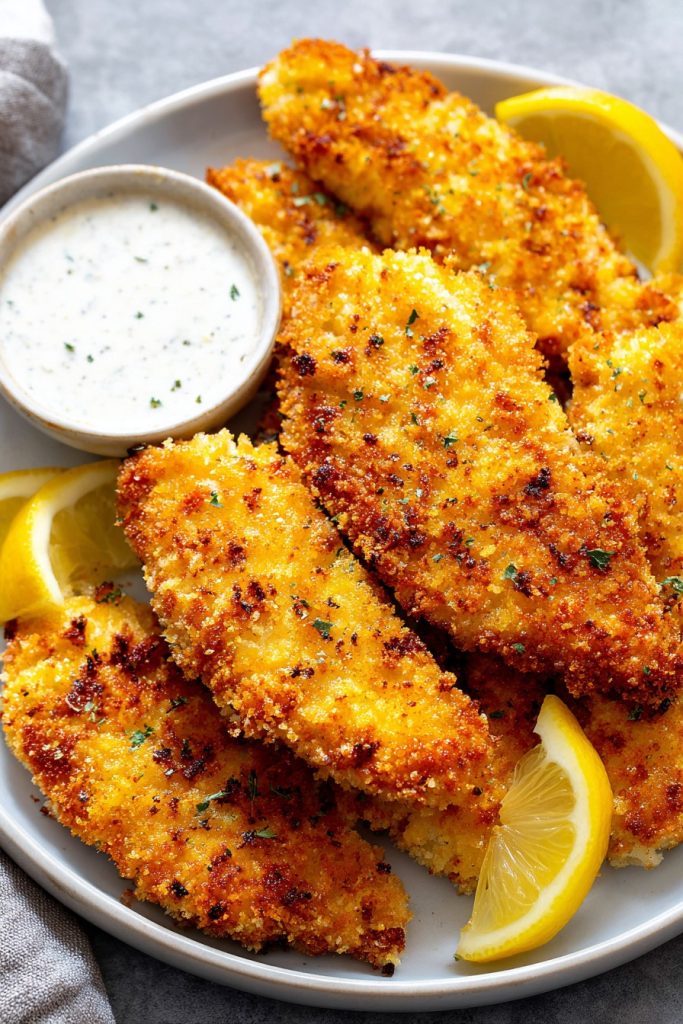
Ready to revolutionize your chicken game? This air fryer chicken katsu delivers all the crispy, golden-brown goodness of the classic Japanese dish with a fraction of the oil and effort. Rethink everything you know about fried chicken because this recipe is about to become your new weeknight hero!
Why This Recipe Works
- The air fryer’s rapid hot air circulation creates an incredibly crispy exterior while keeping the chicken breast juicy and tender inside, eliminating the need for deep frying
- Using panko breadcrumbs instead of traditional breadcrumbs provides superior crunch and texture that holds up beautifully in the air fryer’s environment
- The three-step dredging process (flour, egg, panko) creates multiple layers of coating that become perfectly golden and crispy without becoming greasy
- Cooking at 400°F for exactly 12-14 minutes ensures thorough cooking while maintaining that signature katsu crunch that makes this dish so addictive
- Spraying with cooking oil just before air frying gives that authentic fried texture without submerging in oil, making this a healthier alternative that doesn’t sacrifice flavor
Ingredients
- 2 boneless, skinless chicken breasts (about 1 pound total), pounded to 1/2-inch thickness
- 1 cup all-purpose flour
- 2 large eggs, beaten
- 1 1/2 cups panko breadcrumbs
- 1 teaspoon garlic powder
- 1 teaspoon onion powder
- 1/2 teaspoon paprika
- 1 teaspoon salt
- 1/2 teaspoon black pepper
- Cooking spray (avocado or canola oil recommended)
- Lemon wedges for serving
- Tonkatsu sauce or your favorite dipping sauce
Equipment Needed
- Air fryer (any size, but basket-style works best)
- Meat mallet or rolling pin
- Three shallow bowls or plates
- Whisk
- Measuring cups and spoons
- Tongs
- Instant-read thermometer
- Cutting board
Instructions
Prepare Your Chicken and Set Up Your Dredging Station
Place your chicken breasts between two pieces of plastic wrap or in a large zip-top bag. Using a meat mallet or heavy rolling pin, pound the chicken until it’s uniformly 1/2-inch thick – this ensures even cooking and maximum crispy surface area. In three separate shallow bowls, set up your dredging station: place flour mixed with salt, pepper, garlic powder, onion powder, and paprika in the first bowl. In the second bowl, beat the eggs until smooth and frothy. In the third bowl, spread out the panko breadcrumbs. This assembly line approach makes the coating process efficient and mess-free. Pro tip: Line your workspace with parchment paper for easy cleanup – the flour and panko tend to get everywhere!
Coat the Chicken in the Three-Step Process
Take your pounded chicken breast and dredge it first in the seasoned flour mixture, making sure to coat both sides thoroughly and shaking off any excess. Next, dip the floured chicken into the beaten eggs, ensuring every surface gets coated – let the excess drip off back into the bowl. Finally, press the chicken firmly into the panko breadcrumbs, coating both sides completely and pressing gently to help the crumbs adhere. Repeat with the second chicken breast. The key here is to work with one hand for dry ingredients and the other for wet to avoid clumpy fingers. The triple coating creates those beautiful layers that will become incredibly crispy in the air fryer.
Preheat and Arrange in the Air Fryer
Preheat your air fryer to 400°F for 3 minutes – this ensures immediate crisping when the chicken goes in. Lightly spray the air fryer basket with cooking spray to prevent sticking. Place the breaded chicken breasts in the basket in a single layer, making sure they aren’t touching or overlapping. If your air fryer is small, you may need to cook them one at a time. Lightly spray the top of the chicken with cooking spray – this helps achieve that golden-brown color and crispy texture. The spray should be visible but not pooling on the surface. Proper spacing is crucial for air circulation and even cooking.
Air Fry to Golden Perfection
Cook the chicken at 400°F for 12-14 minutes, flipping halfway through the cooking time. After 6-7 minutes, when you flip the chicken, you should see a beautiful golden-brown color developing on the bottom. Spray the other side lightly with cooking spray before continuing to cook. The chicken is done when the internal temperature reaches 165°F on an instant-read thermometer and the coating is deeply golden brown and crispy. If your chicken breasts are particularly thick, you might need an additional 1-2 minutes. Don’t be tempted to overcrowd the basket – the hot air needs space to circulate around each piece for optimal crisping.
Rest and Serve Immediately
Once cooked, transfer the chicken katsu to a cutting board and let it rest for 3-5 minutes before slicing. This allows the juices to redistribute throughout the meat, ensuring maximum tenderness. Slice against the grain into 1-inch strips for that classic katsu presentation. Serve immediately with lemon wedges and your favorite dipping sauce – traditional tonkatsu sauce, bulldog sauce, or even a spicy mayo all work beautifully. The contrast between the hot, crispy exterior and juicy interior is what makes this dish so special, so timing is everything here. Enjoy immediately for the best texture experience!
Tips and Tricks
For the ultimate crispy coating, try placing the breaded chicken on a wire rack in the refrigerator for 15-30 minutes before air frying. This helps the coating set and adhere better, resulting in fewer crumbs falling off during cooking. If you’re making multiple batches, keep cooked katsu warm in a 200°F oven on a wire rack to maintain crispiness. For extra flavor, consider adding 1/4 cup of grated parmesan cheese to your panko mixture – it adds a wonderful savory depth that complements the chicken beautifully. If you don’t have panko, you can pulse regular breadcrumbs in a food processor until they’re finer, but note that the texture will be different – panko really is worth seeking out for authentic katsu texture.
When pounding your chicken, if you don’t have a meat mallet, use a heavy skillet or even a wine bottle – anything heavy and flat will work. For even more tender chicken, you can brine the breasts in a mixture of 2 cups water and 1 tablespoon salt for 30 minutes before pounding and breading. This helps the chicken retain moisture during the high-heat cooking process. If your air fryer tends to run hot or cool, invest in an oven thermometer to check its actual temperature – many home air fryers can be off by 25-50 degrees, which significantly affects cooking time. For extra crispy results, you can give the chicken a second light spray of oil when you flip it halfway through cooking.
Cleanup is easier if you line your air fryer basket with parchment paper designed for air fryers (with holes for air circulation), but avoid using regular parchment as it can block airflow. If you’re meal prepping, you can bread the chicken and freeze it before cooking – place breaded chicken on a parchment-lined baking sheet, freeze until solid, then transfer to freezer bags. Cook from frozen, adding 3-5 minutes to the cooking time. For those watching sodium, you can reduce the salt in the flour mixture and use low-sodium dipping sauces. The beauty of this recipe is its adaptability to various dietary needs and preferences while maintaining that essential katsu character.
Recipe Variations
- Pork Katsu Variation: Substitute chicken with pork cutlets (about 1/2-inch thick). Pork benefits from a slightly longer cooking time – aim for 14-16 minutes at 400°F, flipping halfway. Pork katsu is traditional in Japan and has a richer flavor that stands up beautifully to the crispy coating. The internal temperature should reach 145°F for medium, though some prefer it cooked to 160°F. The cooking process remains identical, but pork’s higher fat content creates an even more luxurious eating experience.
- Gluten-Free Version: Replace all-purpose flour with your favorite gluten-free flour blend (rice flour works particularly well). Use gluten-free panko breadcrumbs, which are increasingly available in well-stocked grocery stores. The cooking time and temperature remain the same. Be sure to check that your dipping sauce is also gluten-free, as many traditional Asian sauces contain wheat. The result is nearly identical to the original, making this accessible for those with gluten sensitivities without sacrificing texture or flavor.
- Spicy Korean-Inspired Twist: Add 1 tablespoon gochugaru (Korean red pepper flakes) to your flour mixture and include 1 teaspoon of grated ginger in your egg wash. Serve with a spicy gochujang-based sauce instead of traditional tonkatsu. This variation brings heat and complexity that transforms the dish into something entirely new while maintaining the satisfying crunch. The warmth of the spices complements the crispy texture beautifully, creating a fusion dish that’s sure to impress.
- Herb-Crusted Elegance: Mix 2 tablespoons of finely chopped fresh parsley, 1 tablespoon of fresh thyme leaves, and 1 teaspoon of lemon zest into your panko breadcrumbs. This bright, herbaceous version feels more sophisticated and works wonderfully as a main course for dinner parties. The fresh herbs add color and fragrance that elevate the simple chicken breast into something special. Serve with a lemon-butter sauce rather than traditional katsu sauce for a European twist on this Japanese classic.
Frequently Asked Questions
Can I make this recipe without an air fryer?
Absolutely! While the air fryer gives you that perfect crispiness with minimal oil, you can achieve similar results in a conventional oven. Preheat your oven to 425°F and place a wire rack on a baking sheet. Bake for 18-22 minutes, flipping halfway through, until the internal temperature reaches 165°F and the coating is golden brown. The texture will be slightly different – more baked than fried – but still delicious. You can also pan-fry in 1/4 inch of oil over medium heat for 4-5 minutes per side, though this obviously increases the oil content significantly.
Why did my coating fall off during cooking?
Coating separation usually happens for three main reasons: insufficient drying of the chicken surface before breading, not pressing the panko firmly enough onto the egg-washed chicken, or moving the chicken too much during the initial cooking phase. Make sure your chicken is patted completely dry with paper towels before starting the dredging process. When applying the panko, really press it into the chicken to help it adhere. Also, avoid moving the chicken for the first few minutes of cooking to allow the coating to set properly on the bottom before flipping.
Can I prepare this ahead of time?
You can bread the chicken up to 24 hours in advance and store it in the refrigerator on a wire rack set over a baking sheet. This actually helps the coating set and can result in an even crispier texture. Do not leave breaded chicken at room temperature for more than 2 hours due to food safety concerns. You can also freeze breaded chicken for up to 3 months – freeze solid on a baking sheet first, then transfer to freezer bags. Cook from frozen, adding 3-5 minutes to the cooking time, though the texture may be slightly different.
What’s the best way to reheat leftovers?
Leftover chicken katsu is best reheated in the air fryer at 375°F for 3-5 minutes until crispy and heated through. The microwave will make it soggy, so avoid that method if possible. If you don’t have an air fryer, reheat in a 375°F conventional oven on a wire rack for 8-10 minutes. The coating won’t be quite as crisp as freshly made, but it’s still delicious. I don’t recommend refrigerating leftovers for more than 2 days, as the coating continues to absorb moisture from the chicken and becomes less crispy over time.
Can I use chicken thighs instead of breasts?
Yes, chicken thighs work wonderfully for katsu! They have more fat and flavor than breasts, resulting in a juicier final product. Use boneless, skinless thighs and pound them to an even 1/2-inch thickness. The cooking time may need to be increased by 1-2 minutes since thighs have more connective tissue. Check that the internal temperature reaches 165°F. Some people actually prefer thigh katsu for its richer flavor and more forgiving texture – it’s harder to overcook thighs than breasts, making them great for air fryer beginners.
Summary
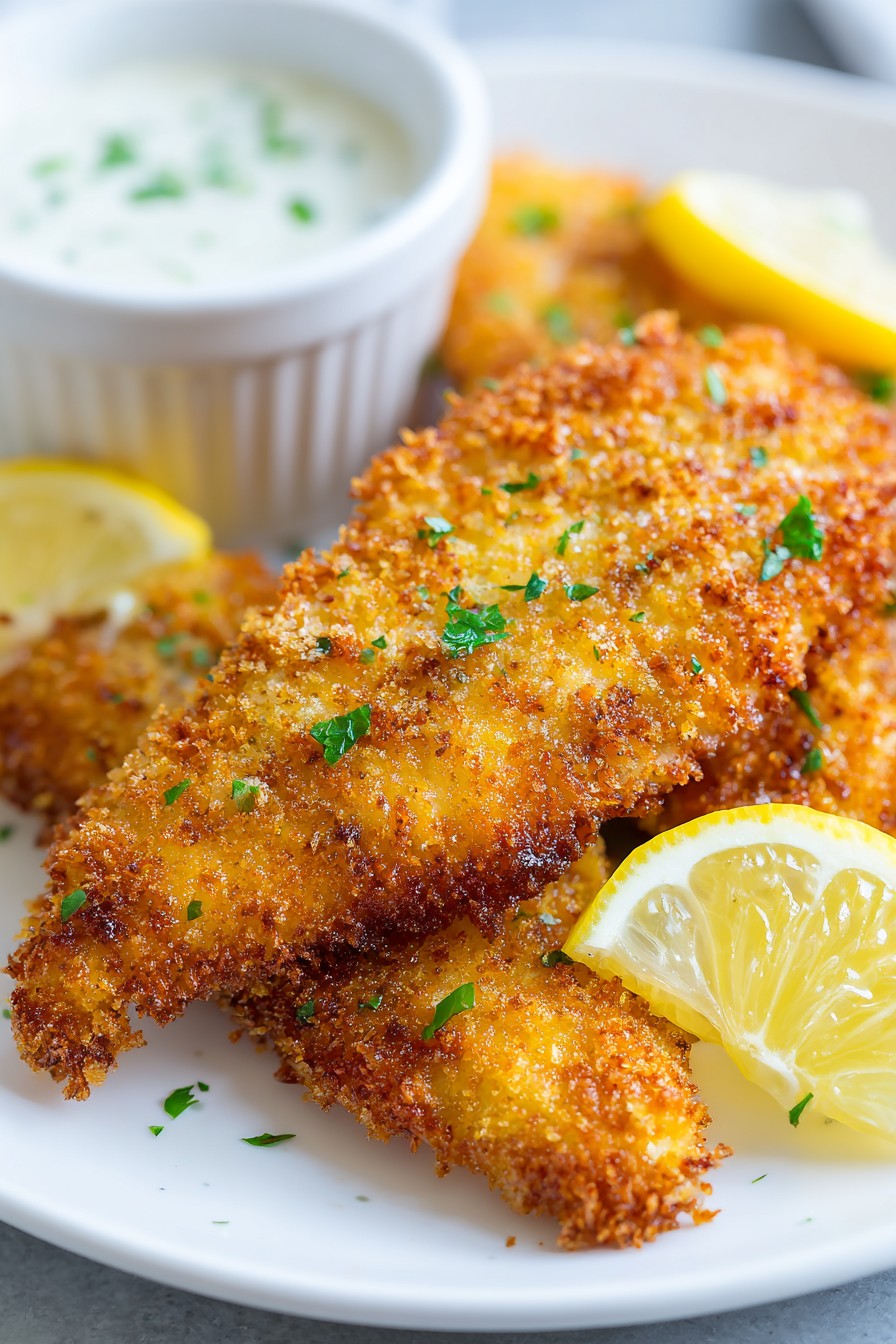
This air fryer chicken katsu delivers restaurant-quality crispiness with minimal oil and effort. Perfectly golden, incredibly crunchy, and wonderfully juicy – it’s weeknight magic that’ll have everyone asking for seconds!
Air Fryer Chicken Katsu
6
servings15
minutes14
minutesIngredients
Instructions
- 1 Pound chicken to 1/2-inch thickness between plastic wrap
- 2 Set up three bowls: flour with spices, beaten eggs, and panko
- 3 Dredge chicken in flour, then egg, then panko, pressing firmly
- 4 Preheat air fryer to 400°F for 3 minutes
- 5 Spray basket, add chicken in single layer, spray top of chicken
- 6 Cook at 400°F for 12-14 minutes, flipping halfway
- 7 Check internal temperature reaches 165°F
- 8 Rest 5 minutes, slice, and serve with lemon and sauce


