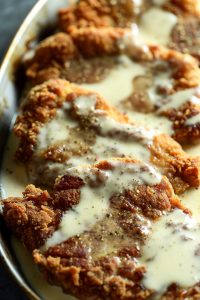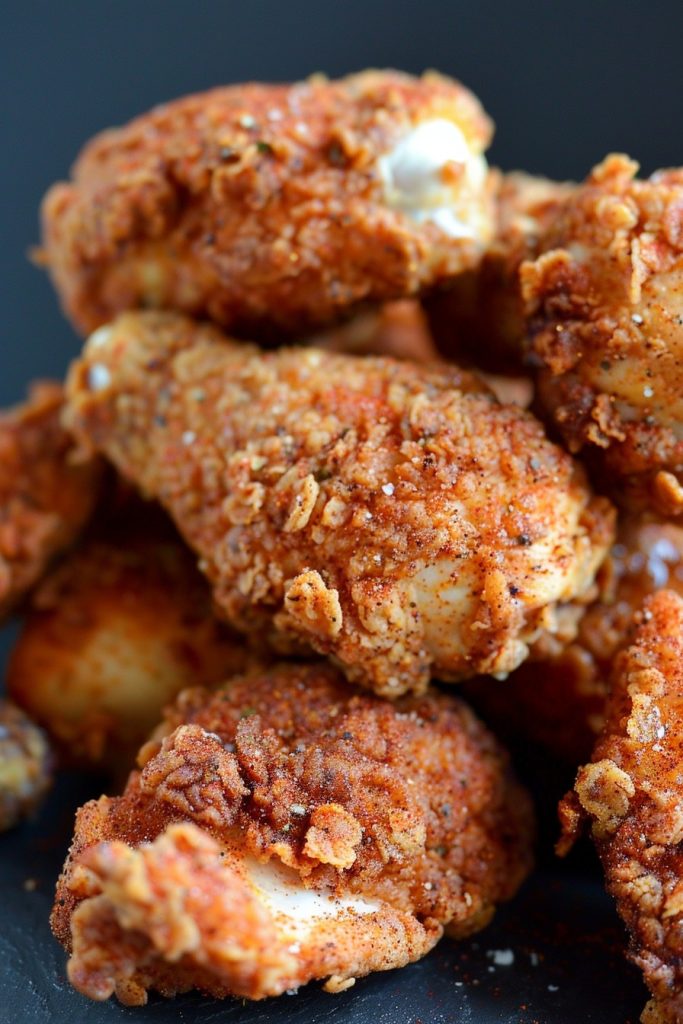
Kick your fried chicken game up a notch with this spicy fried chicken recipe that doesn’t rely on buttermilk for its juiciness. Perfect for those who love a good crunch with a kick, this recipe is all about bold flavors and crispy textures.
Why This Recipe Works
- Uses a simple brine to ensure the chicken stays juicy without buttermilk.
- The spice blend delivers a perfect balance of heat and flavor.
- Double coating technique guarantees an extra crispy exterior.
- Frying at the right temperature ensures a golden brown finish without greasiness.
- Adaptable to your spice preference, making it versatile for all palates.
Ingredients
- 4 lbs chicken pieces (thighs and drumsticks recommended)
- 1/4 cup salt (for brine)
- 1 gallon water (for brine)
- 2 cups all-purpose flour
- 1 tbsp paprika
- 2 tsp garlic powder
- 2 tsp onion powder
- 1 tsp cayenne pepper (adjust to taste)
- 1 tsp black pepper
- 1 tsp salt
- 2 eggs
- 1/2 cup milk
- Vegetable oil for frying
Equipment Needed
- Large bowl for brining
- Another large bowl for dredging
- Whisk
- Deep fryer or large heavy-bottomed pot
- Thermometer
- Tongs
- Paper towels
Instructions
Step 1: Brine the Chicken
Dissolve 1/4 cup of salt in a gallon of water in a large bowl. Submerge the chicken pieces in the brine, cover, and refrigerate for at least 4 hours, or overnight for best results. This step ensures your chicken is juicy and flavorful throughout.
Step 2: Prepare the Dredging Stations
In one bowl, whisk together the flour, paprika, garlic powder, onion powder, cayenne pepper, black pepper, and salt. In another bowl, beat the eggs with the milk. This setup is crucial for achieving that crispy, flavorful coating.
Step 3: Coat the Chicken
Remove the chicken from the brine and pat dry. Dip each piece first in the flour mixture, then the egg mixture, and back in the flour mixture. Ensure each piece is thoroughly coated for maximum crispiness.
Step 4: Fry to Perfection
Heat the vegetable oil in your deep fryer or pot to 350°F. Fry the chicken in batches, about 3-4 pieces at a time, for 12-15 minutes or until golden brown and the internal temperature reaches 165°F. Avoid overcrowding to maintain oil temperature.
Step 5: Drain and Serve
Transfer the fried chicken to a plate lined with paper towels to drain excess oil. Let it rest for a few minutes before serving to ensure the juices redistribute, making every bite as juicy as the last.
Tips and Tricks
For an even crispier coating, let the coated chicken rest on a wire rack for about 10 minutes before frying. This allows the coating to set. If you’re sensitive to heat, reduce the cayenne pepper or serve with a cooling side like coleslaw. Always use a thermometer to check oil temperature; too hot, and the coating burns before the chicken cooks through; too cool, and the chicken absorbs too much oil.
Recipe Variations
- For a gluten-free version, substitute the all-purpose flour with a gluten-free flour blend.
- Add a tablespoon of your favorite hot sauce to the egg mixture for an extra kick.
- Experiment with different spice blends, such as adding smoked paprika for a deeper flavor.
- For a healthier option, bake the chicken at 400°F for 25-30 minutes instead of frying.
- Try using boneless chicken breasts or wings for a different texture and cooking time.
Frequently Asked Questions
Can I skip the brining step?
While you can skip brining, it’s highly recommended for the juiciest chicken. If short on time, even a 30-minute brine can make a difference.
How can I make the chicken less spicy?
Simply reduce or omit the cayenne pepper from the flour mixture. You can also serve it with a mild dipping sauce to balance the heat.
Can I reuse the frying oil?
Yes, after cooling, strain the oil through a fine mesh sieve to remove any particles. Store in a cool, dark place and reuse within a month.
Summary
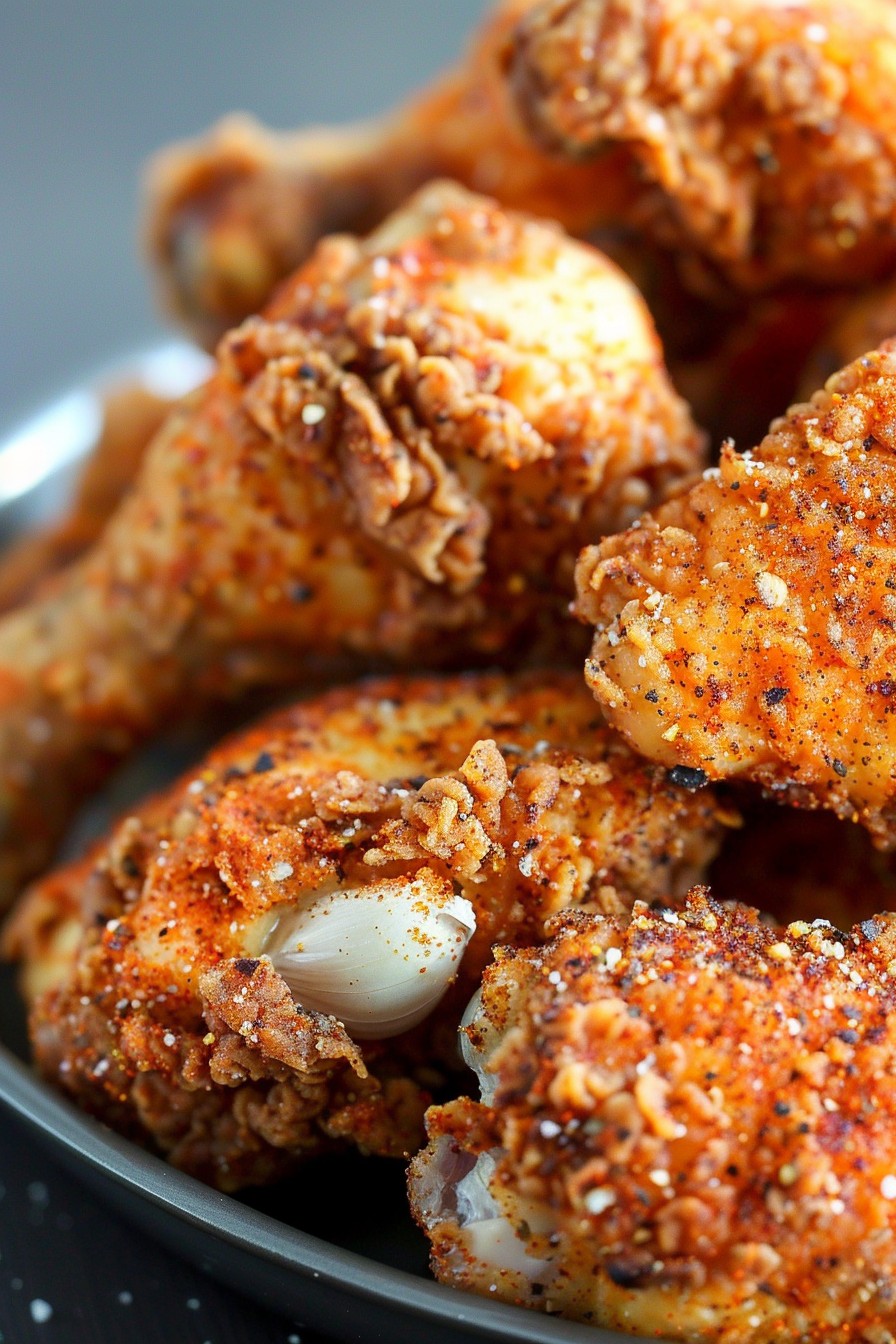
This spicy fried chicken without buttermilk is a game-changer, offering juicy meat with a crispy, flavorful coating. Perfect for spice lovers and those seeking a buttermilk-free alternative.